11
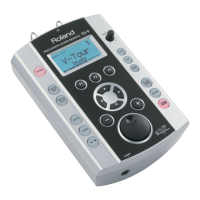
Getting Ready
Making Hi-hat Settings
If you’re using the VH-13 or VH-11 V-hi-hat, adjust the oset on the
TD-50.
This adjustment is required for pedal movements such as open or
close to be detected correctly.
Settings for the VH-13
1. Press the [TRIGGER] button.
2. Press the PAGE [UP] button to access page 1 (TRIG BASIC).
3. Press the [F4] (HI-HAT) button.
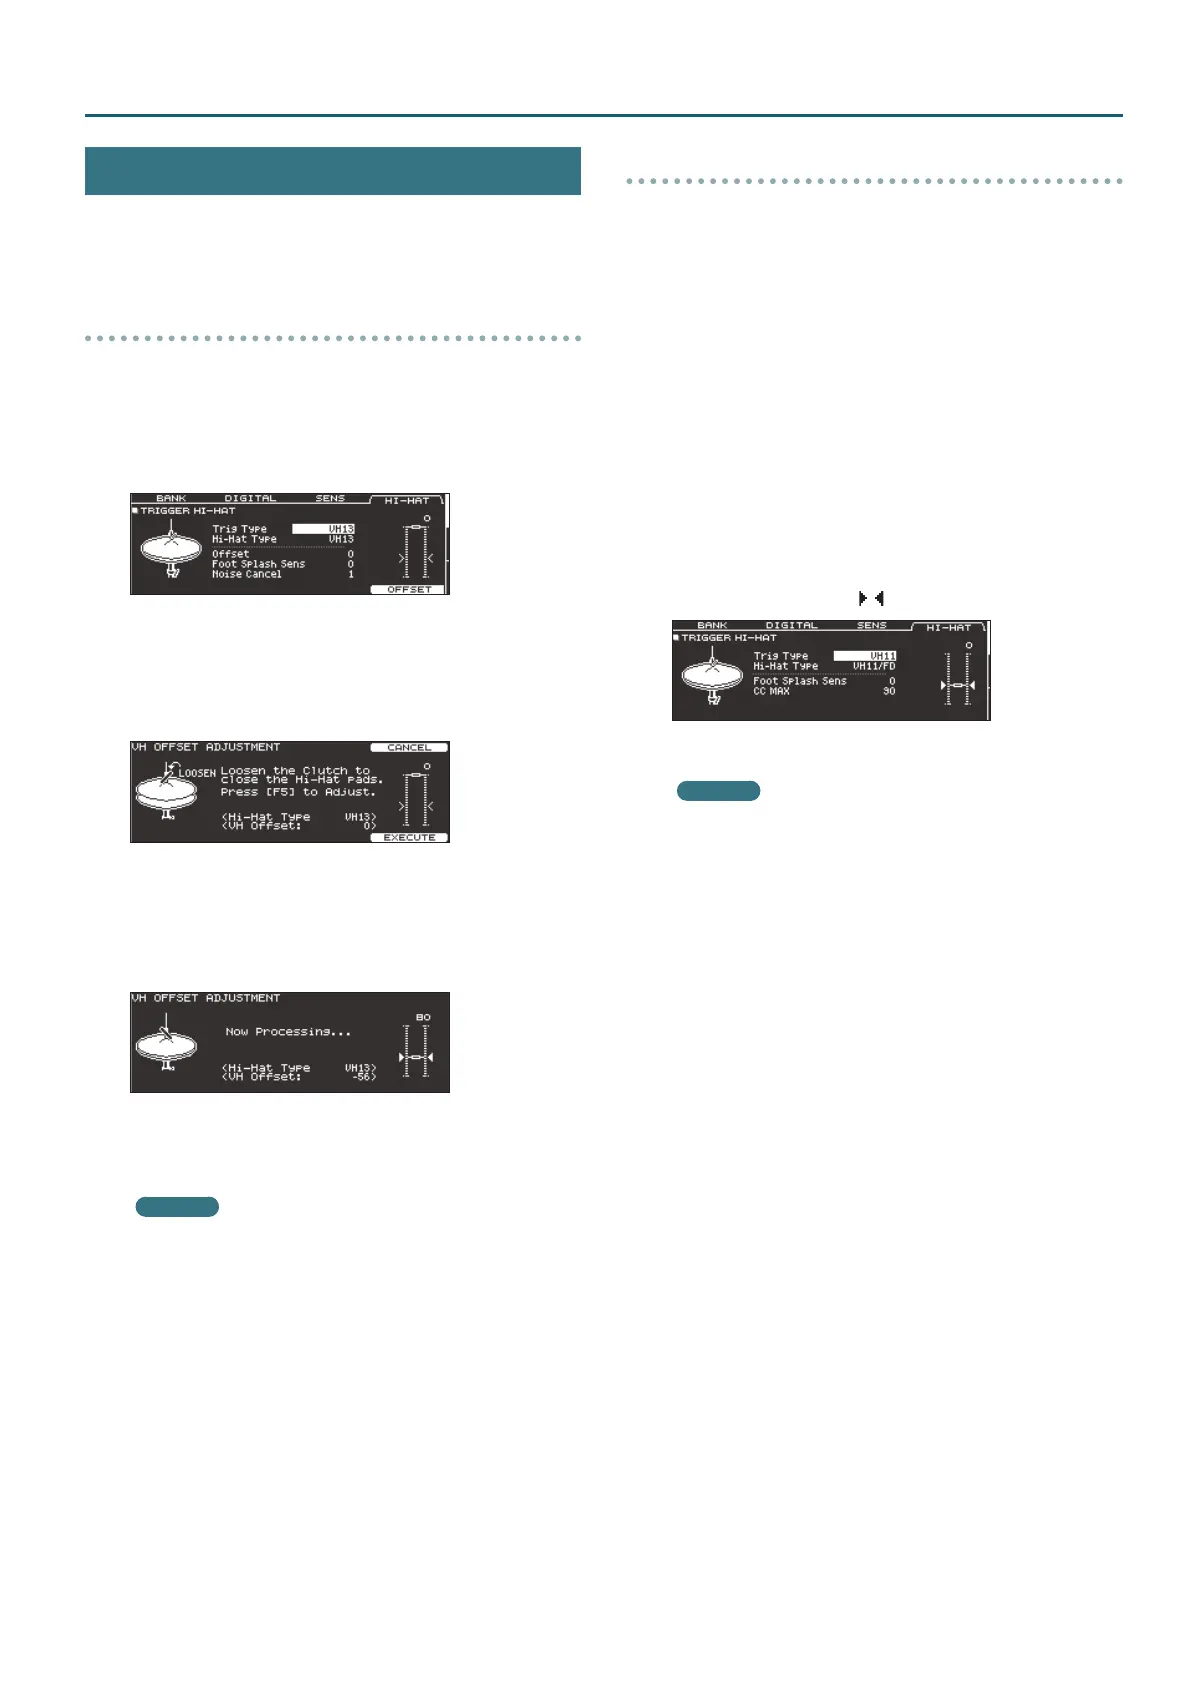
The TRIGGER HI-HAT screen appears.
4. Use the [–] [+] buttons or the dial to set the Trig Type to
“VH13.”
5. Press the [F5] (OFFSET) button.
The VH OFFSET ADJUSTMENT screen appears.
6. Loosen the clutch screw of the top hi-hat and let it sit on
the bottom hi-hat.
* Do NOT touch the hi-hats or the pedal.
7. Press the [F5] (EXECUTE) button.
The “VH Oset” parameter is set automatically (approx. 3 seconds).
The [TRIGGER] button stops ashing and remains lit.
8. Press the [KIT] button to return to the DRUM KIT screen.
Reference
If you need, make further adjustments to the parameters, refer
to “Data List (PDF).”
Settings for the VH-11
1. After making the hi-hat settings, release your foot from
the pedal, and while keeping your foot o the pedal, turn
on the power of the TD-50.
2. Loosen the clutch screw and let the hi-hat rest naturally
on the motion sensor unit.
3. Press the [TRIGGER] button.
4. Press the PAGE [UP] button to access page 1 (TRIG BASIC).
5. Press the [F4] (HI-HAT) button.
6. Use the [–] [+] buttons or the dial to set the Trig Type to
“VH11.”
7. While reading the meter displayed on the right side of the
TD-50’s screen, adjust the oset with the VH-11’s VH oset
adjustment screw.
Adjust the oset so that the appear in the meter.
8. Press the [KIT] button to return to the DRUM KIT screen.
Reference
If you need, make further adjustments to the parameters, refer
to “Data List (PDF).”

 Loading...