9
Getting Ready
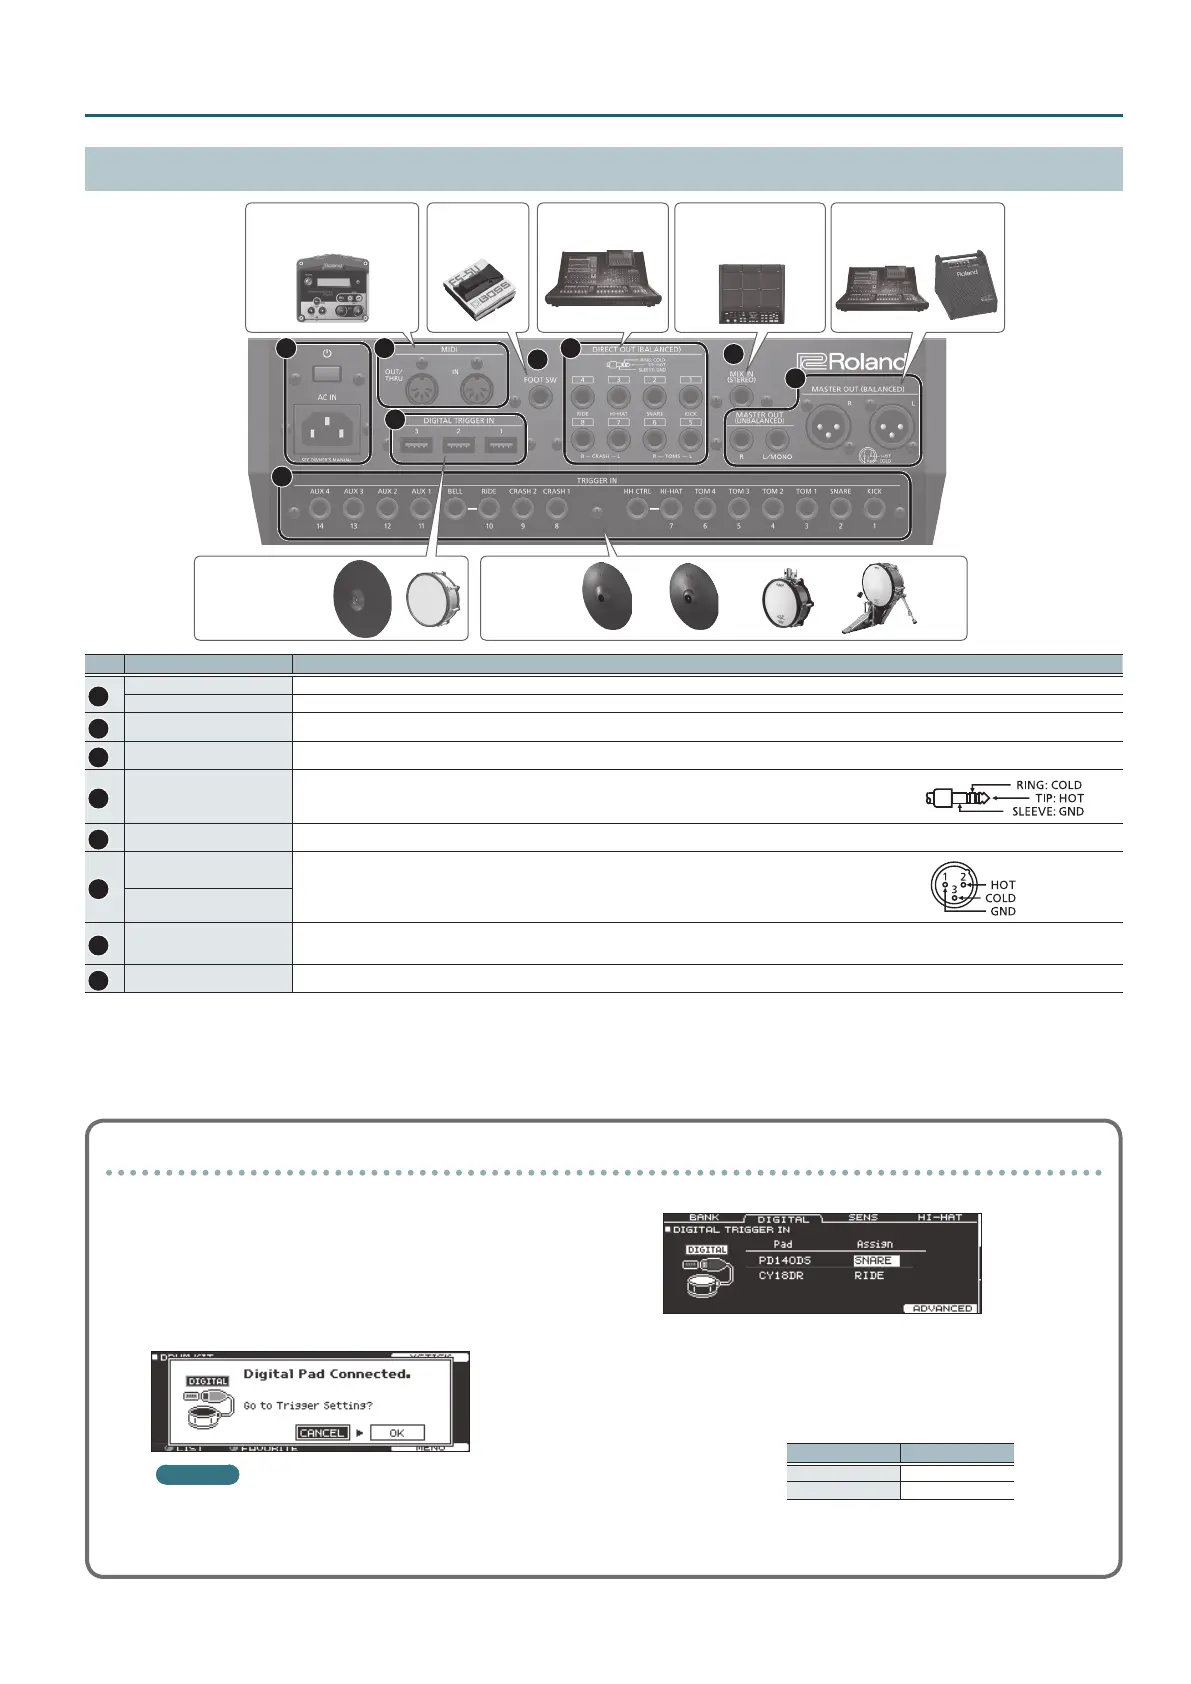
Rear Panel (Connect Your Equipment)
D E
F
* To prevent malfunction and equipment failure, always turn down the volume, and turn o all the units before making any connections.
No. Jack Explanation
D
[
L
] switch
Press this switch to turn it on/o.
AC IN jack Connect the included AC power code to this inlet.
E
MIDI connectors Use these connectors to connect an external sound module or other MIDI device.
F
FOOT SW jack You can connect a footswitch (BOSS FS-5U, FS-6; sold separately) here and use it to control various things.
G
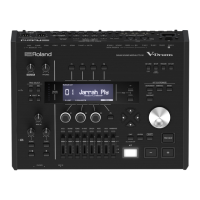
DIRECT OUT (BALANCED)
jacks
Connect these to your mixer.
Use the [SETUP] button to specify the DIRECT OUT 1–8 jack from which
each instrument is output.
* Pin assignment of the DIRECT
OUT (BALANCED) jacks
H
MIX IN (STEREO) jack Connect this to an electronic musical instrument such as a sampling pad.
I
MASTER OUT (BALANCED)
jacks
Connect these to your mixer, amplied speakers, or recording device.
If you want to output in mono, connect only the L/MONO jack of the
MASTER OUT (UNBALANCED) jacks.
* Pin assignment of the MASTER
OUT (BALANCED) jacks
MASTER OUT
(UNBALANCED) jacks
J
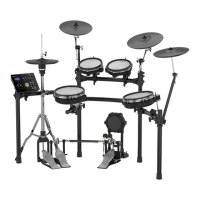
TRIGGER IN jacks
Connect cymbal, hi-hat, kick, and other pads here.
* If connecting a dual trigger type pad, use a stereo (TRS) cable.
K
DIGITAL TRIGGER IN ports Connect pads that support digital connection (e.g., PD-140DS or CY-18DR) here.
G
H
I
J
K
Mixer or amplied
speakers
MixerFootswitchExternal sound module
or other MIDI device
Sampling pad or
other electronic
musical instrument
PadsPads
(digital connection)
Settings for pads that support digital connection
The rst time that a pad that supports digital connection is
connected to a DIGITAL TRIGGER IN port, the following screen
appears.
Following the instructions in the screen, make settings to specify
the trigger input to which the connected pad should be assigned.
* If you specify the same trigger input as a pad that is connected
to a TRIGGER IN jack, the pad that’s connected to that TRIGGER
IN jack won’t produce sound.
Reference
For details on pad settings, refer to “Specifying a Digitally-
Connected Pad” (p. 35).
1. Select “OK” and press the [ENTER] button.
2. Use the cursor buttons to select the pad that you want
to specify, and use the [–] [+] buttons or the dial to
specify the assignment.
When you select a pad, the FUNC button of the selected pad
blinks.
Pad Assign
PD140DS SNARE
CY18DR RIDE
(Setting example)
* You can’t specify multiple instances of the same assignment.
3. Press the [KIT] button to return to the DRUM KIT screen.
 Loading...