3-17
On-line Operations
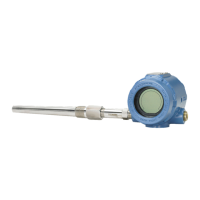
Model 3144 1. Connect the calibration device to the transmitter. Refer to
Figure 2-7 on page 2-9 or inside of the transmitter terminal side
cover for sensor wiring diagrams.
2. Connect the communicator to the transmitter loop.
3. From the Home screen, select 1 Device setup, 2 Diag/Service,
3 Calibration, 3 Sensor trim, 1 Snsr 1 inp trim to prepare to trim
the sensor.
4. Select OK after you set the control loop to manual.
5. Select the appropriate sensor trim units at the “Enter snsr 1 trim
units” prompt.
6. Select the sensor trim points (1 upper, 2 lower, or 3 both) at the
“Enter snsr 1 Trim points” prompt, or select 4 abort to abort the
trim procedure.
7. Adjust the calibration device to an input value slightly less than
the upper range limit provided by the communicator if
performing an upper trim, or slightly greater than the lower
range limit provided by the communicator if performing a lower
trim.
8. Select OK.
The communicator displays the output value the transmitter associates
with the input value provided by the calibration device.
9. Enter the lower or upper trim point, depending on your selection
in Step 7.
IMPORTANT
The Active Calibrator Mode
(1)
feature will automatically be enabled
when a sensor trim is performed and is automatically disabled when a
sensor trim is completed. If you choose to verify the trim after trim
completion, and you are using calibration equipment that requires
steady current, you may need to re-enable Active Calibrator Mode (see
“Sensor Current” on page 3-15). Disable Active Calibrator Mode when
verification is complete.
(1) Previous transmitter versions use the RTD Current and T/C Pulsing Mode commands
instead of Active Calibrator Mode.