D
danielsaundersJul 28, 2025
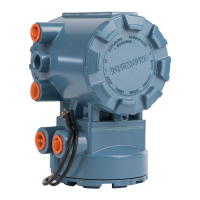
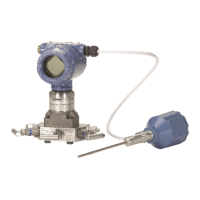
What to do if Rosemount Measuring Instruments output is erratic?
- JjamesvaldezJul 28, 2025
If your Rosemount Measuring Instruments output is erratic, several factors could be the cause. First, check the impulse piping for leaks or blockages, ensure the blocking valve is fully open, and inspect for trapped gas in a liquid line or vice versa. Also, verify the fluid density in the impulse line remains unchanged and check for sediment or frozen fluid in the process connections. If the impulse piping is not the issue, examine the loop wiring for adequate voltage, intermittent shorts, open circuits, and multiple grounds. Finally, check for EMF interference and damping issues within the electronics. If all else fails, consider replacing the output board and recalibrating the transmitter or replacing the transmitter.