44
FA ROTEX HPSU compact 4 - 06/2015
7 x Service and maintenance
7.5 Filling and topping up the heating system
1. Only required upon initial start-up and re-commissioning
following complete drainage!
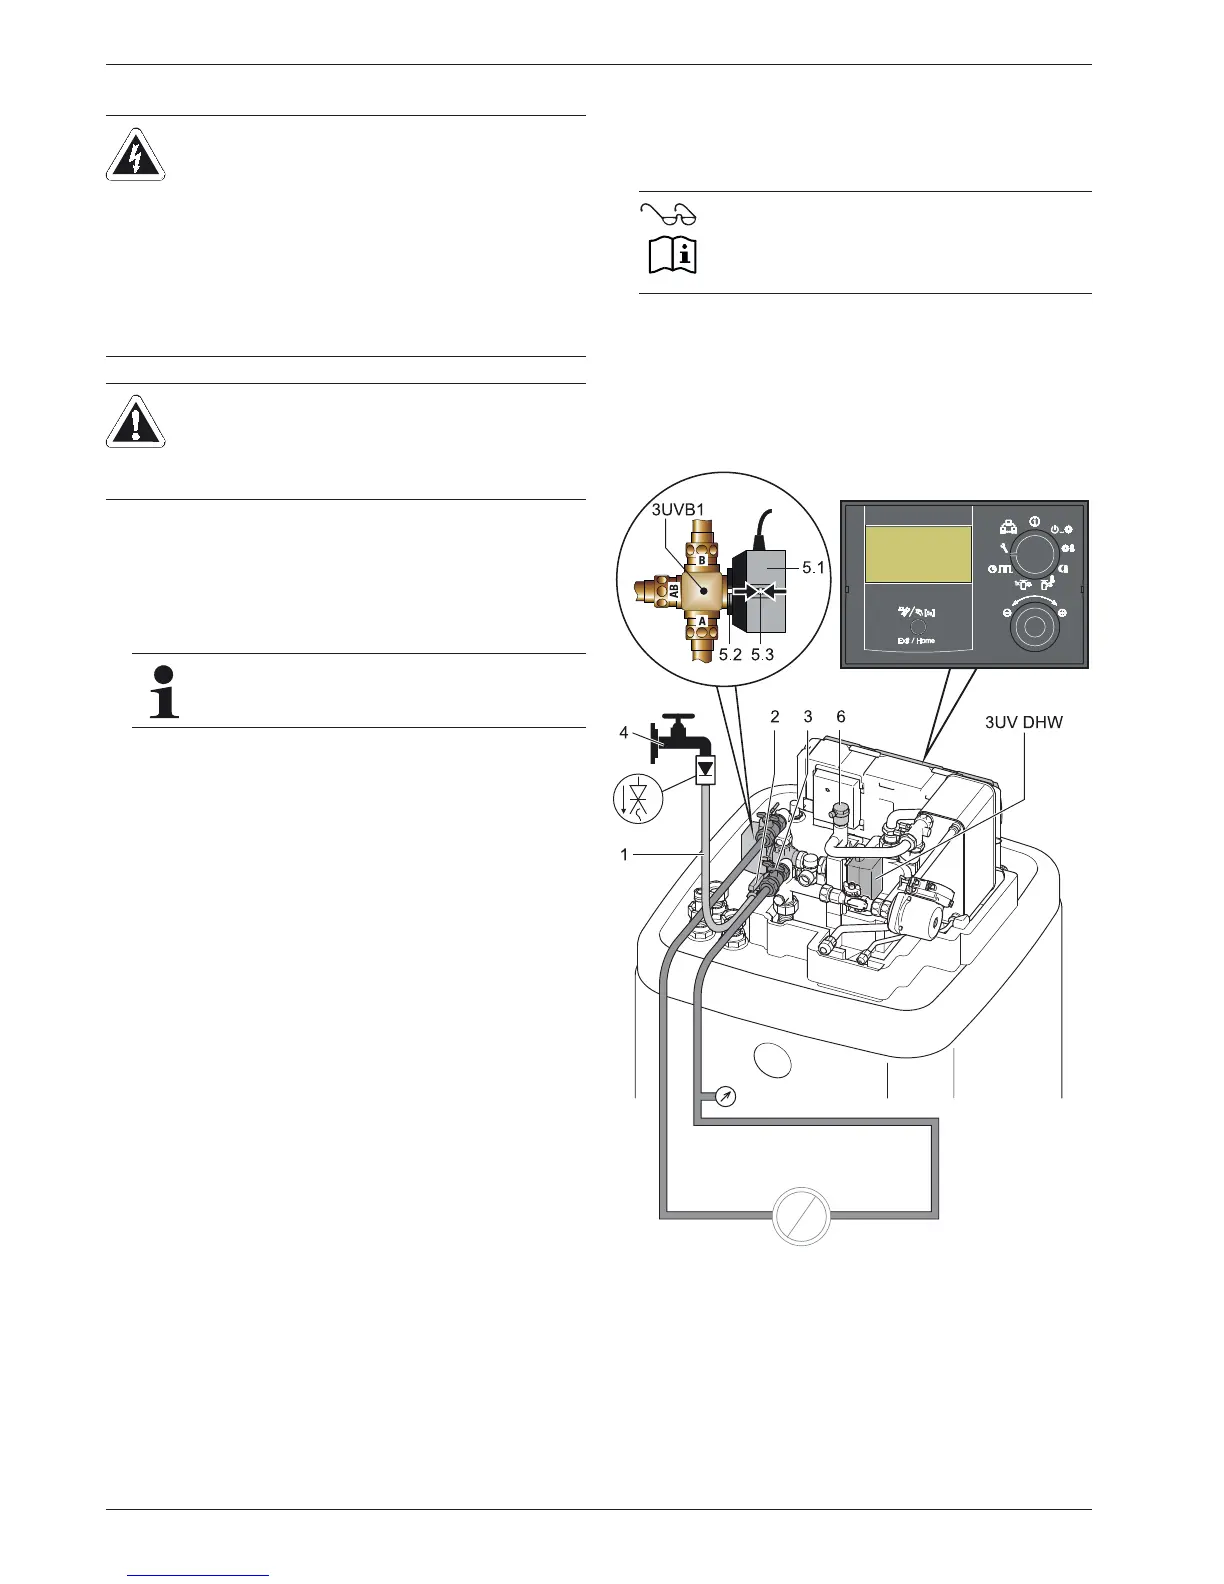
Remove the valve drive of the
3-way diverter valve 3UVB1
+ 3UV DHW (see fig. 7-3). To do so, press the unlock button
on the valve drive (see fig. 7-3, pos. 5.2) and turn the valve
drive a 1/8-turn anti-clockwise (bayonet socket).
2. Connect the filling hose (fig. 7-3, pos. 1) with backflush
prevention (1/2") and an external pressure gauge (on-site) to
the KFE cock
(fig. 7-3, pos. 2) and secure from slipping using
a hose clamp.
3. Open the water cock (fig. 7-3, pos. 4) in the supply line.
4. Open KFE cock (fig. 7-3, pos. 2) and watch the pressure
gauge.
5. Fill the system with water until the system target pressure is
reached on the pressure gauge (System height +2 m,
whereby 1 m water column = 0.1 bar).
The overpressure valve must not be triggered!
6. Close KFE cock (fig. 7-3, pos. 2).
7. Switch on the power supply of the HPSU compact.
8. Set rotary switch to position operating mode and select
"Heizen".
Î ROTEX HPSU compact runs in the hot water heating
mode after the start phase.
9. During the hot water heating mode, continuously check the
water pressure at the external pressure gauge. Where
necessary, refill with water via the KFE cock (fig. 7-3, pos. 2).
10. Vent the entire heating network (open the regulation valve. At
the same time the underfloor heating system can be filled and
flushed with the underfloor heating distributor.).
11. Only required upon initial start-up and re-commissioning
fol
lowing complete drainage!
Ɣ Rem
ove the valve drive of the 3-way diverter valves
3UVB1 + 3UV DHW.
Ɣ Beg
in the Entlüftungsfunktion.
12. In
spect the water pressure at the external pressure gauge
again. Where necessary, refill with water via the KFE cock
(fig. 7-3, pos. 2).
13. Close the water cock (fig. 7-3, pos. 4) in the supply line.
14. Disconnect the filler hose (fig. 7-3, pos. 1) with flow-back
preventer from the KFE cock (fig. 7-3, pos. 2).
DANGER!
During the filling procedure, w
ater can leak from
potential leaking sites, which, in the event of contact
with live parts, can result in an electric shock.
Ɣ Prior to the filling procedure, disconnect the
ROTEX HPSU compact from the power.
Ɣ After the
initial filling, prior to switching on the
power supply to the ROTEX HPSU compact,
check whether all electronic parts and connection
points are dry.
WARNING!
Polluted domestic water is hazardous to health.
Ɣ When filling the heating system
prevent any back-
flow of heating water into the drinking water piping.
When the valve drive is removed, the AB-B path is
op
ened.
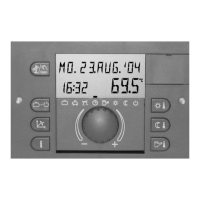
Entlüftungsfunktion
(see operating manual of the control unit)
1 Filler hose
2 KFE coc
k
3 B
all cock
4 Wa
ter cock
5.1 Valve drive
5.2 Unlocking butto
n of the drive
lock
5.3 Hand lever
6 Automatic b
leeder
3UVB1, 3UV DH
W
3-way diverter valve
Fig. 7-3 Filling the heating circuit
 Loading...