26 EB8355-2EN
Mountingoncontrolvalves
The rotary motion of these actuators is con-
vertedintoalinearmotionrequiredbythe
pneumatic control unit of the positioner using
the cam disk of the actuator shaft and a feel-
er roll on the positioner lever.
NOTICE
Check whether the correct range
spring has been installed as listed in
Table7. Range spring 1 is installed
as standard. If necessary, replace it
with range spring 2 included in the
accessories and x it at the outer
hook-in holes.
Double-actingspringlessrotaryactuatorsre-
quire the use of a reversingamplier on the
connection side of the positioner housing
(seesection3.3.4).
Whenusingareversingamplier,thepres-
sureregulator(9,Fig.2)mustbeturned
clockwise as far as it will go (also see sec-
tion4.1.2).
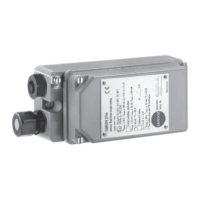
When attaching the positioner to the
SAMSONType3278RotaryActuator
(Fig.8,left),theinsideoftheactuatorand
the unused reverse side of the diaphragm
are purged with the positioner's exhaust air.
Additional piping is not required.
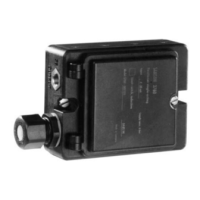
When attaching the positioner to actuators
fromothermanufacturers(Fig.8,right),the
reversesideofthediaphragmcanbe
purged with air over a pipe connection in-
stalledbetweentheactuatorandintermedi-
ate piece.
3.3.1 Mountingtheleverwith
feelerroll
1. Placetheleverwithfeelerroll(35)onthe
sideofthelever(37)oppositetowhere
the press nuts are located and secure it
usingthesuppliedscrews(38)and
washers.
NOTICE
To ensure a close physical contact be-
tween the lever with feeler roll and the
cam disk, attach the spring contained
in the accessories kit (order no. 1400-
6660) to the back of the positioner
housing (see Fig.5).
3.3.2 Mountingtheinterme-
diatepiece
SAMSONType3278Actuator
1. Fastentheadapter(36)tothefreeshaft
end of the rotary actuator.
2. Fastentheintermediatepiece(34)tothe
actuator housing using two screws. Align
the intermediate piece so that the air con
-
nections of the positioner point toward the
diaphragm case side.
3. Alignthecamdisk(40)andscale(39)as
describedinsection3.3.3andfasten.
ActuatorsaccordingtoVDI/VDE3845
(09/2010)(xinglevel2)
1. Placetheassembledintermediatepiece
(34,44,45and42)ontothemounting
bracketincludedinthescopeofactuator
delivery and fasten.
2. Alignthecamdisk(40)andscale(39)
asdescribedinsection2.3.3andfasten.