-13-
1 Remove Cabinet Front-Top following to the chapter “Mechanical
Disassemblies”.
2 Loosen 2 screws A with 2.5mm hex wrench.
3 Unhook 2 hooks B on the both side of the lens and remove the Projection
Lens ass’y off.
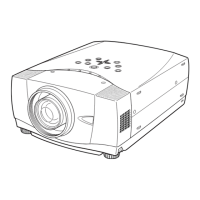
Fig.1
Optical Parts Disassemblies
Before taking this procedure, remove Cabinet Top and Main Board following to the “Mechanical Disassemblies”.
Disassembly requires a 2.0mm or 2.5mm hex wrench and a slot screwdriver.
Projection Lens removal
Fig.1-2
1 Remove each hex screw and pull the Polarized Glass-In ass’y upward.
2 Remove the stoppers and take the glasses off.
* The B-Plolarised Glass-In ass'y does not provide the Optical filter.
Polarized Glass-In and Optical filter removal
Fig.2-1
A
A
B
B
Optical Filter(WV)
Polarized Grass
1
A
V
4
Z
1
5
*
*
*
1
A
V
4
Z
1
5
*
*
*
Part No.
Part No.
Film side
Film side
* Glasses should be placed as the
film sheet attached side comes to
LCD panels side.
Fig.2-2