Section 4: Accessories Installation
M84Pro Service Manual PN 9001111A Page 4-6
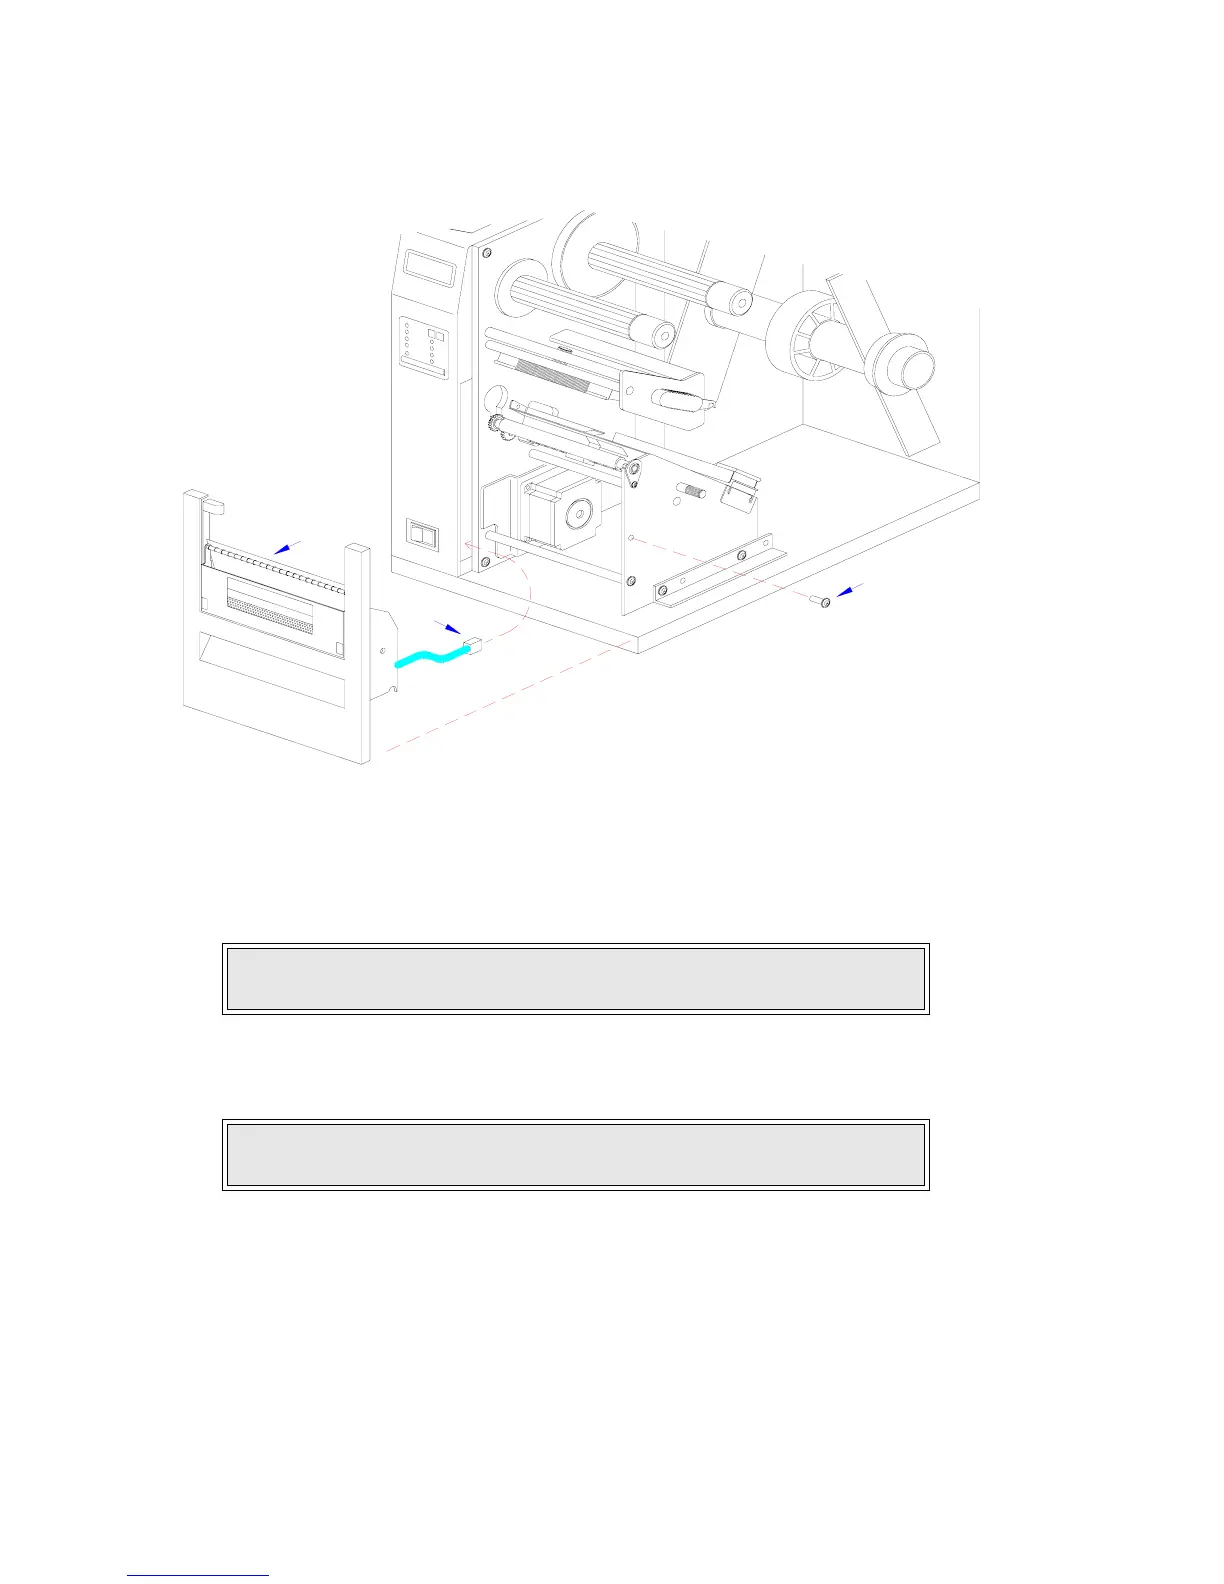
Figure 4-2b, Dispenser Installation
6 Insert dispenser (4, Figure 4-2b) in place of removed front cover (2) and secure using
screw (1).
7 Connect dispenser wiring harness (3, Figure 4-2c) with free end of wiring harness con-
nected to CN10 port (5) of main circuit board.
8 Remove two screws (6) securing cable shield (7).
9 Encase cutter wiring harness (3) along with the power cable, in cable shield (7) and secure
using two screws (6).
10 Place the DSW3-1 and the DSW3-2 dip switches in the up position.
11 Load the printer with ribbon and media stock and close/install all housing covers.
NOTE: Dispenser installation will only require a single screw. Discard the
remaining screw from front cover removal.
CAUTION: ENSURE THE CONNECTORS ARE PROPERLY ORIENTED
WHEN MATING. EQUIPMENT DAMAGE MAY OCCUR OTHERWISE.
4
1
3