Do you have a question about the Schiller AT-1 and is the answer not in the manual?
| Type | Electrocardiograph |
|---|---|
| Display | LCD |
| Recording | Thermal printer |
| Weight | 2.9 kg |
| Power Supply | AC or battery |
| Channels | 3 |
Contact information for service in North America.
Contact information for service in Asia Pacific region.
Contact information for service in Austria.
Contact information for service in Canada.
Contact information for service in France.
Contact information for service in Germany.
Contact information for service in India.
Contact information for service in Italy.
Contact information for service in Switzerland.
Contact information for service globally.
Legal statement regarding manual accuracy and liability.
Information on registered trademarks of the product.
Legal notice regarding reproduction rights of the manual.
Details of the product's warranty period and conditions.
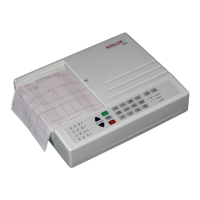
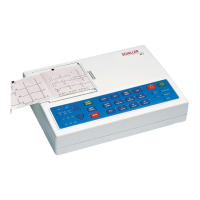
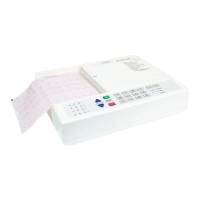
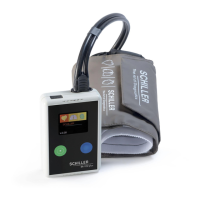
Overview of the AT-1 unit and its features.
Description of manual and automatic recording modes.
Explanation of the purpose of each key on the unit.
Description of the unit's status indicator lamps.
How to configure various operational parameters.
Procedure for selecting the display language.
Details on applying baseline, mains, and myogram filters.
Options for standard and Cabrera lead sequences.
Configuration options for printout formats.
Information on paper types and roll/folded options.
Configuration options specific to auto mode.
How to set average cycle display in auto mode.
Options for displaying measurement results.
Procedures for selecting rhythm leads.
How to print all current unit settings.
How to restore factory default settings.
Obtaining diagnostic printouts of unit status.
Procedure for upgrading unit software.
Purpose of the chapter to overview AT-1 electronics.
Detailed functional description of the power supply board.
Functional description of the ECG amplifier circuit.
Overview of fault-finding philosophy and procedures.
A chart to guide fault identification based on symptoms.
Steps for performing a basic functional check of the unit.
Procedure to test the functionality of the printer.
Overview of procedures for module removal and replacement.
Safety precautions for handling components and the unit.
Description of the unit's physical construction.
List of necessary tools for maintenance.
Step-by-step guide to open the unit's casing.
Diagram showing the internal components of the unit.
Procedure to remove and replace the ECG interface board.
Procedure to remove and replace the power supply board.
Procedure to remove and replace the battery pack.
Procedure to remove/replace paper tray and printer.
Information on keyboard assembly replacement.
Overview of adjustment procedures and requirements.
Safety and environmental conditions for adjustments.
List of proprietary and dedicated test equipment required.
Diagram showing the recommended test setup.
Diagram showing component locations on the control board.
Procedure to check and adjust battery charge voltage.
Procedure for adjusting amplifier reference voltages.
Procedure to measure and adjust amplifier reference voltages.
Details on obtaining and interpreting service printouts.
Information on unit software version and settings.
How to order spare parts and contact SCHILLER AG.
List of available spare parts with their part numbers.
Specifications for dimensions, weight, power, and paper.
Description of different software versions available.
Purpose of the glossary section.
Glossary of abbreviations used in the manual.