508.366.1488 | www.semshred.com
43
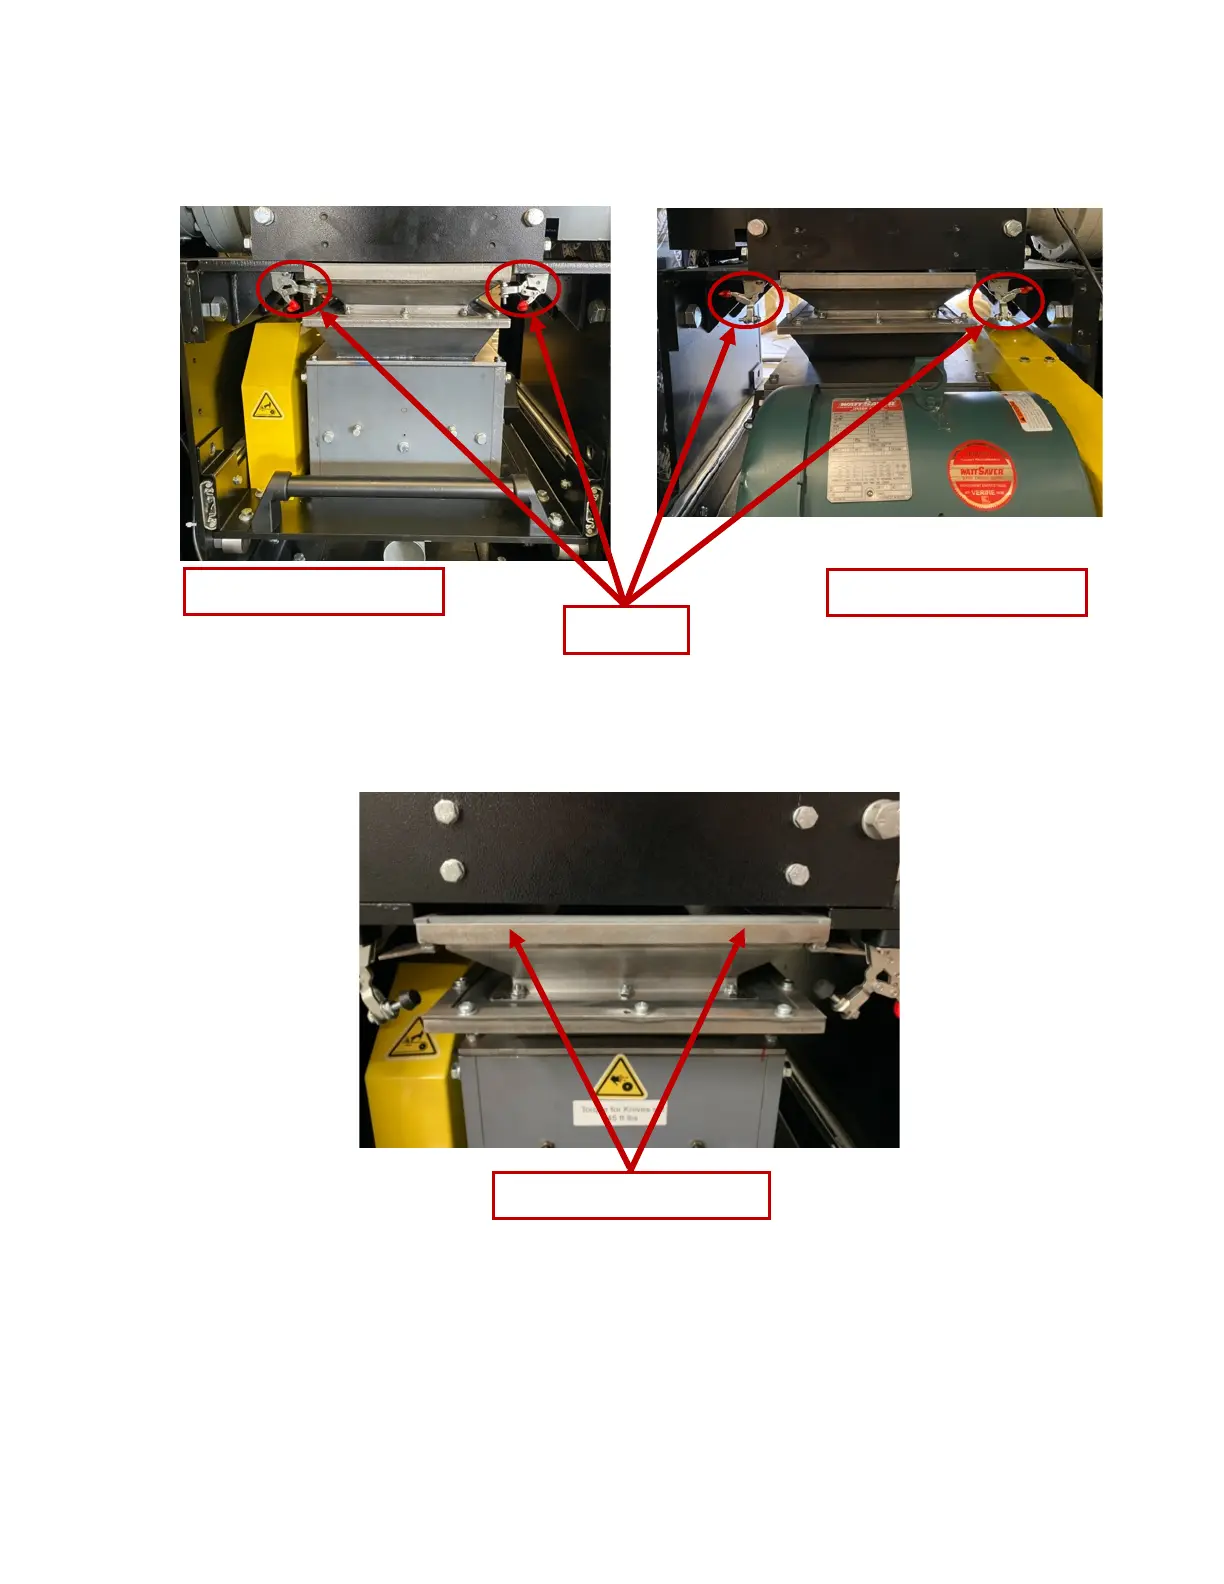
4. Unlatch the four latches holding the mid-hopper adapter to the bottom of Stage 1 (Figure 57. ).
There are two latches in the front and two in the back.
Figure 56. Four latches to unlatch
5. Pull down the mid-hopper adapter (Figure 57) if it doesn’t drop after you release all four latches.
Figure 57. Location of mid hopper adapter
6. Pull cutting chamber drawer all the way out (Figure 58). If you can see the jammed material,
remove it using needle-nose pliers and skip step 7. If you cannot see the jammed material, proceed
to step 7.
7. Using a 7/16” socket wrench, remove the four bolts securing the hopper (Figure 59). Remove
jammed material using needle-nose pliers.