508.366.1488 | www.semshred.com
37
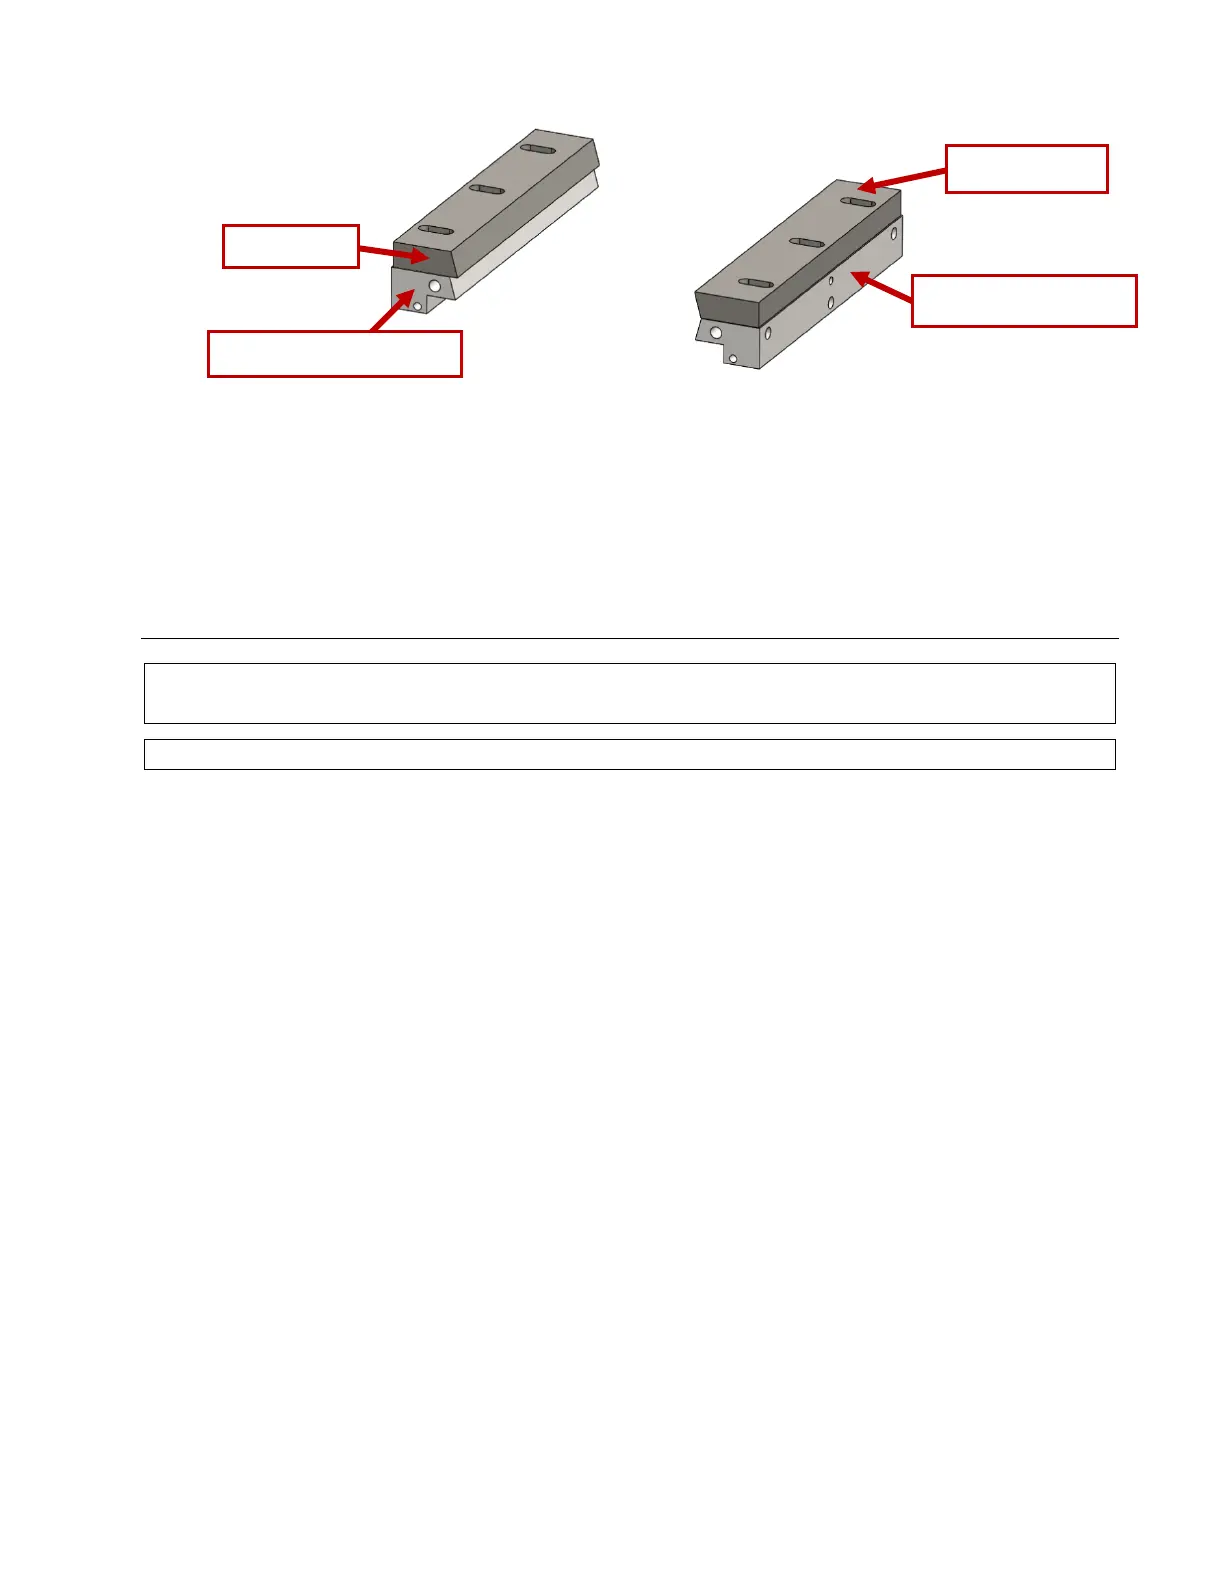
Figure 45. Bed knives and bed knife supports as seen from the drive plate
6. Install each bed knife on its bed knife support (Figure 45) with three 3/8”-16 x 1 1/2" socket head bolts
and six 3/8” hardened washers (Figure 44) and tighten.
7. Repeat steps 4-6 for the second bed knife.
Installing the Rotor Knives
Caution: Always de-energize the unit using proper lockout-tagout (LOTO) procedures when cleaning,
lubricating, or performing any other maintenance, troubleshooting, or repair.
Caution: Always wear proper PPE, including cut resistant gloves, when accessing or handling knives.
Tools and PPE Required:
Cut resistant gloves
7/16”, 1/2” wrench or socket
5/16” Allen wrench
Torque wrench
Note: Wipe all mounting and clamping surfaces so they are free of debris before attaching the knives. This
ensures all knives are correctly aligned and torqued to factory settings.
1. Wearing cut resistant gloves, wipe down the mounting surface areas of the rotor. Attach the knives one
at a time. Place the beveled edge of the knife in the notch of rotor corner (Figure 46). Use three 3/8”-24
x 3/4" socket head bolts for each knife.