Section 5 Geophone Testing Io
SENSOR
62
SMT-200 Operations and Technical Manual 2.00/R1
10. Select 0 to return to the Setup menu.
11. Select 3 to go to the Operating menu.
For general use the autonumber is normally on. Sensor recommends that
distortion is tested at constant excursion and temperature correction is on
data.
12. Select 0 to go back to the Setup menu.
13. Select 4 to select the Tests Sequence menu.
In general the tests which give the most useful information about the string
are those selected ON as shown opposite.
14. Select 0 to return to the Setup menu.
15. Select 0 to go back to the Main menu.
16. Select 3 to go to the Temp. menu.
The setup shown here will work ok for most circumstances. If there is no
geophone connector attached, selecting 4 will result in a message warning
that no Smartec sensor was found.
17. Select 0 to return to the Main menu.
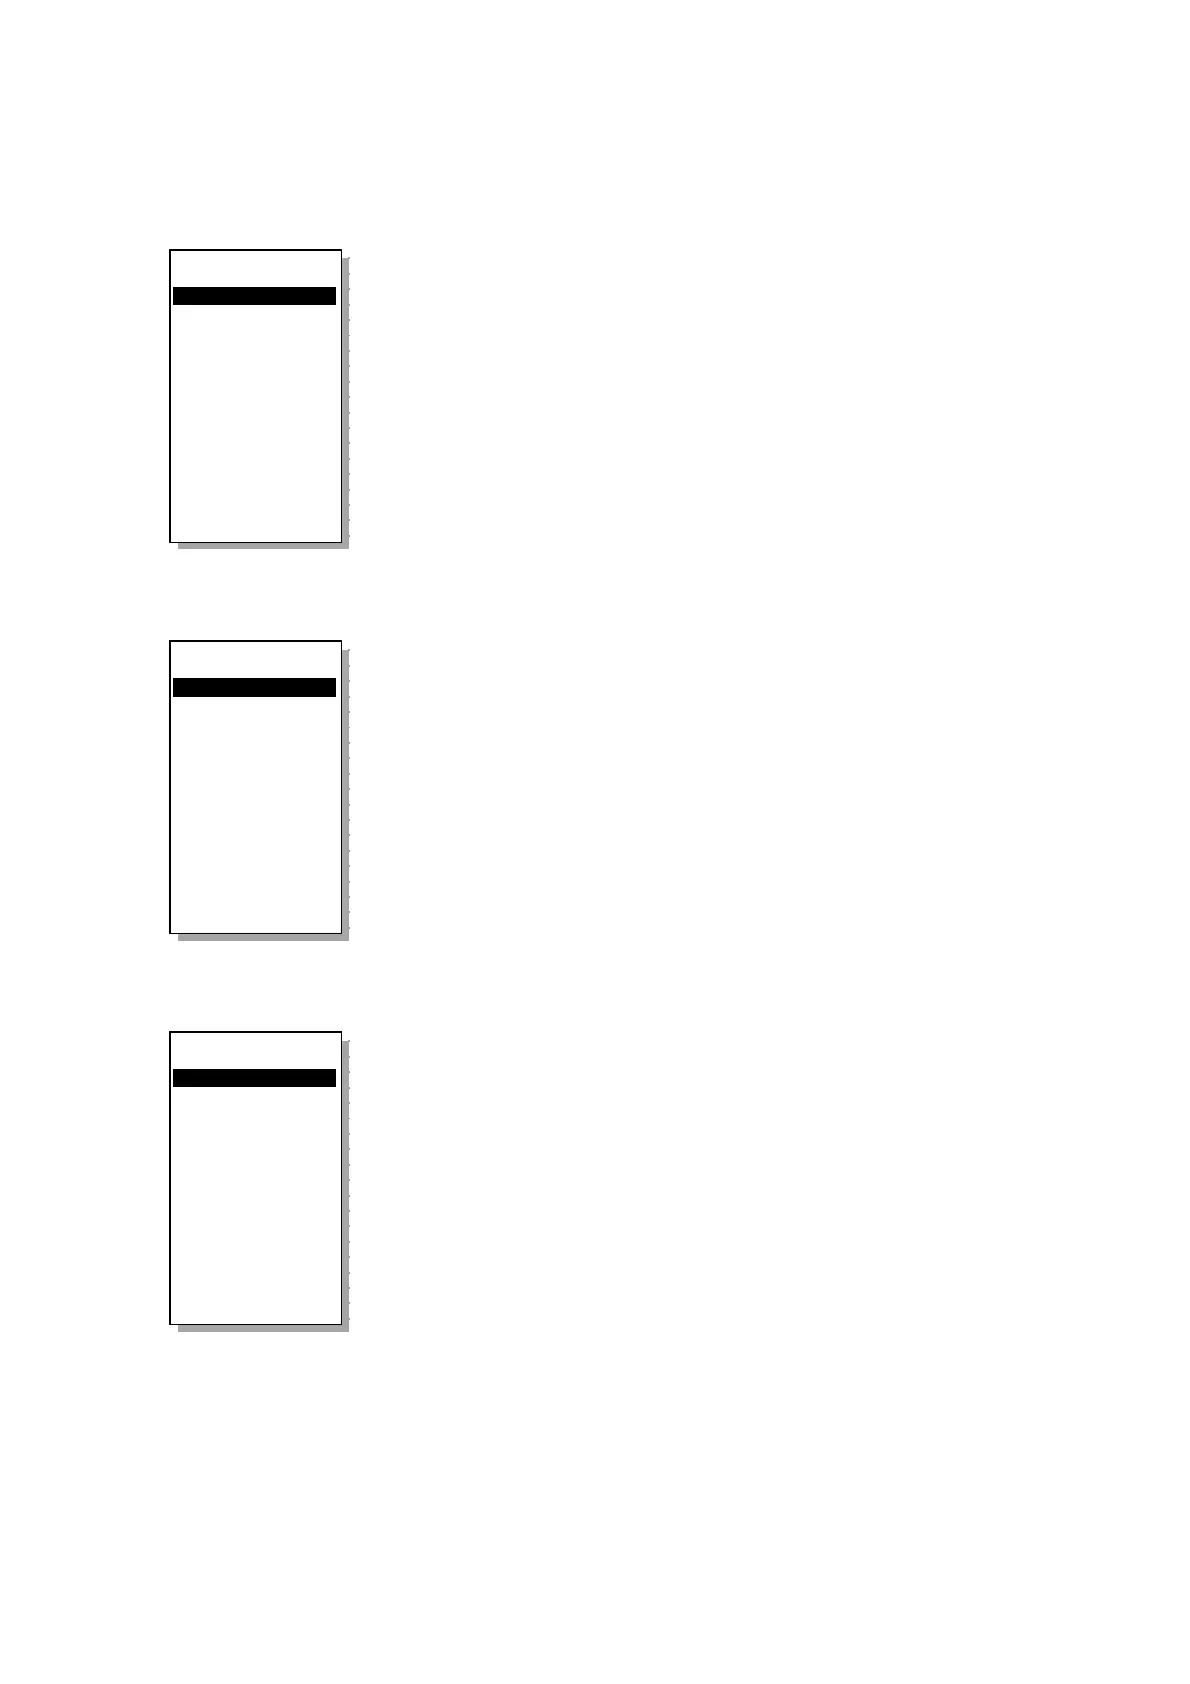
Operating menu
----------------
1>Autonumber ON
2 Save Rej's YES
3 Full Test
4 Cont on reject
5 @Constant Exc.
6 T-Corr on Data
7 Continuous off
8 Interval 5 s
0 Back to Setup
----------------
Enable automatic
test numbering
Tests Sequence
----------------
1>Low Drive off
2 Polarity off
3 Noise off
4 Leakage off
5 Resistance ON
6 Fn, Bo, Go ON
7 Dist, Imp ON
8 Cont Imp off
9 Polarity First
0 Back to Setup
----------------
Select
Low Drive Test
Temperature menu
----------------
1>Temp 20.0 °C
2 Ref. Geo Temp.
3 Smartec ON
4 Smartec Temp.
0 Back to main
----------------
Enter / display
string temp.