9
© Setra Systems, Inc. All Rights Reserved. The Setra Systems name and logo are registered trademarks of Setra Systems, Inc.
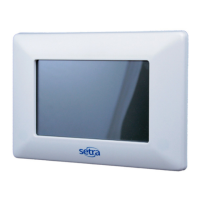
2.3 Unboxing the unit
Setra FLEX comes packaged with pink security tape
holding the display and base unit together for handling
and wiring. Keep this tape in place until the unit is ready to
be mounted in the wall.
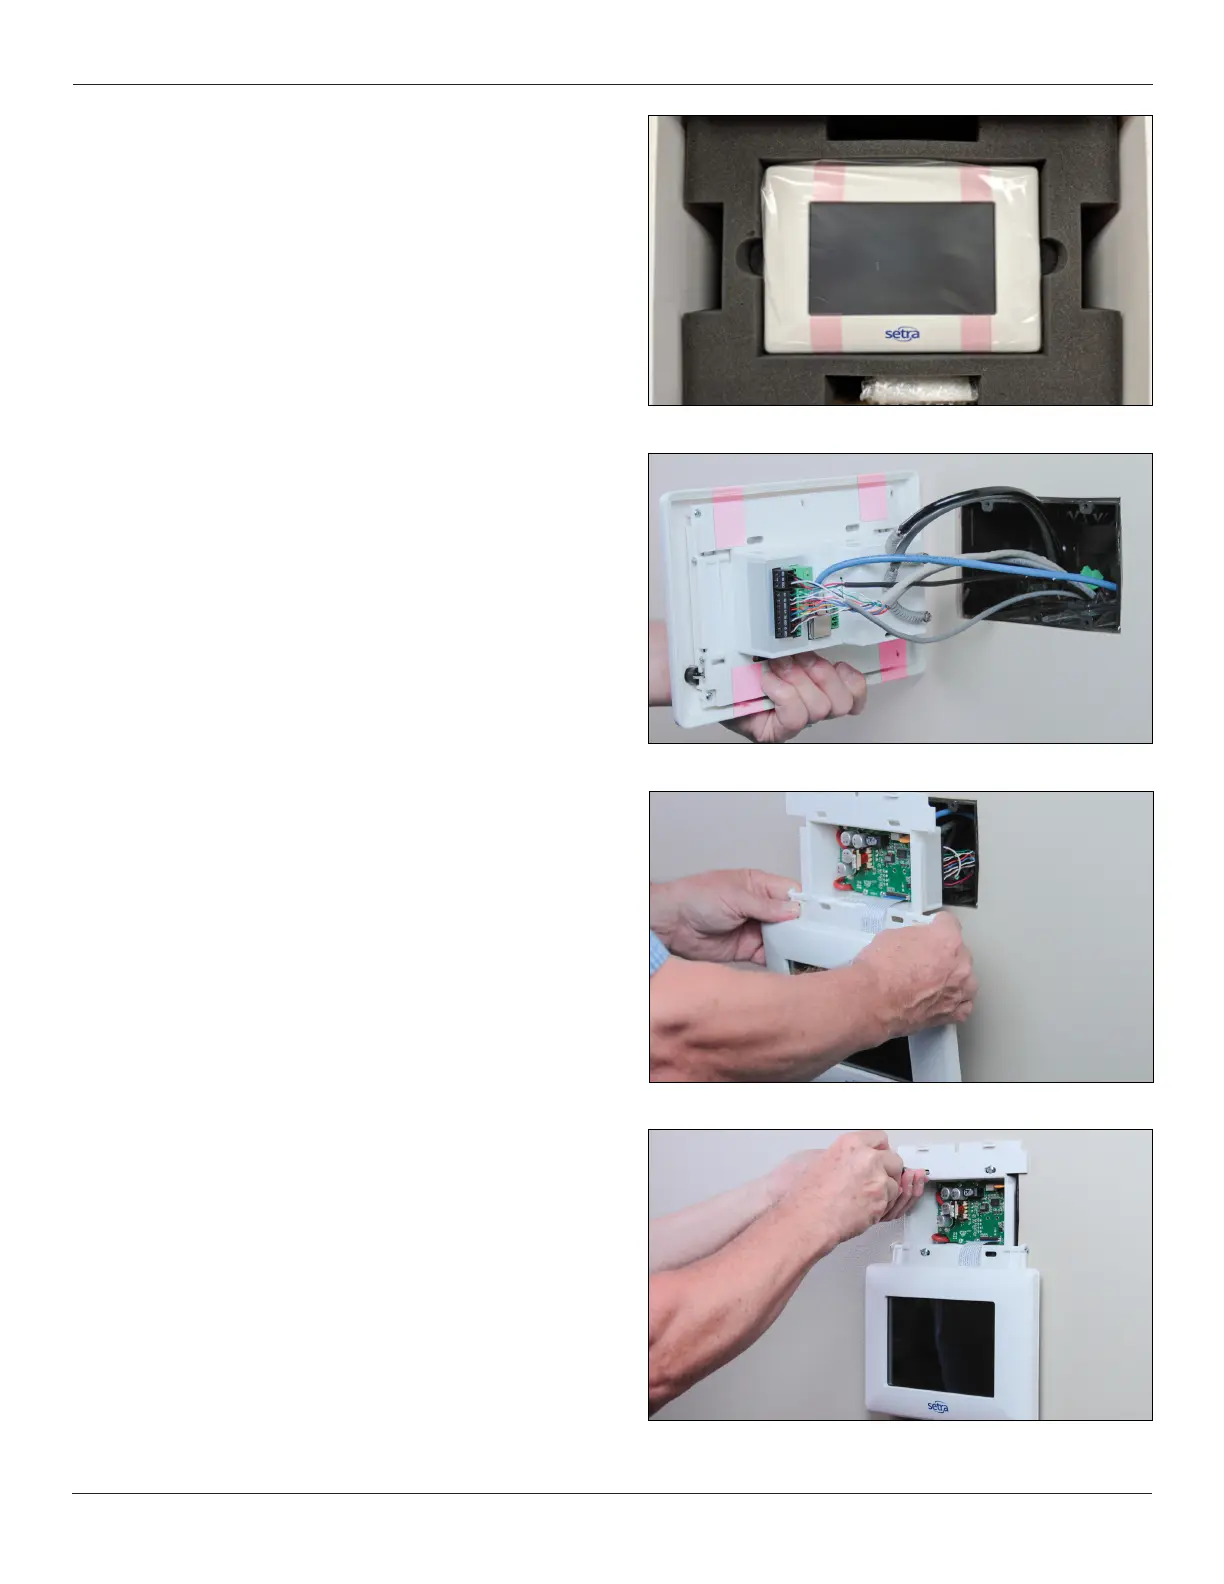
With the pink security tape still in place, hold the unit to
the rough-in mounting box and make nal wiring and
plumbing connections.
Now remove the pink security tape, and let the display
hang below the base unit. With the nal connections in
place, push the FLEX unit into the rough-in box, taking care
not to crimp tubing or damage wires.
Rough-in Installation
Secure the FLEX base unit into the electrical box with the
four (4) mounting screws provided. Allow the FLEX display
to hang below the mounting box, taking care so that the
display does not get damaged by tools.