17
ALIGNING THE PRINT HEADS
5
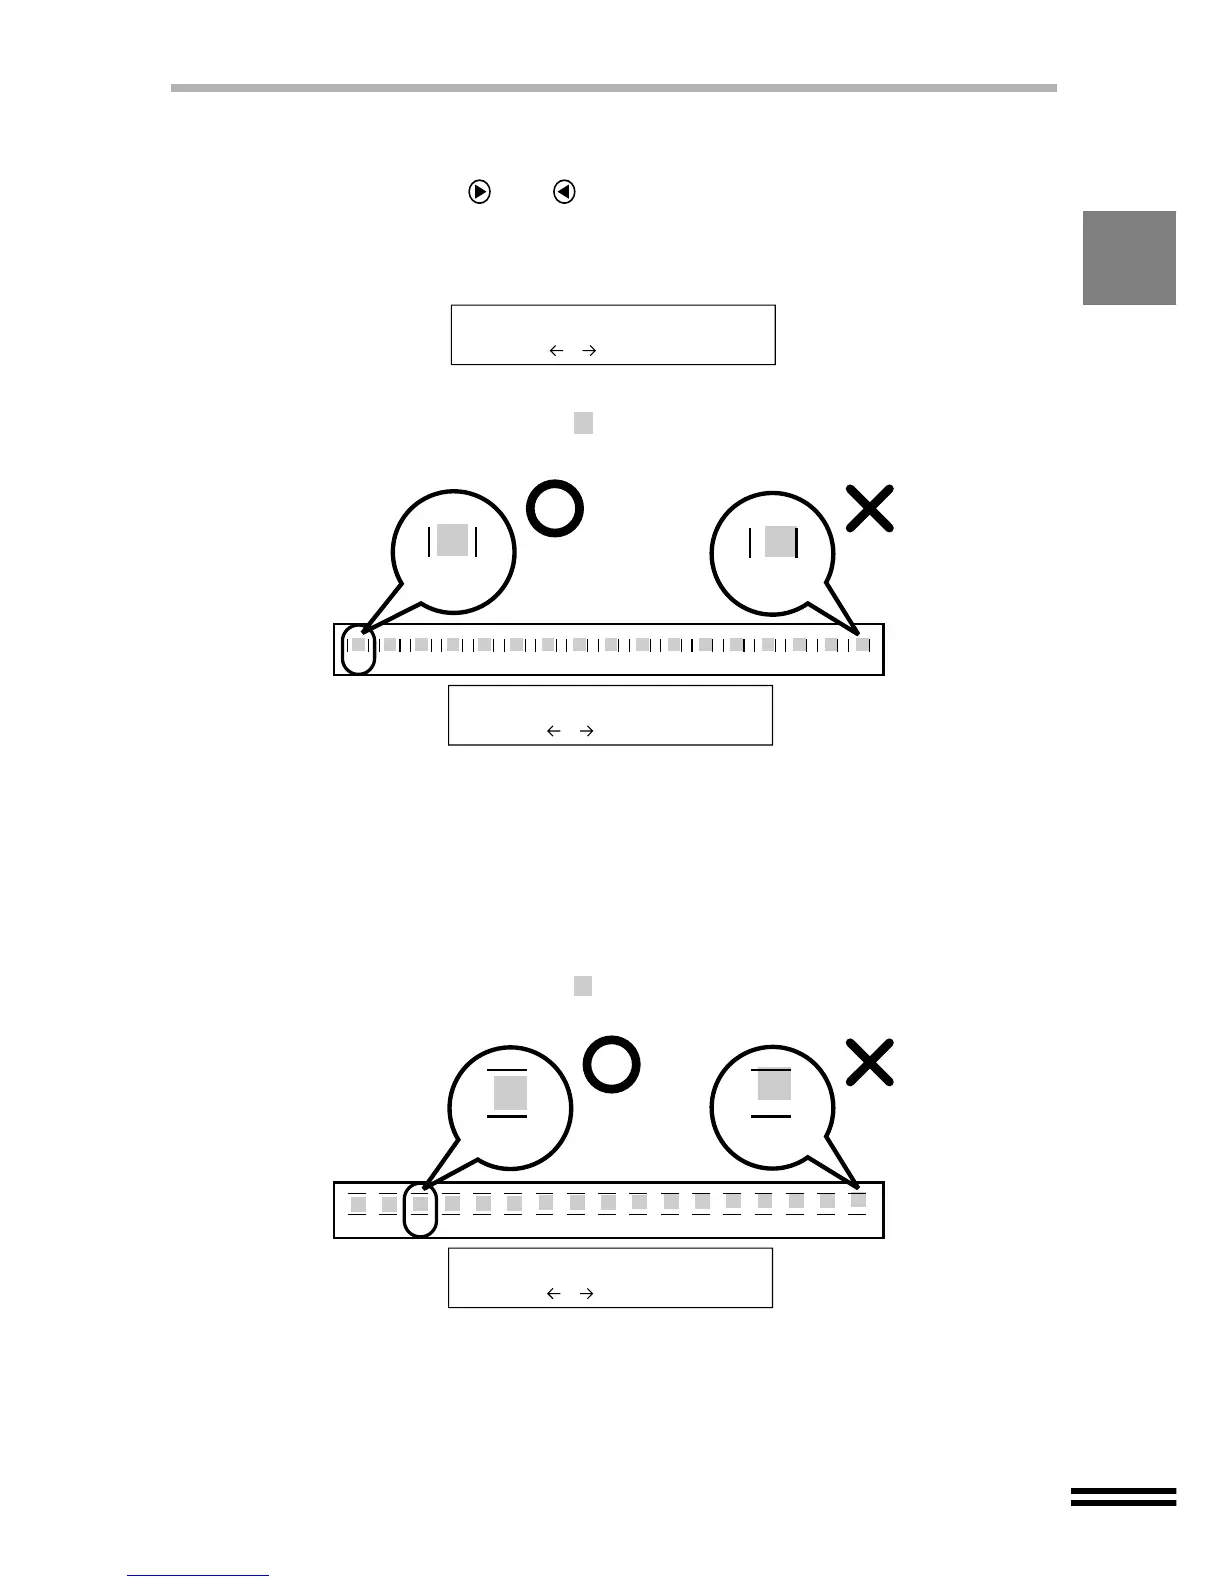
After aligning the print heads, the message shown below (A
pattern) will appear in the display panel. Referring to the test chart
results, use the (or ) "ARROW" button to display the best
value (select from -8 to +8) on the second line of the display panel.
Now press the "ENTER" button.
6
Specify the best value for "B Pattern" setting in the same manner.
(select from -8 to +8)
Select A pattern
0 - +
-8 -7 -6 -5 -4 -3 -2 -1 0 +1 +2 +3 +4 +5 +6 +7 +8
-8
+8
Example
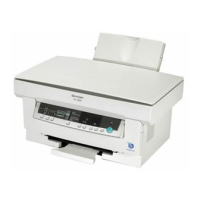
Look at the chart A on your test chart. Select the number under
the pattern sample, in which is located the closest to the centre
of the two vertically parallel lines.
In the example shown above, "-8" shows the most appropriate
chart. Therefore, select "-8" to show on the display panel, and
then press the ENTER button.
Select A pattern
-8 - +
Example
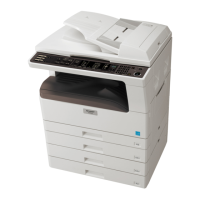
Look at the chart B on your test chart. Select the number under
the pattern sample, in which is located the closest to the centre
of the two horizontally parallel lines.
Select B pattern
-6 - +
-8 -7 -6 -5 -4 -3 -2 -1 0 +1 +2 +3 +4 +5 +6 +7 +8
-6 +8
In the example shown above, "-6" shows the most appropriate
chart. Therefore, select "-6" to show on the display panel, and
then press the ENTER button.