MX-M753N MX-FN15/FN16 5 – 4
C. Check the packed items
1) Check that all the items are included in the package.
2. Installation
<Note before installation>
* Before starting installation, check to insure that the data lamp on
the operation panel does not light up or blink.
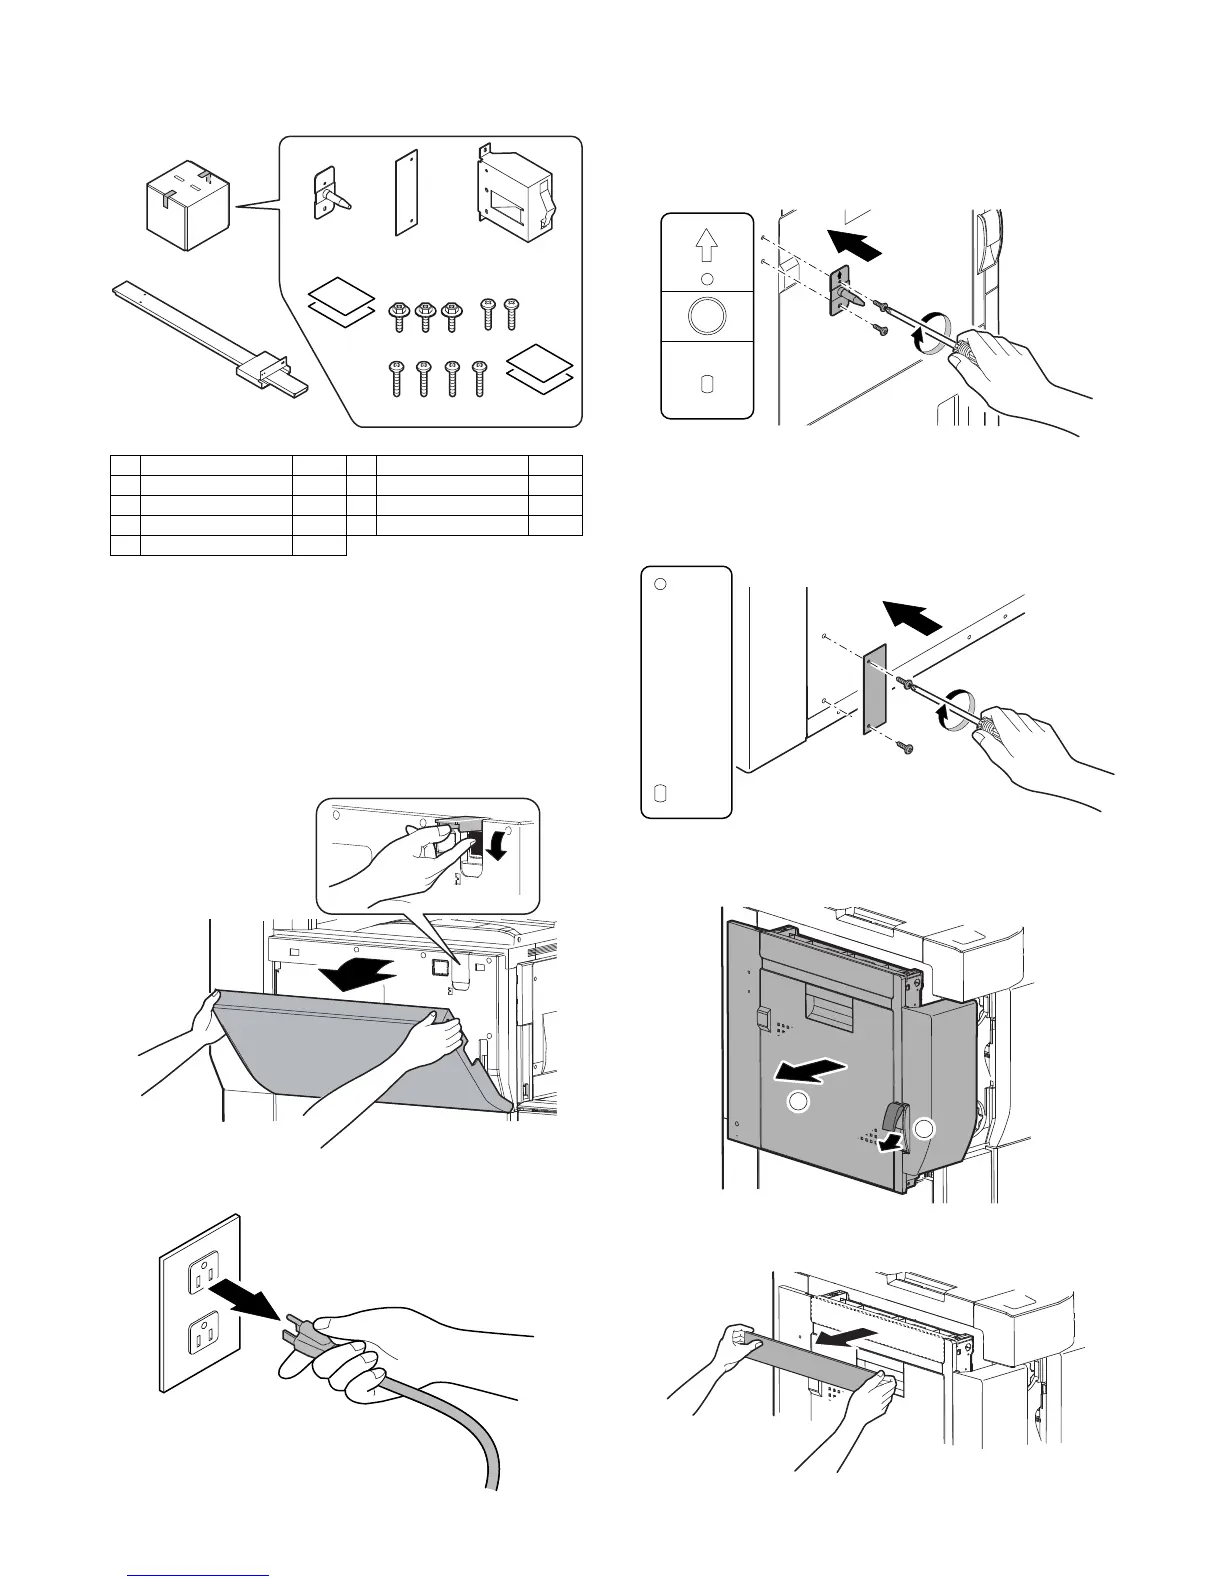
A. Turn off the power of the main unit
1) Turn OFF the power switch on the operation panel.
2) Open the front cabinet.
Turn OFF the power switch in the front cabinet of the main unit.
3) Disconnect the power plug of the main unit from the power out-
let.
B. Attach the positioning pin and the earth plate
to the main unit
1) Attach the positioning pin with two fixing screws I to the left
upper section of the main unit. Be careful to the attachment
direction of the positioning pin.
2) Attach the earth plate with the fixing screws H (2 pcs.) to the
left lower section of the main unit.
In this case, attach so that the R mark on the earth plate faces
up.
3) Pull out the lock release lever on the left side of the main unit,
and open the left door.
4) Remove the paper exit cover on the upper side of the left door.
5) Close the left door.
1 Positioning pin 1 pc. 6 Screw G (M4 x 8) 3 pcs.
2 Earth plate 1 pc. 7 Screw H (M4 x 14) 2 pcs.
3 Earth mounting plate 1 pc. 8 Screw I (M4 x 18) 4 pcs.
4 Rail mounting plate 1 pc. 9 Punch position label 2pcs.
5 Staple label 2 pcs.
 Loading...


