MX-M753N MX-PN10 8 – 1
MX-M753N
Service Manual
[8] MX-PN10
1. Unpacking
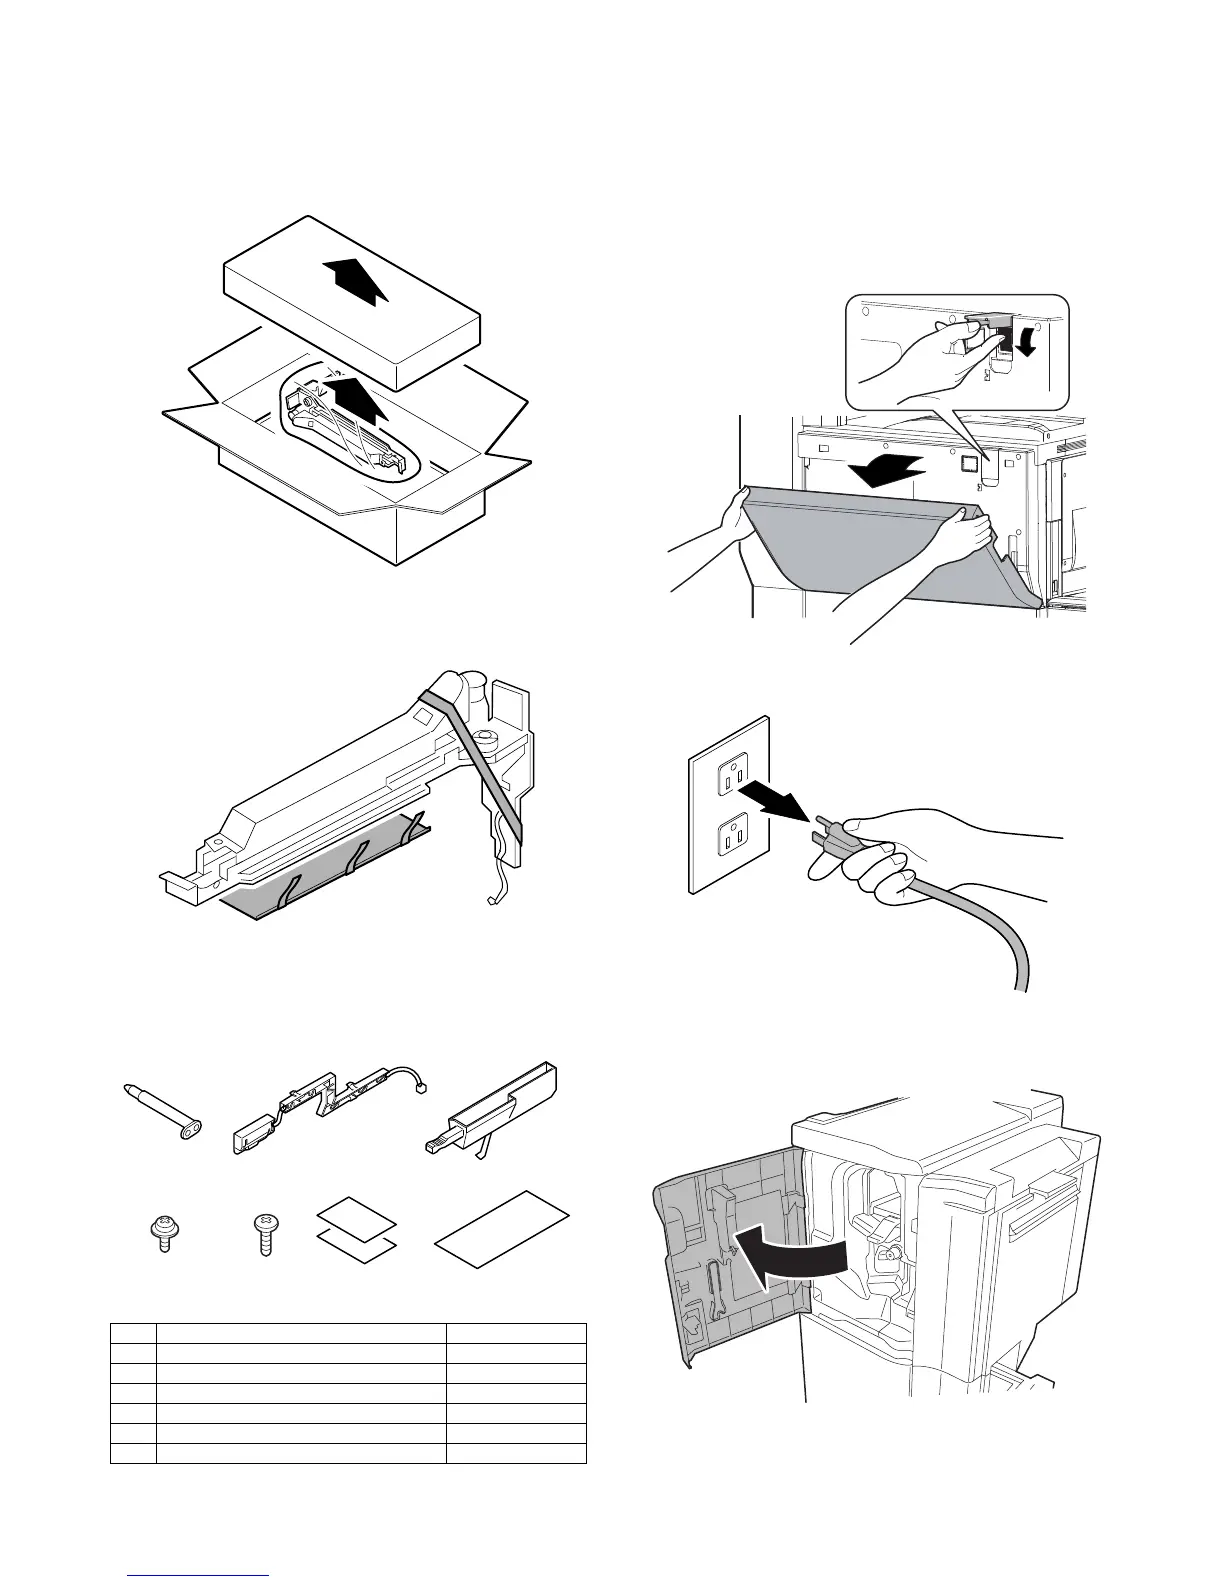
A. Removal of the interface punch unit
B. Removal of the tape and fixing member
1) Remove the tape and fixing member.
C. Check the packed items
1) Check that all the items are included in the package.
NOTE: Be sure to use the punch label bundled with the finisher.,
and never use the punch label bundled with the punch unit.
2. Installation
<Note before installation>
* Before starting installation, check to insure that the data lamp on
the operation panel is not on or blinking.
A. Turn off the power of the main unit
1) Turn OFF the power switch on the operation panel.
2) Open the front cabinet.
Turn OFF the power switch in the front cabinet of the main unit.
3) Disconnect the power plug of the main unit from the power out-
let.
B. Removal of the external outfit
1) Open the front cover upper of the finisher.
1 Fixing pin 1 pc.
2 Punch dust sensor unit 1 pc.
3 Dust box 1 pc.
4 Screw A 1 pc.
5 Screw B 1 pc.
6 Punch position label 2 pc.
7 Punch jam process guidance label 1 pc.
 Loading...


