MX-M753N MX-M623N/M623U/M753N/M753U 1 – 5
4. Installation
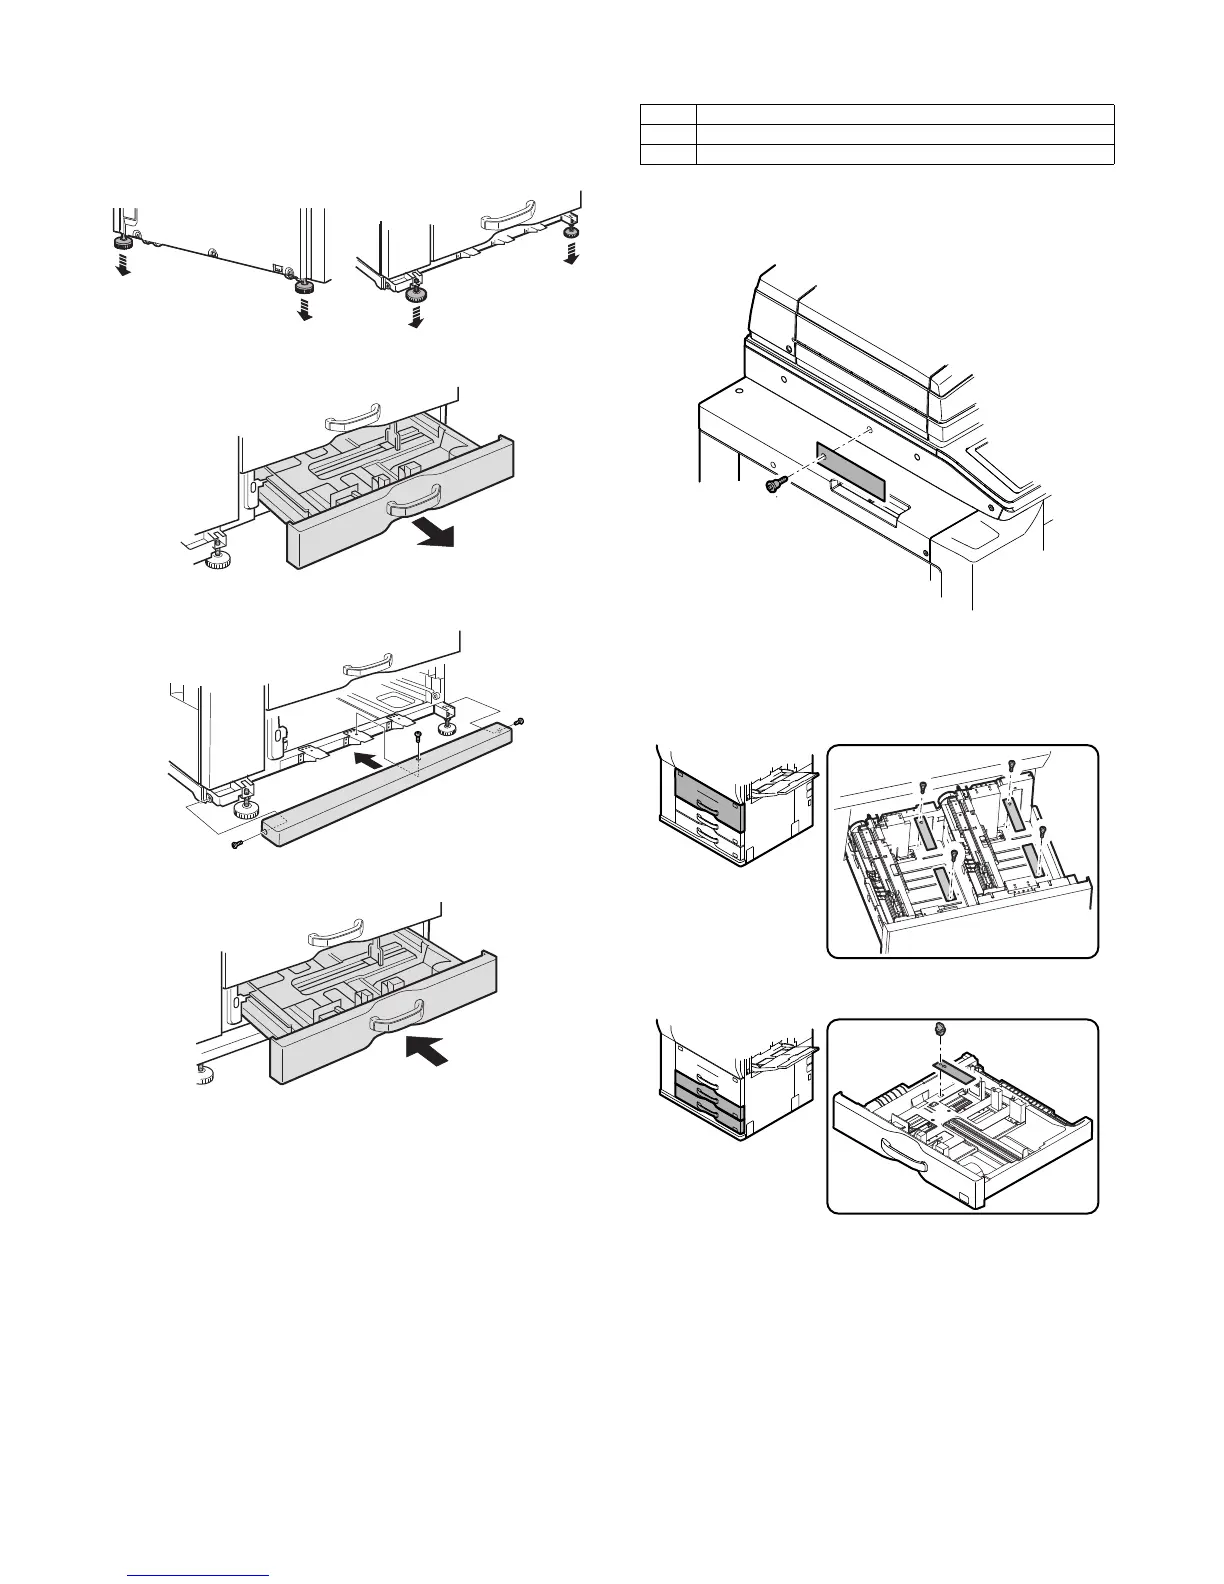
A. Adjuster cover installation
1) Move the main unit to the installing position, and turn the
adjuster to fix the main unit.
2) Remove the bottom tray from the main unit.
3) Install the adjuster cover to the main unit.
4) Insert the bottom tray into the main unit.
B. Lock release
(1) No. 2/3 mirror base lock release
Remove the No. 2/3 mirror base fixing screw and the label of note
for unpacking on the left side.
(2) Tray rotation release plate lock release
Remove the paper feed tray rotation plate fixing screw and the
label of note for tray.
[Tray 1, Tray 2]
[Tray 3, Tray 4]
Lock position
1 No. 2/3 mirror base lock screw
2 Tray rotation plate fixing material
 Loading...


