MX-M753N MX-LCX3N 3 – 1
MX-M753N
Service Manual
[3] MX-LCX3N
1. Unpacking
(Removal of the main unit)
2. Installation
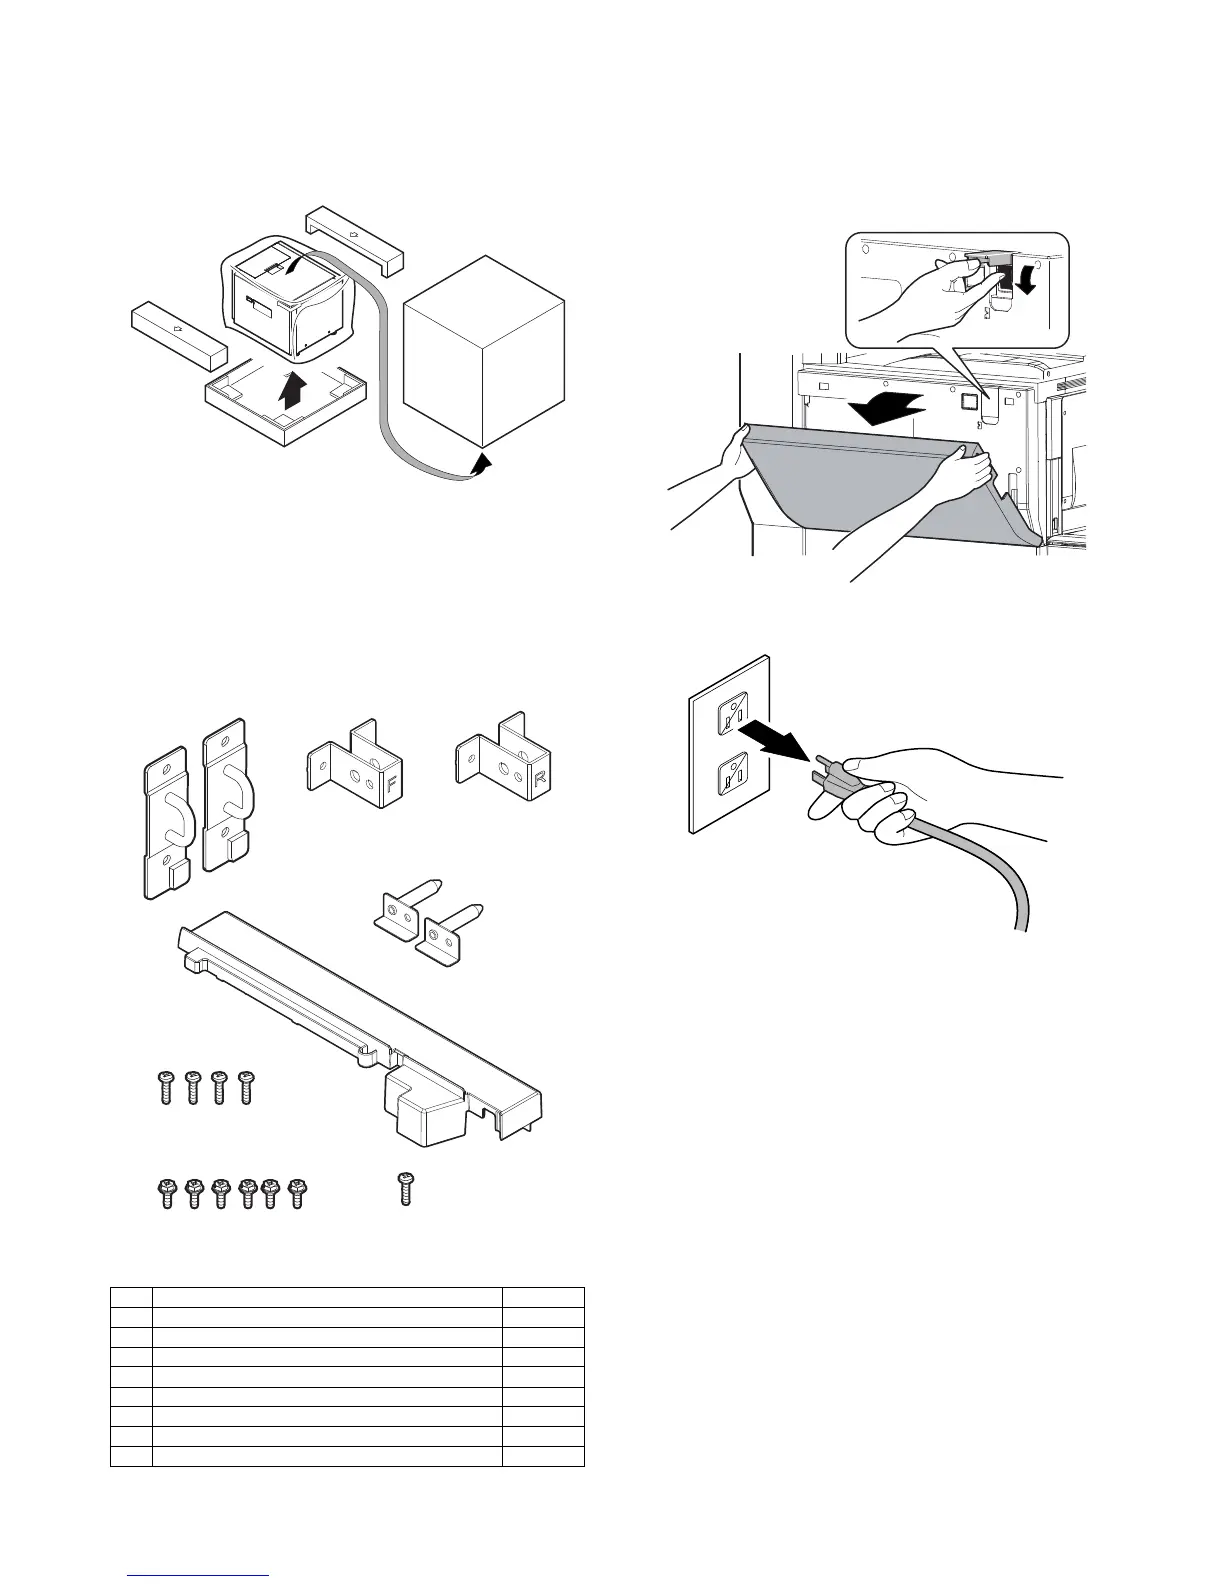
<Before installation>
• Packaged parts check
Check to insure that all the following parts are packaged.
• Check that the printer is in stand-by state.
Check that the DATA indicator on the operation panel is neither lit
nor blinking.
Parts included
A. Turn off the power of the main unit
1) Turn OFF the power switch on the operation panel.
2) Open the front cabinet.
Turn OFF the power switch in the front cabinet of the main unit.
3) Disconnect the power plug of the main unit from the power out-
let.
No. Names of packed items Quantity
1 Upper mounting plate 2
2 Lower front connecting plate 1
3 Lower rear connecting plate 1
4 Positioning plate 2
5 Left front cabinet 1
6 Fixing screw A (M4 x 18 S tight bind) 4
7 Fixing screw B (Hex washer S tight M4 x 12) 6
8 Fixing screw C (M4 x 8 S tight bind) 1
1
23
4
5
8
6
7
 Loading...


