MX-M753N MX-PN10 8 – 2
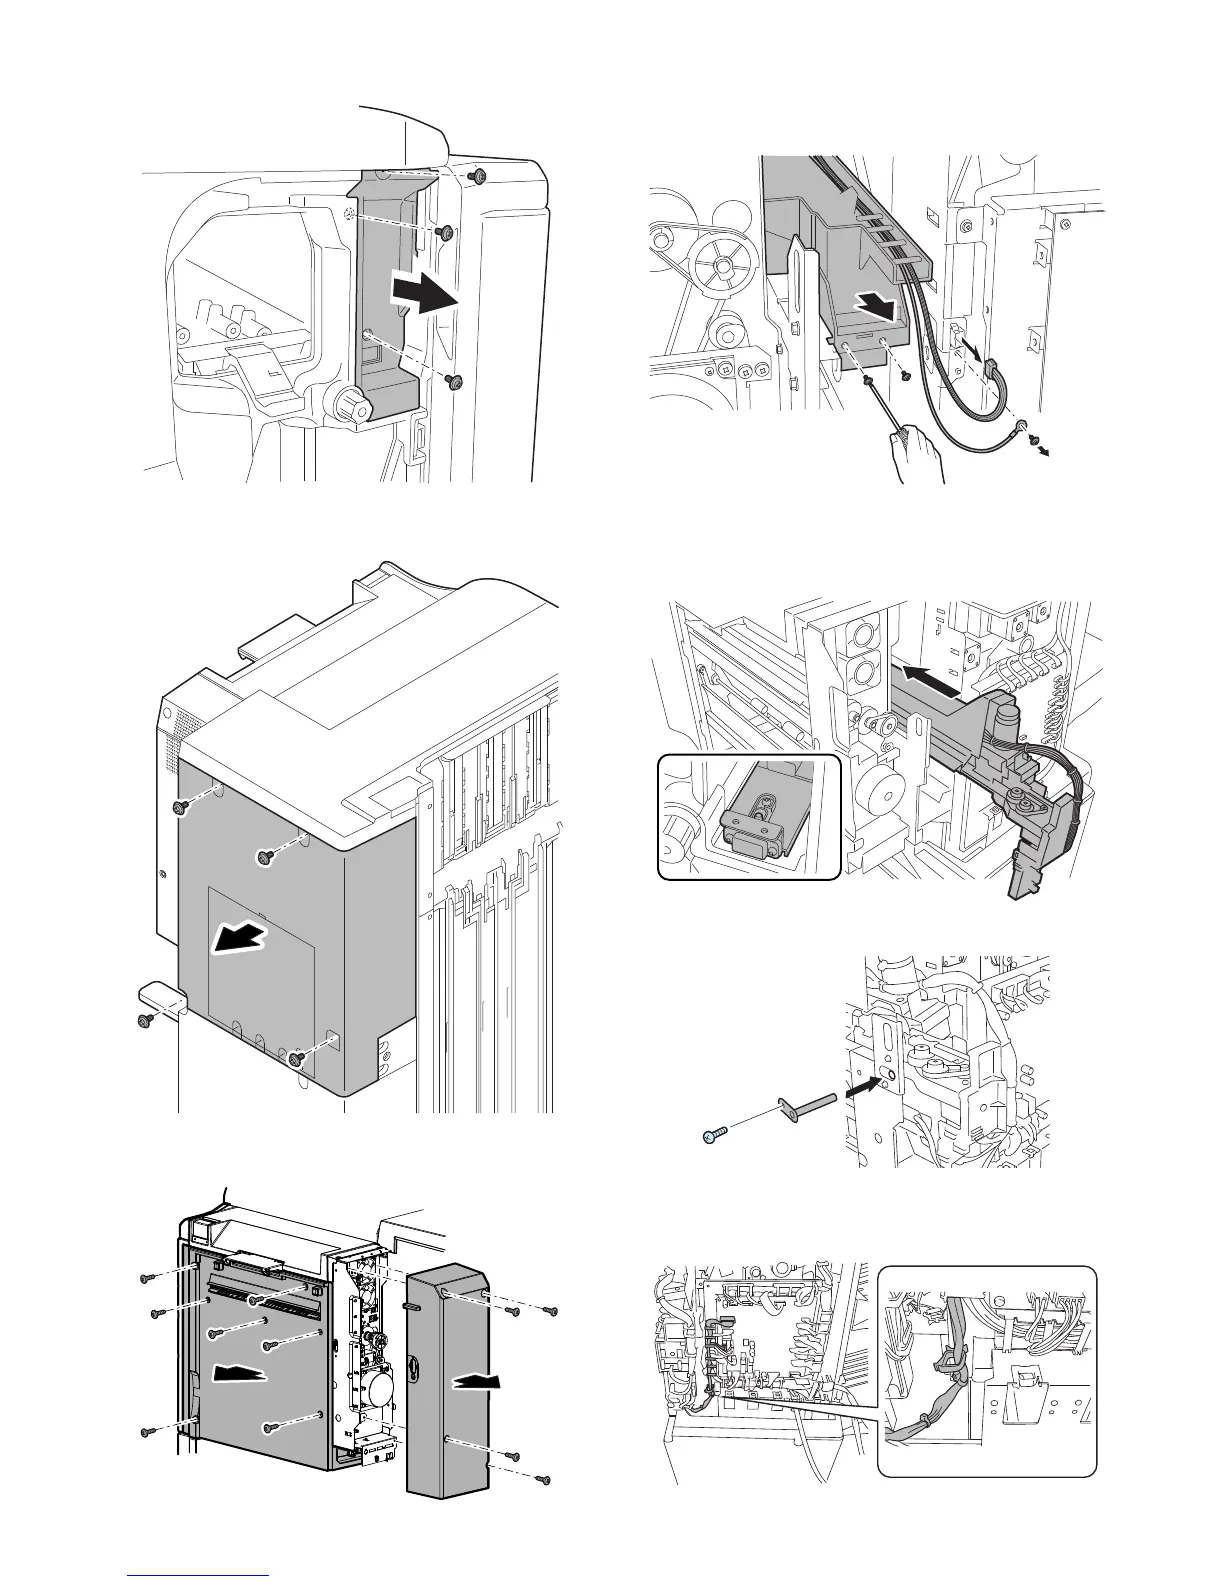
2) Remove the three screws, and remove the punch cover.
3) Remove the four screws, and remove the rear cover of the fin-
isher.
4) Remove the screw, and remove the rear cover and the right
cover of the finisher interface section.
C. Removal of the dummy unit
1) Remove the screw, and remove the earth wire and the connec-
tor. Remove the screw, and remove the dummy unit.
D. Installation of the punch unit
1) Install the punch unit according to the positioning pin of the fin-
isher rear side.
2) Insert the fixing pin, and fix it with the screw B.
3) Pass the harness through the harness guide of the finisher,
and fix the snap band. Connect the connecter to the finisher
control PWB.
 Loading...


