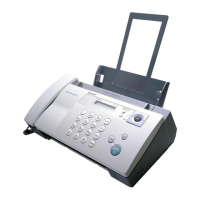
UX-B20U/UX-B20C/B25C
1 – 8
15)Press the number keys to enter the number of the straightest line.
Example:
• If you make a mistake, press and then repeat the entry.
16)Press .
• This completes the alignment procedure.
8. Setting the paper size
The machine has been set at the factory to scale received faxes to let-
ter size paper. If you loaded legal paper, you must change the paper
size setting to LEGAL.
9. Quality mode (using more/less ink)
If you prefer a higher quality image when printing faxes and copies,
turn on Quality mode. If you wish to use less ink or speed up ink drying
time, turn off Quality mode.
• Quality mode is initially turned on.
10. High-quality fax print setting (fast/slow printing
of faxes)
The high-quality fax print setting controls the speed at which faxes are
printed. If you prefer a higher quality image at a slower printing speed,
turn on this setting. If you prefer a faster printing speed over image
quality, turn off the setting.
Note: This setting only affects the printing speed. It does not affect the
amount of ink used.
• The high-quality fax print setting is initially turned off.
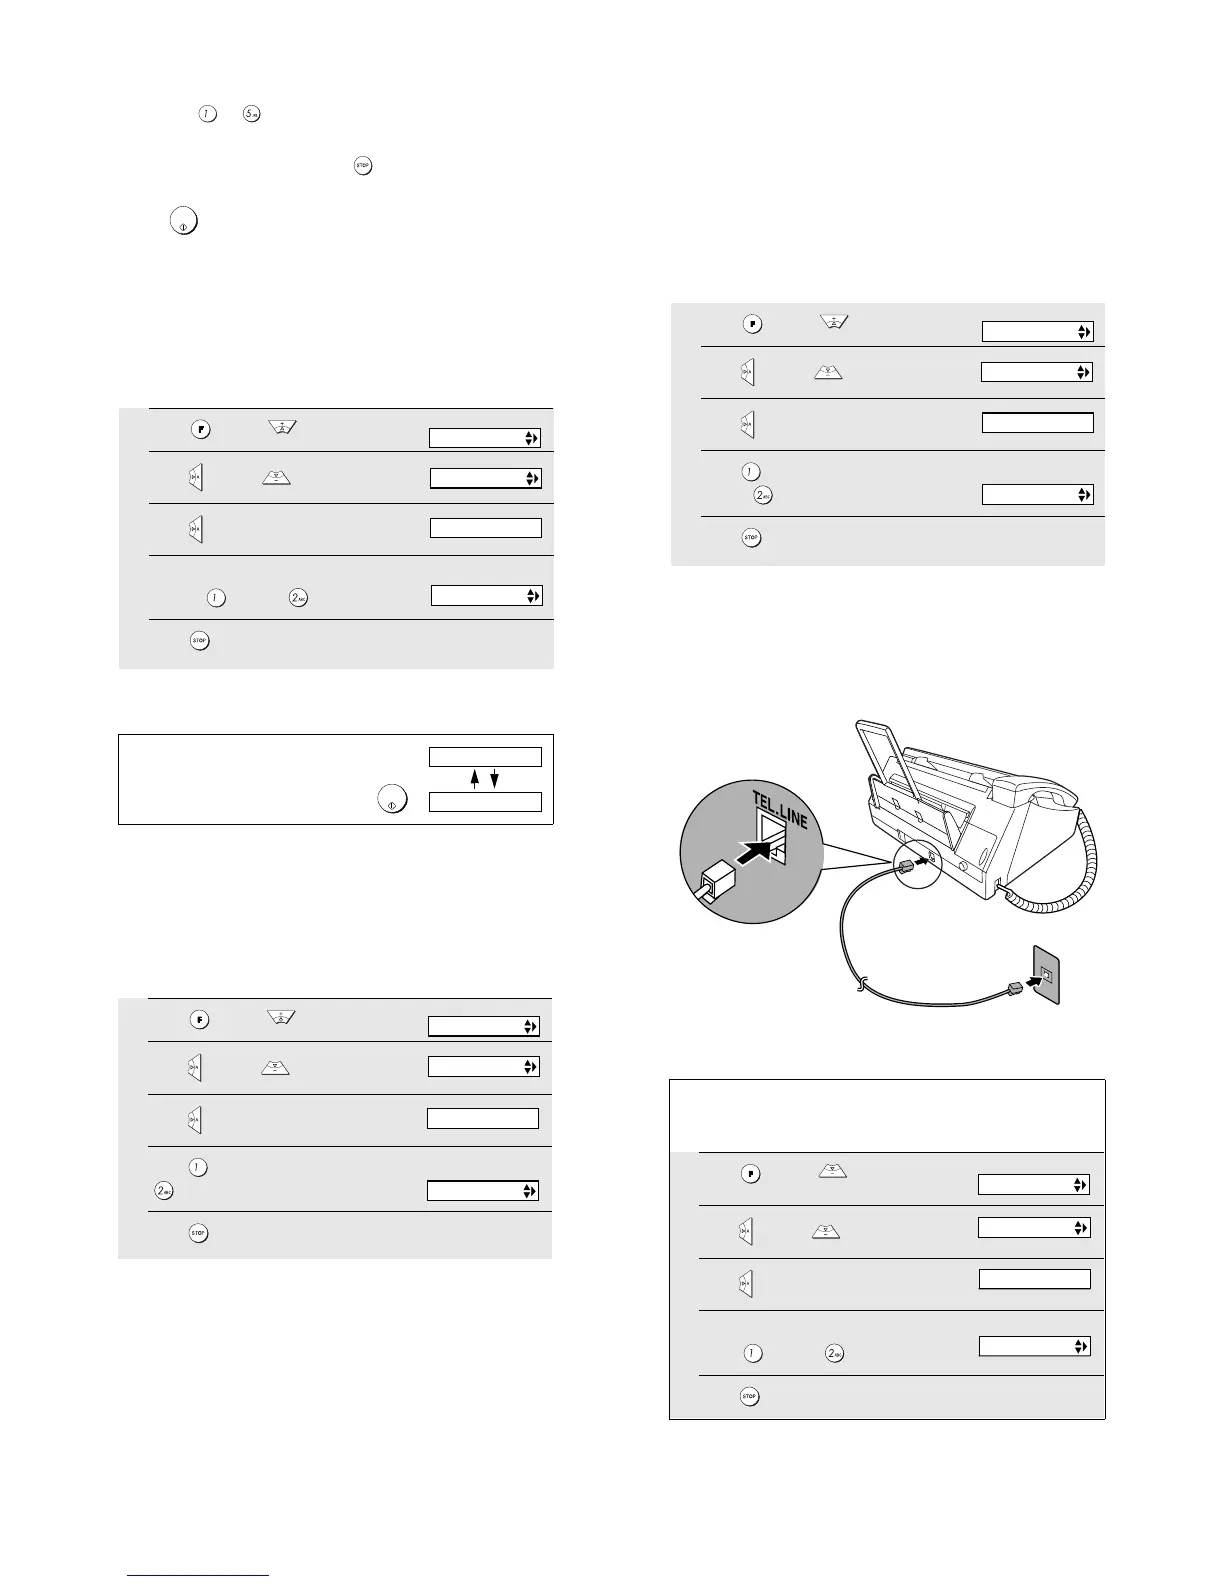
11. Connecting the telephone line cord
Insert one end of the line cord into the jack on the back of the machine
marked TEL. LINE. Insert the other end into a standard (RJ11C) sin-
gle-line wall telephone jack.
START/
MEMORY
1
Press once and twice.
2
Press once and once.
3
Press once.
4
Select the paper size:
LETTER: LEGAL:
5
Press to return to the date and time display.
The display briefly shows
your selection, then:
PAPER SIZE SET
COPY CUT-OFF
1=LETTER,2=LEGAL
Display:
PRINT SET-UP
Note: If at any time the display shows the alternating
messages at right, check the printing paper. If the tray is
empty, add paper. If there is paper in the tray, take it out
and then reinsert it. When you are finished, press
.
START/
MEMORY
ADD PAPER &
PRESS START KEY
1
Press once and twice.
2
Press once and 3 times.
3
Press once.
4
Press to turn on Quality mode, or
toturnitoff.
5
Press to return to the date and time display.
HQ FA X PRINT
The display briefly shows
your selection, then:
QUALITY MODE
1=YES, 2=NO
Display:
PRINT SET-UP
1
Press once and twice.
2
Press once and 4 times.
3
Press once.
4
Press to turn on high-quality fax
print, or to turn it off.
5
Press to return to the date and time display.
HQ COPY
The display briefly shows
your selection, then:
1=YES, 2=NO
HQ FAX PRINT
Display:
PRINT SET-UP
Setting the dial mode
The fax machine is set for tone dialing. If you are on a pulse dial line, you must
set the fax machine for pulse dialing. Press the panel keys as follows:
1
Press once and 3 times.
2
Press once and 3 times.
3
Press once.
4
Select the dial mode:
TONE: PULSE:
5
Press to exit.
Display:
The display briefly shows
your selection, then:
OPTION SETTING
DIAL MODE
DISTINCTIVE
1=TONE, 2=PULSE