Shure Incorporated
19/42
1.
2.
3.
1.
2.
3.
4.
5.
1.
2.
3.
4.
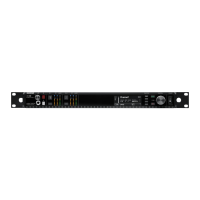
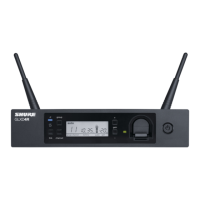
Radio Frequency (RF) Settings
Setting the RF Tuning Band
The receiver offers selectable tuning bands to maximize the use of locally available spectrum.
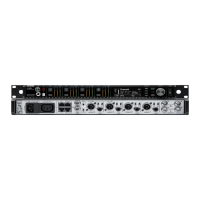
From the Device Configuration menu: Device RF > RF Band
Press the control wheel to enable editing, and then select an RF band.
Press ENTER to save.
Note: After setting the RF band, re-sync any transmitters that are linked to the receiver.
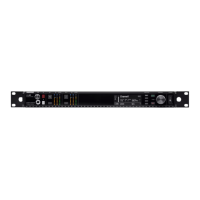
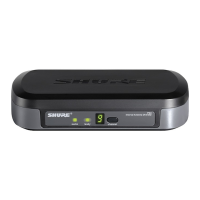
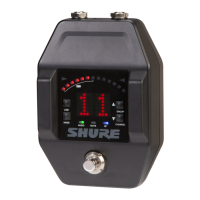
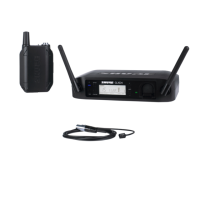
IR Sync
Use IR Sync to form an audio channel between the transmitter and receiver.
Note: The receiver band must match the band of the transmitter.
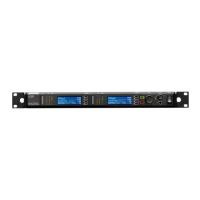
Select a receiver channel.
Tune the channel to an available frequency using group scan.
Power on the transmitter.
Press the SYNC button on the receiver.
Align the IR windows until the receiver IR sync LED illuminates red. When complete, Sync Success! appears. The
transmitter and receiver are now tuned to the same frequency.
Note:
Any change to the encryption status on the receiver such as enabling/ disabling encryption or requesting a new encryption key,
requires a sync to send the settings to the transmitter.
Setting the Frequency Manually
Frequencies can be set manually for each channel if you need to select specific values.
Select a channel and navigate to the Radio menu.
Use the control wheel to select the FREQ (MHz) parameter.
Press the control wheel to enable editing and rotate to change the value.
Press ENTER to save changes.