Shure Incorporated
25/87
Installing the Array Microphone
Before you begin:
• Remove the protective plastic cover from the microphone.
• Verify the ceiling tile size matches the appropriate model variation.
• If using the optional junction box or adapter accessories, install them on the microphone prior to ceiling installa
tion.
Model Variations
Model Ceiling Grid Size Color
MXA910B 2 x 2 ft (60.9 x 60.9 cm) Black
MXA910W 2 x 2 ft (60.9 x 60.9 cm) White
MXA910AL 2 x 2 ft (60.9 x 60.9 cm) Aluminum
MXA910B-60CM 60 x 60 cm (23.6 x 23.6 in) Black
MXA910W-60CM 60 x 60 cm (23.6 x 23.6 in) White
MXA910AL-60CM 60 x 60 cm (23.6 x 23.6 in) Aluminum
Note: See product specifications for array microphone dimensions.
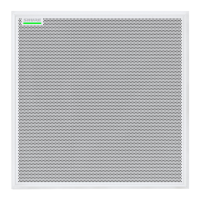
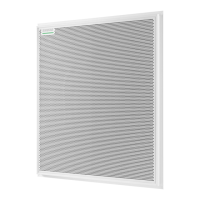
Ceiling Tile Mounting
The array microphone mounts directly in a ceiling tile grid. The microphone is available in 2 sizes, with an optional
adapter kit also available to provide solutions for the most common ceiling tile sizes.
IMPORTANT: Do not install the 60 cm model in a 2 ft (609.6 mm) ceiling grid.
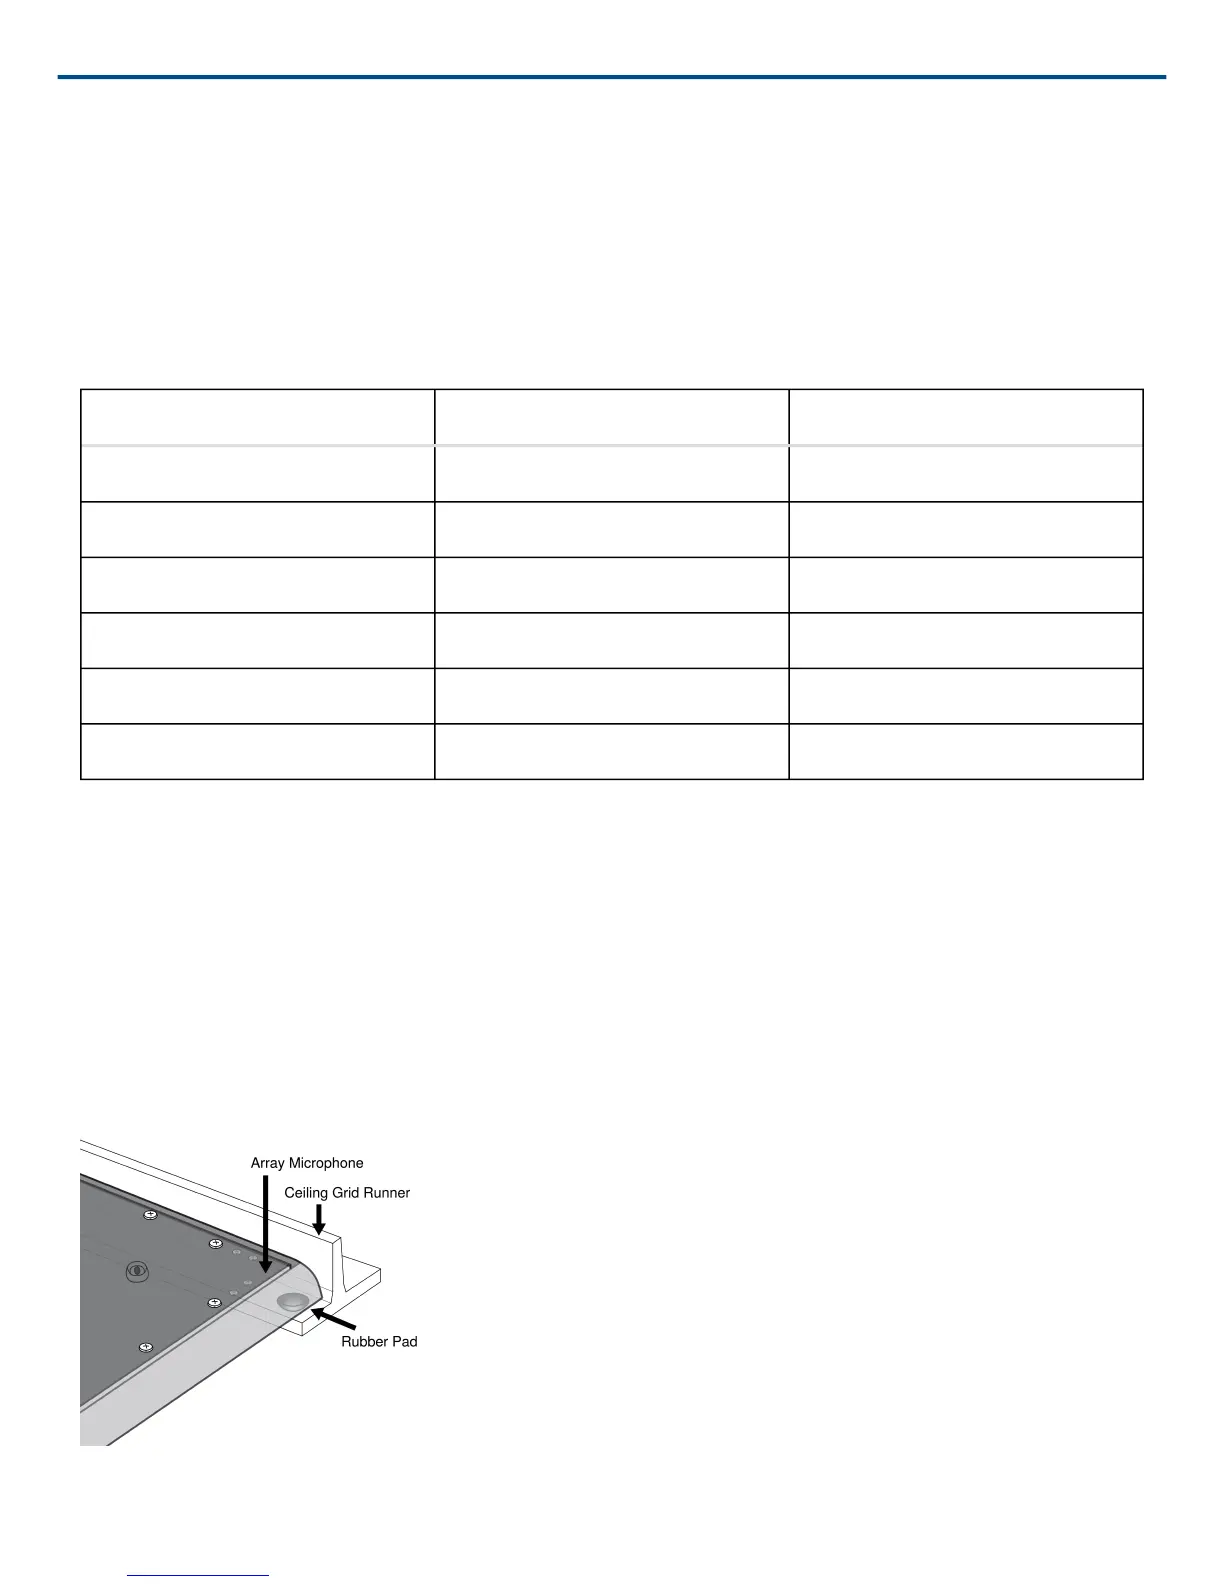
Rubber Scratch Protectors
Optional: Before installing the microphone in the ceiling, attach the included rubber pads on the corners of the mi
crophone to prevent scratching.