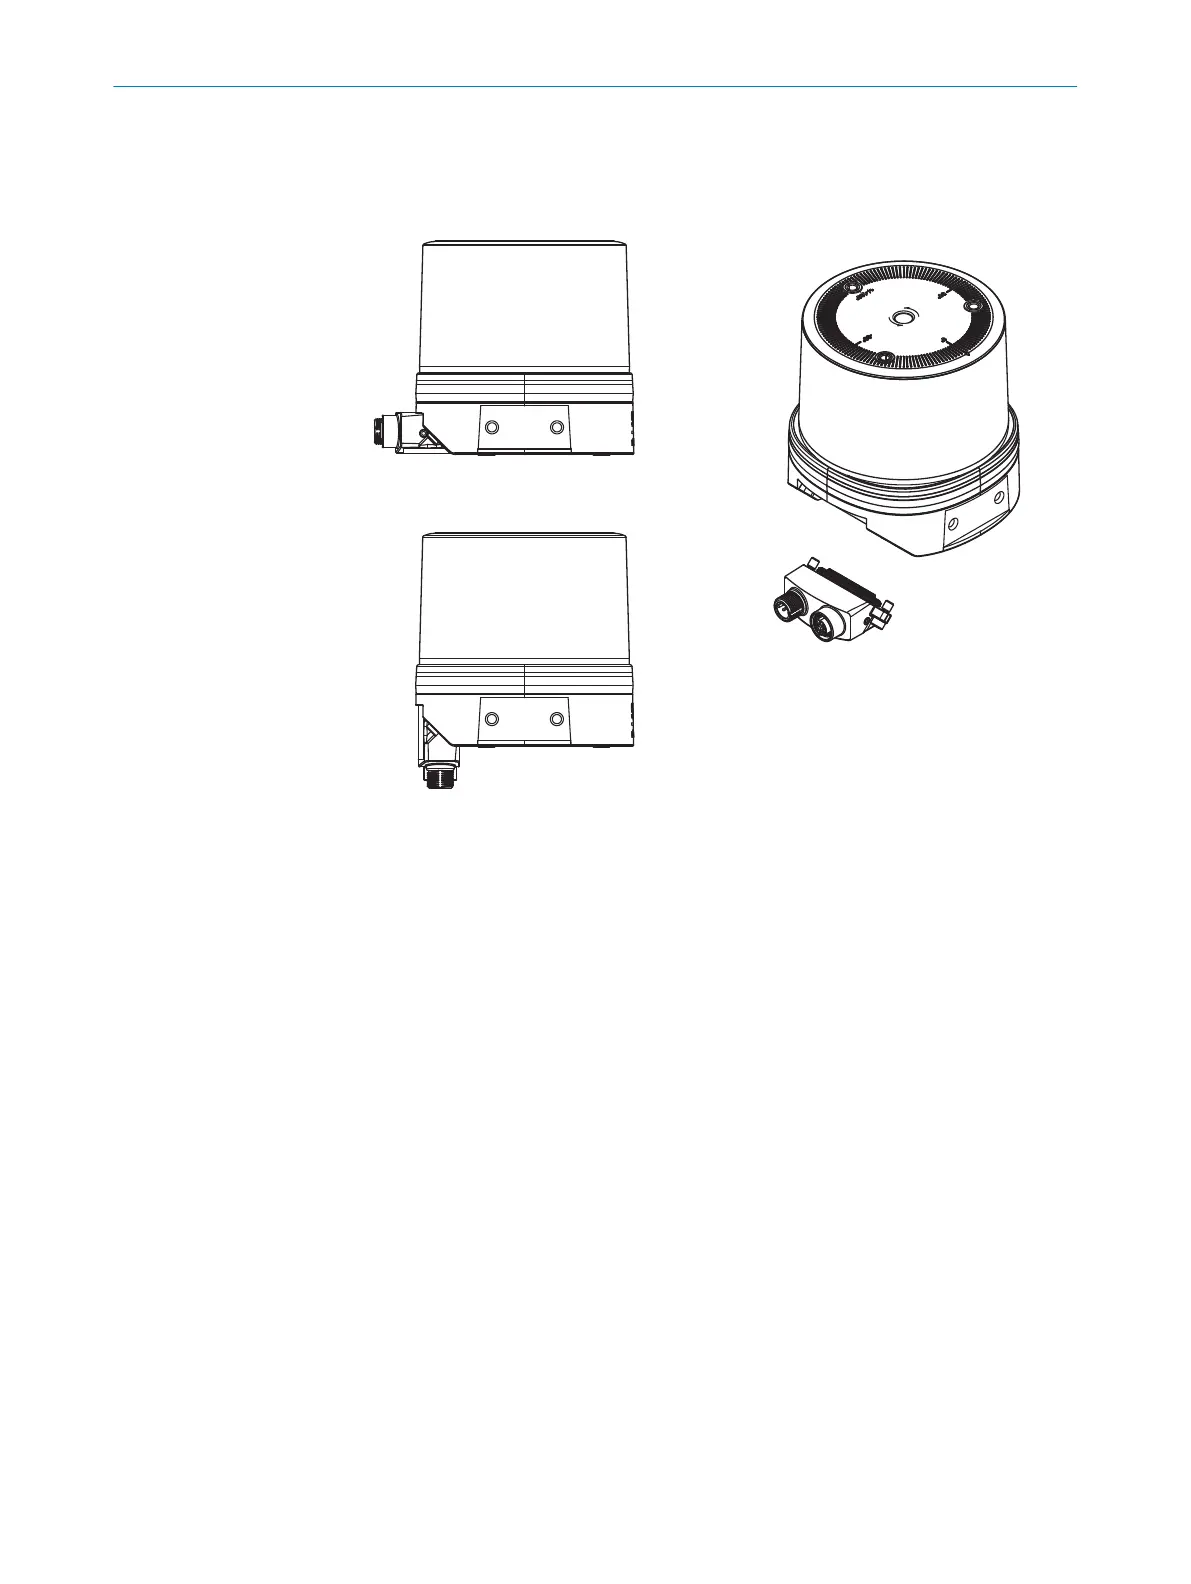
Fitting the system plug
1
System plug, installation at top
2
System plug, installation at bottom
3
Device - system plug not mounted
4
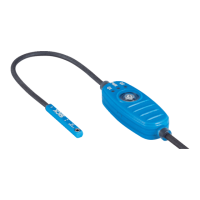
System plug
1. Attach the system plug at the desired installation position on the device.
2. Tighten the screws (tightening torque: max. 5Nm).
5.3
Mounting the device
Prerequisites
•
The connector is mounted on the device see "Mounting the system plug on the
device", page 36.
1. Mount the device in a suitably prepared bracket using the fixing holes provided
(see "Dimensional drawing", page 56). Mounting brackets are available as acces‐
sories, see "Accessories", page 58.
2. Make the electrical connection. Attach and tighten the tension-free cable, see
"Connecting the device electrically", page 44.
3. Align the vertical center line of the field of view of the device with the center of the
area to be monitored. The marking on the upper side of the optics cover serves as
a bearing alignment aid.
4. Switch on the supply voltage.
✓
After successful initialization, the two status LEDs light up green. The device is
ready for use.
5. Perform a fine adjustment using a test target and, if necessary, use the alignment
aid.
MOUNTING 5
8027119/0000/2022-11 | SICK O P E R A T I N G I N S T R U C T I O N S | multiScan136
37
Subject to change without notice