Installing/Mounting
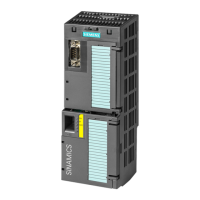
3.3 Control Unit installation
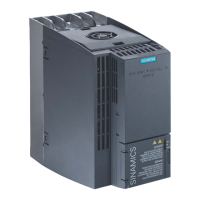
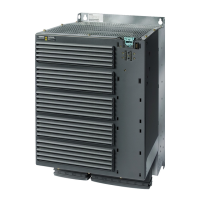
Power Module PM230 IP55
30 Hardware Installation Manual, 2010-07-02, A5E02923635A AB
Table 3- 9 Summary of dimensions and tightening torques
Dimensions (height x width x depth)
Frame size
with Operator Panel without Operator Panel
Fixing methods Tightening torques
A mm 460 x 154 x 264 460 x 154 x 249
inch 18.11 x 6.06 x 10.39 18.11 x 6.06 x 9.80
B mm 540 x 180 x 264 540 x 180 x 249
inch 21.25 x 7.09 x 10.39 21.25 x 7.09 x 9.80
4 x M4 bolts
4 x M4 nuts
4 x M4 washers
C mm 620 x 230 x 264 620 X 230 X 249
inch 24.40 x 9.05 x 10.39 24.40 x 9.05 x 9.80
4 x M5 bolts
4 x M5 nuts
4 x M5 washers
2.5 Nm (22 lbf.in)
D mm 640 x 320 x 344 640 x 320 x 329
inch 25.19 x 12.59 x 13.54 25.19 x 12.59 x 12.95
E mm 751 x 320 x 344 751 x 320 x 329
inch 29.56 x 12.59 x 13.54 29.56 x 12.59 x 12.95
F mm 915 x 410 x 431 915 x 410 x 416
inch 36.02 x 16.14 x 16.96 36.02 x 16.14 x 16.37
4 x M8 bolts
4 x M8 nuts
4 x M8 washers
13.0 Nm (115 lbf.in)
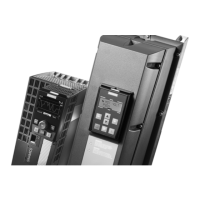
3.3 Control Unit installation
Fitting the CU to the PM FSA ... FSF
Note
Memory card
If a memory card is to be used with the Control Unit (CU), then the memory card must be
inserted into the CU prior to being fitted on the Power Module (PM). Once the CU is fitted to
the PM it is not possible to insert a memory card into the CU.
The Control Unit (CU) is snapped onto the Power Module as shown in the figure below. The
CU is fitted in the following sequence:
 Loading...