■ 18
│
GB
│
IE
│
NI
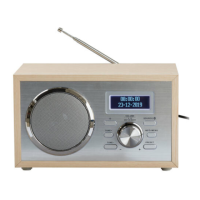
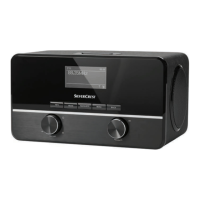
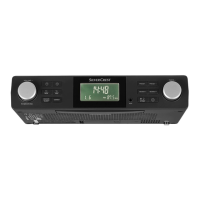
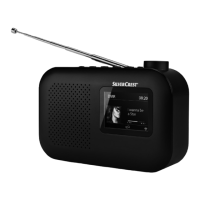
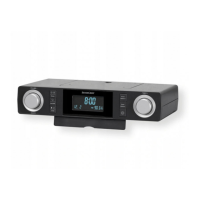
SRH 5 A1
NOTE
► All the settings under Alarm times are only saved if you confirm your settings
under the menu option Save by pressing the VOLUME |
ENTER /
SCAN dial6.
► As soon as Alarm1 and/or Alarm2 are active, an alarm icon
is shown
on the left and/or right of display1 for each active alarm.
Shutting off the alarm
♦ Press INFO/MENU 4 for about 2 seconds to call up the settings menu.
Alarms is shown as the first menu option on the display 1.
♦ Press the VOLUME |
ENTER/SCAN dial6 to confirm the selection.
♦ Press the TUNE+ 8 or TUNE− button7 select either Alarm1 or Alarm2.
♦ Press the VOLUME | ENTER/SCAN dial6 to confirm the selection.
The display 1 now shows the message Alarm detail.
♦ Press the VOLUME |
ENTER / SCAN dial6 to set the alarm to Off.
♦ Press the TUNE+ 8 or TUNE− button 7 to call up the menu option Save.
♦ Press the VOLUME |
ENTER/SCAN dial6 to confirm the entry.
The alarm is now deactivated.
Date/time
If an RDS signal (radio data system) is available, the date and time are automat-
ically set via the radio stations. If no RDS signal is available, you can also set the
date and time manually:
Setting the clock
♦ In the Settings menu, press the TUNE+ 8 or TUNE− button 7 repeatedly
until Time setup appears on the display
1.
♦ Press the VOLUME |
ENTER/SCAN dial6 to confirm the selection.
♦ Press the TUNE+
8 or TUNE− button7 until Set clock appears on the
display
1.
♦ Press the VOLUME |
ENTER/SCAN dial6 to confirm the selection.
Set clock appears on the display
1 and the hour display flashes.
♦ Press the TUNE+ 8 or TUNE− button7 to set the hours.
♦ Press the VOLUME |
ENTER/SCAN dial6 to confirm the entry.
The minutes flash on the display
1.
♦ Press the TUNE+ 8 or TUNE− button7 to set the minutes.
♦ Press the VOLUME |
ENTER/SCAN dial6 to confirm the entry.
 Loading...