50 | Using echosounder
PLOT
GO TO
MARK
VESSEL
If no adjustments are made within 3 seconds the controls will return to default size.
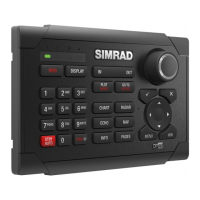
Using the cursor on the echosounder panel
The cursor is by default not shown on the sounder image.
When you press one of the arrow keys the cursor will
become visible, the depth at the cursor position will be
shown, the information window and the history bar will be
activated.
You use the arrow keys to move the cursor in any direction
on the display.
To remove the cursor and cursor elements from the panel, press the X key.
Viewing sounder history
Whenever the cursor is shown on a sounder panel, the red scroll bar is also shown. The
scroll bar shows the image you are currently viewing in relation to the total echosounder
image history stored.
When the scroll bar is on the far right side it indicates that you are viewing the latest
soundings. If you move the cursor to the left side of the screen the history bar will start
scrolling towards left, and the automatic scrolling as new soundings are received will be
turned off.
To resume echosounder scrolling, move the cursor to the right until the red history bar
reaches the right side of the image, or press the X key.
Placing a mark on an echosounder image
You can position a mark at the cursor/vessel position by
pressing the PLOT key as described in the Waypoints,
routes and tracks section.
When the key is pressed the waypoint symbol and ID are
positioned at the cursor position.
Only marks positioned by using the cursor will include
depth information.
Measuring distance
The cursor can be used to measure the
distance between the position of two obser-
vations on the sounder image. It is easier to
use the measure function when the sounder
image is paused.
Use the following process to measure a
distance:
1
measuring point