ATTACHING A BUTTON
Flat buttons can be sewn on quickly and easily using the plain zig-zag stitch
\
/
rol U U
F
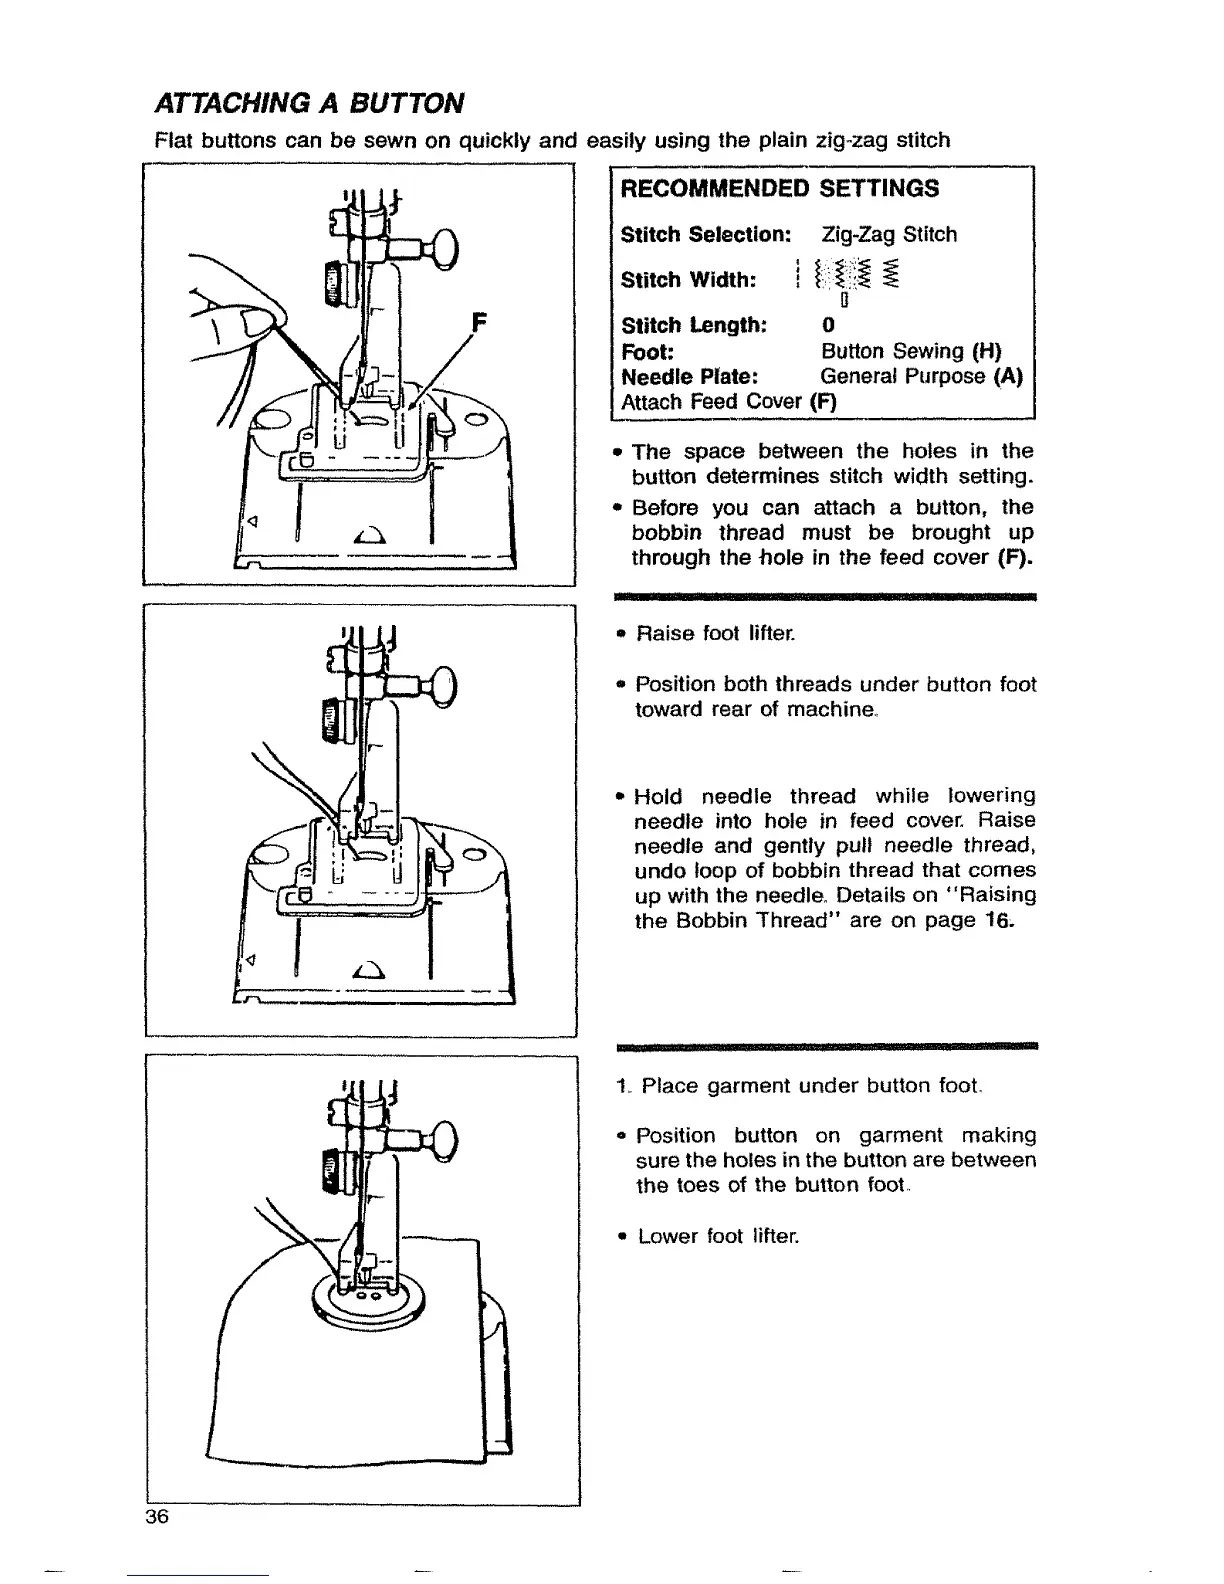
RECOMMENDED SETTINGS
Stitch Selection:
Stitch Width:
Stitch Length:
Foot:
Needle Plate:
Zig-Zag Stitch
G
0
Button Sewing (H)
General Purpose (A)
Attach Feed Cover (F)
• The space between the holes in the
button determines stitch width setting.
,, Before you can attach a button, the
bobbin thread must be brought up
through the hole in the feed cover (F).
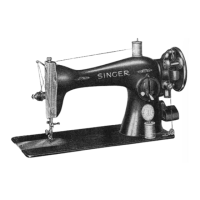
- Raise foot lifter.
o Position both threads under button foot
toward rear of machine+
o Hold needle thread while lowering
needle into hole in feed cover. Raise
needle and gently pull needle thread,
undo loop of bobbin thread that comes
up with the needle° Details on "Raising
the Bobbin Thread" are on page 16;
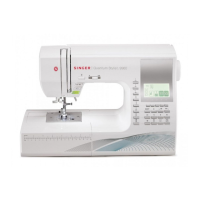
1+ Place garment under button foot..
= Position button on garment making
sure the holes in the button are between
the toes of the button foot.
= Lower foot lifter.
36