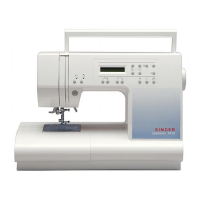
SELECTING A BUILT-IN STITCH PATTERN
All the built-in stitch patterns your machine is capable of sewing are illustrated on the
pattern display panel of your sewing machine.
II
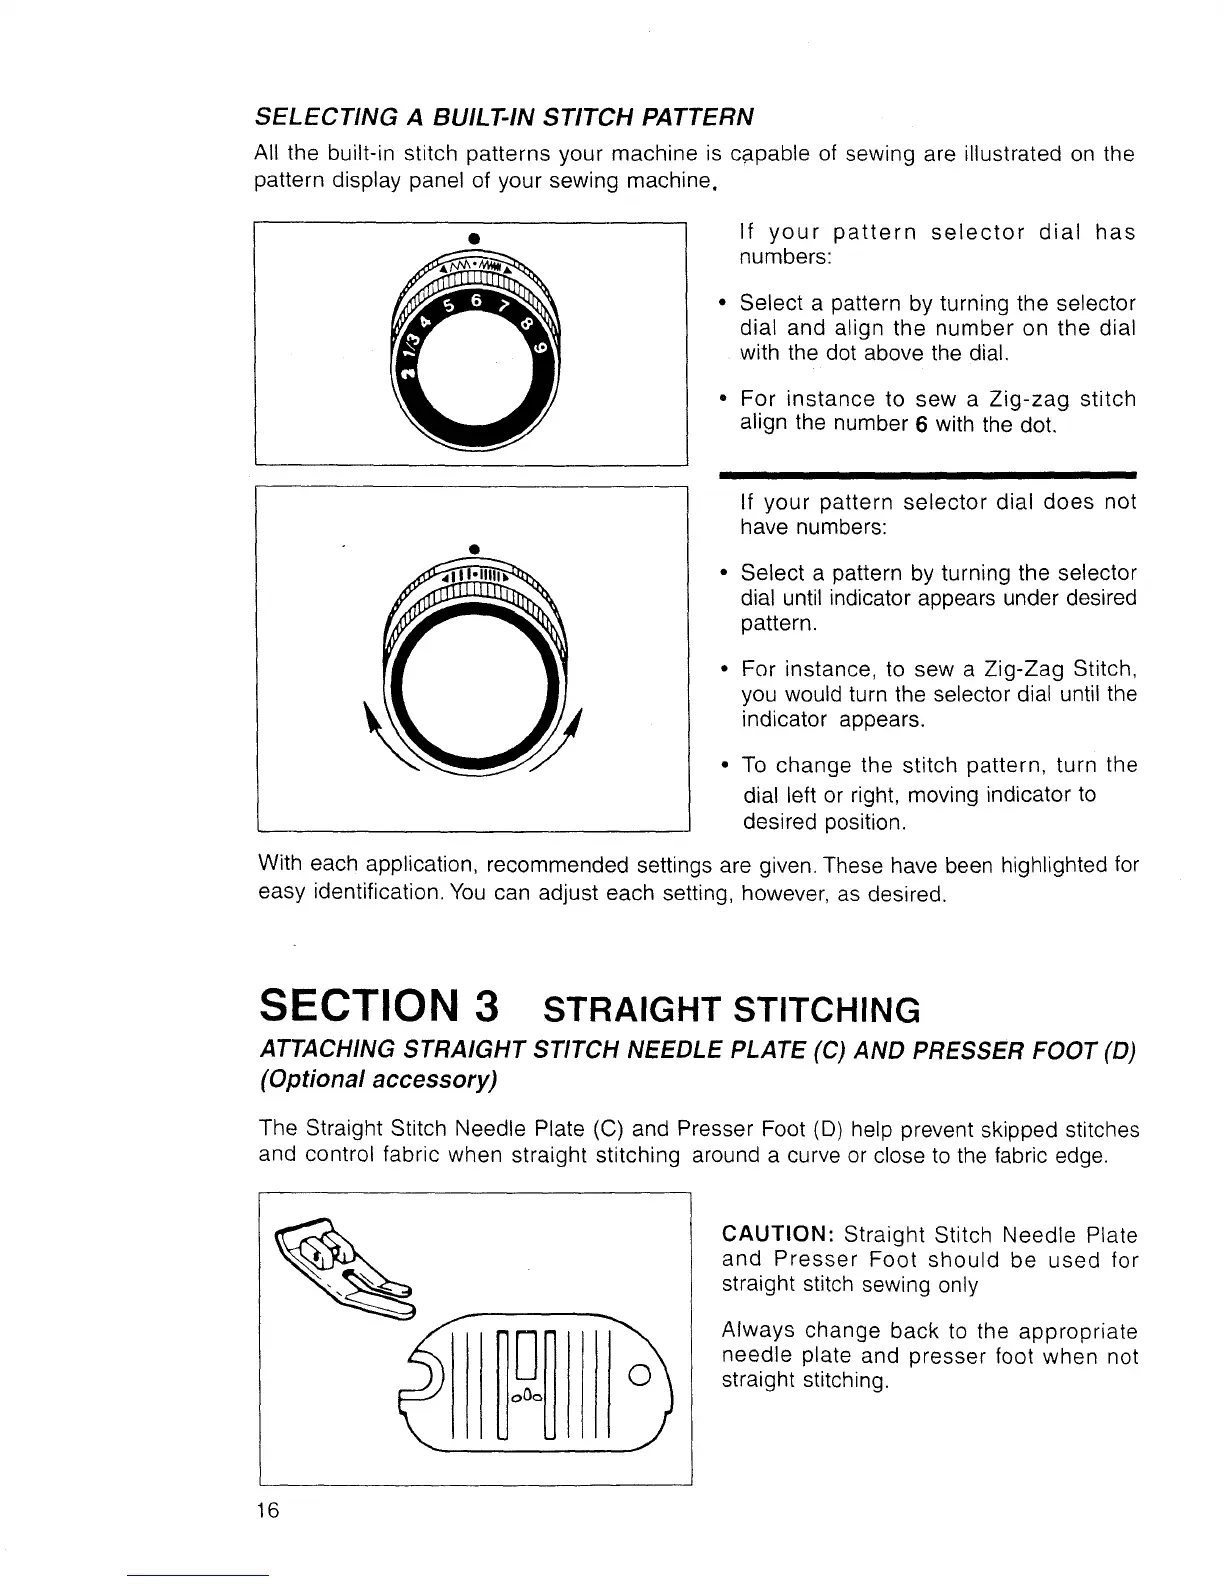
If your pattern selector dial has
numbers:
Select a pattern by turning the selector
dial and align the number on the dial
with the dot above the dial.
For instance to sew a Zig-zag stitch
align the number 6 with the dot.
Q
II
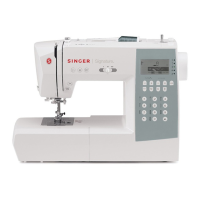
If your pattern selector dial does not
have numbers:
Select a pattern by turning the selector
dial until indicator appears under desired
pattern.
For instance, to sew a Zig-Zag Stitch,
you would turn the selector dial until the
indicator appears.
To change the stitch pattern, turn the
dial left or right, moving indicator to
desired position.
With each application, recommended settings are given. These have been highlighted for
easy identification. You can adjust each setting, however, as desired.
SECTION 3 STRAIGHTSTITCHING
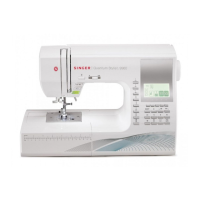
ATTACHING STRAIGHT STITCH NEEDLE PLATE (C) AND PRESSER FOOT (D)
(Optional accessory)
The Straight Stitch Needle Plate (C) and Presser Foot (D) help prevent skipped stitches
and control fabric when straight stitching around a curve or close to the fabric edge.
CAUTION: Straight Stitch Needle Plate
and Presser Foot should be used for
straight stitch sewing only
Always change back to the appropriate
needle plate and presser foot when not
straight stitching.
16