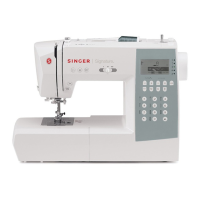
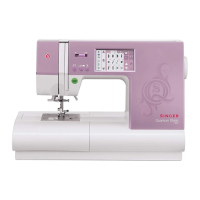
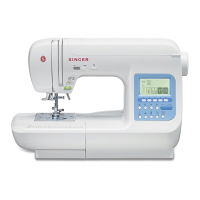
SECTION 4 BUILT-IN STITCH PATTERNS
"_-qe built-in stitch patterns on your machine have a variety of practical and decorative
u;es. In this section are recommended applications for each stitch. However, these
stitches can be used for many other sewing projects.
ADJUSTING STITCH WIDTH
To widen or narrow a Special Stitch
pattern, move the stitch width lever off
Straight Stitch, ( i ), toward any other width
setting at the right.
The stitch with graphics on the machine
show width of approximately 1.5, 3.0, 4.5,
6.0mm.
I UlIII I
1 2 3 4 _'=
ADJUSTING STITCH LENGTH
The stitch length indicator is numbered
0 to 4. The area between 0 and 1 will
produce very dense stitching. For more
open stitching, slide the stitch length lever
anywhere from 2 to 4. When sewing special
color coded stitches. The length MUST be
set in the 3-1/2 to 4 area.
ADJUSTING THREAD TENSION
Some Special Stitch patterns may require looser thread tension than others. To find the
proper tension for your application, make a test sample with the thread and fabric you
_,.II be using.
ADJUSTING STITCH BALANCE
You can adjust the appearance of special color coded stitch patterns on the display
panel, by turning the Stitch balance ring (1) behind the pattern selector dial (2).
/
3
A correctly balanced Fagoting Stitch
should appear as illustrated (3).
When stitches are too close together (4),
separate them by turning the stitch balance
ring to the right.
When stitches are too far apart (5), bring
them closer together by turning the stitch
balance ring to the left.
21