25
e
w
q
r
r
e
r
w
w
w
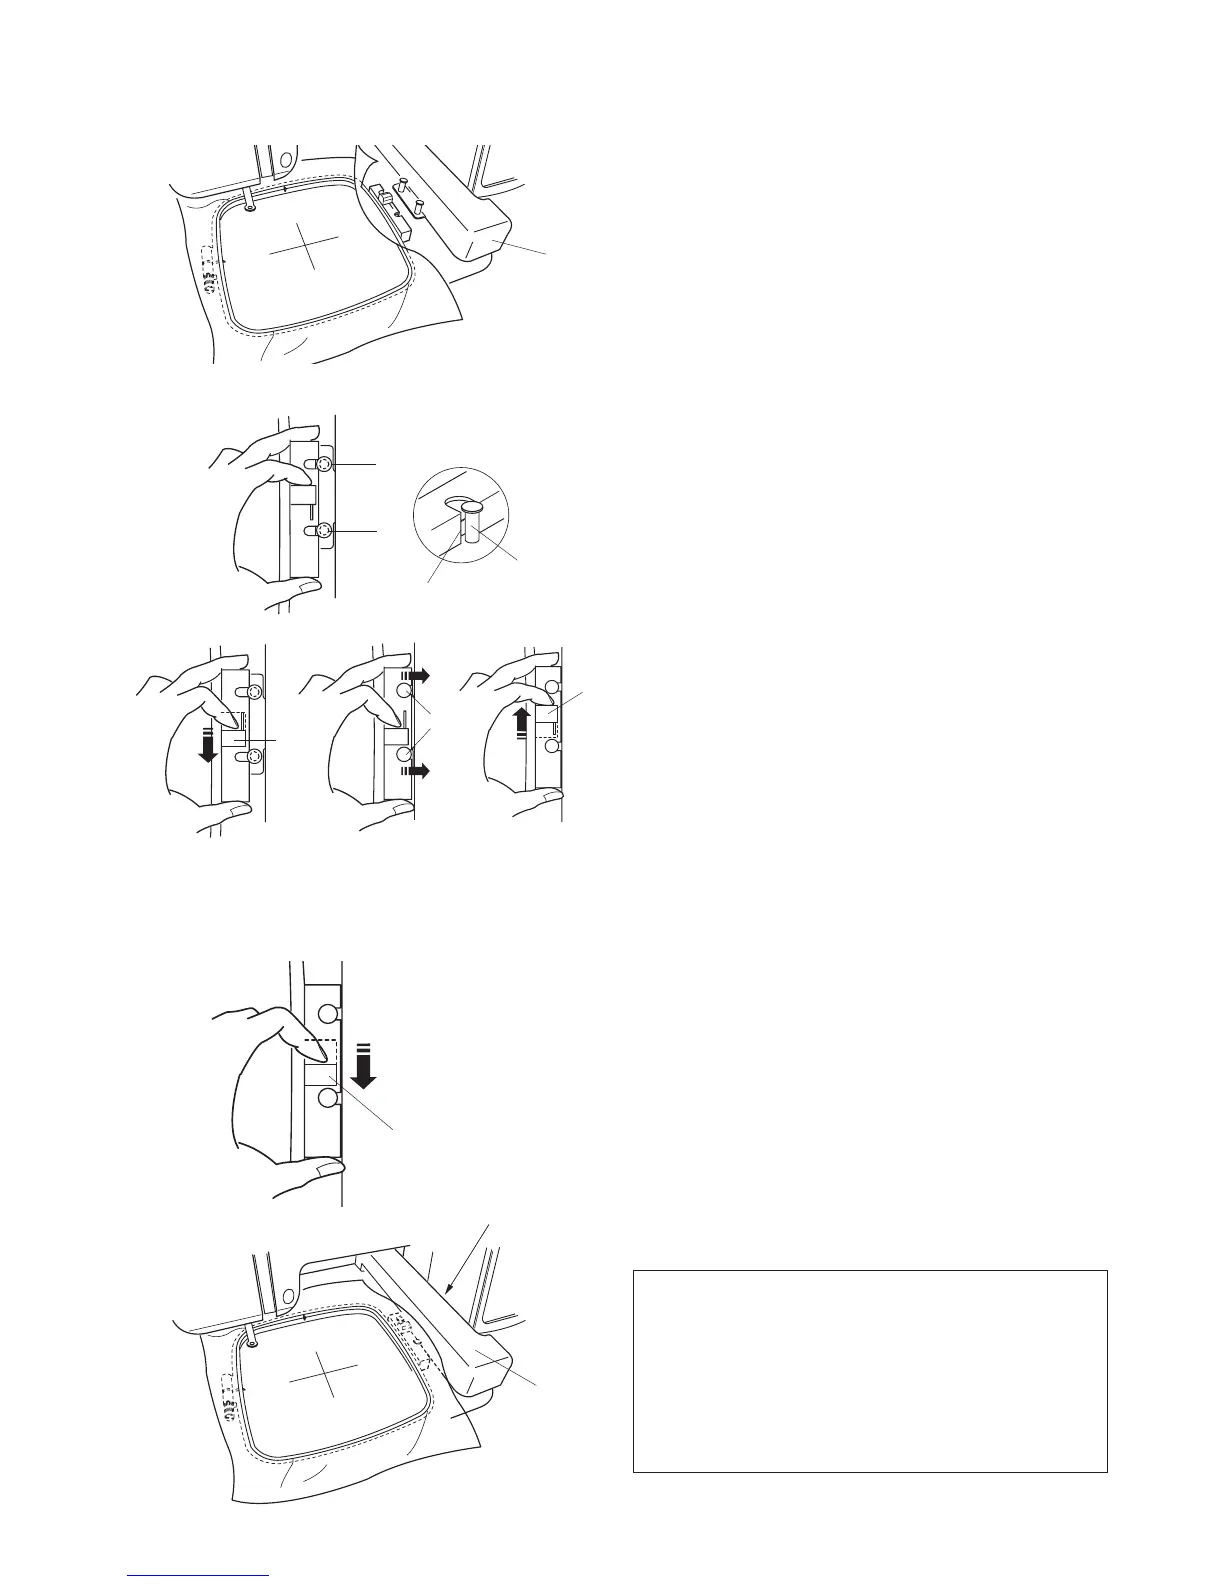
Attaching the Embroidery Hoop to the Machine
Step
z
Raise the presser foot. When hooping bulky fabrics
remember the presser foot lifter can be raised even
higher to help get the hoop under the foot.
Step
x
Place the prepared hoop on the machine.
Position the hoop by aligning the notches of the hoop
with the carriage pins.
q
Notch
w
Carriage pins
e
Carriage
Step
c
Shift the lever on the carriage in the direction of the
arrow.
r
Lever
Step
v
Attach the hoop by pushing the lever in the direction
of the arrow to ensure the hoop is in the lock position.
Removing the Hoop from Machine
Step
b
Raise the presser foot.
Step
n
Shift the lever in the direction of the arrow and remove
the hoop.
r
Lever
NOTE
•Carefullymonitortheareaaroundthehoopedfabric
as the machine embroiders. Many projects like shirts,
jackets and blankets are bulky and can possibly get
caught in the area of the carriage arm
t
.
•Nevertrytomovethecarriagebyhandortouchthe
carriage while it is moving.
t
zx
c v
bn