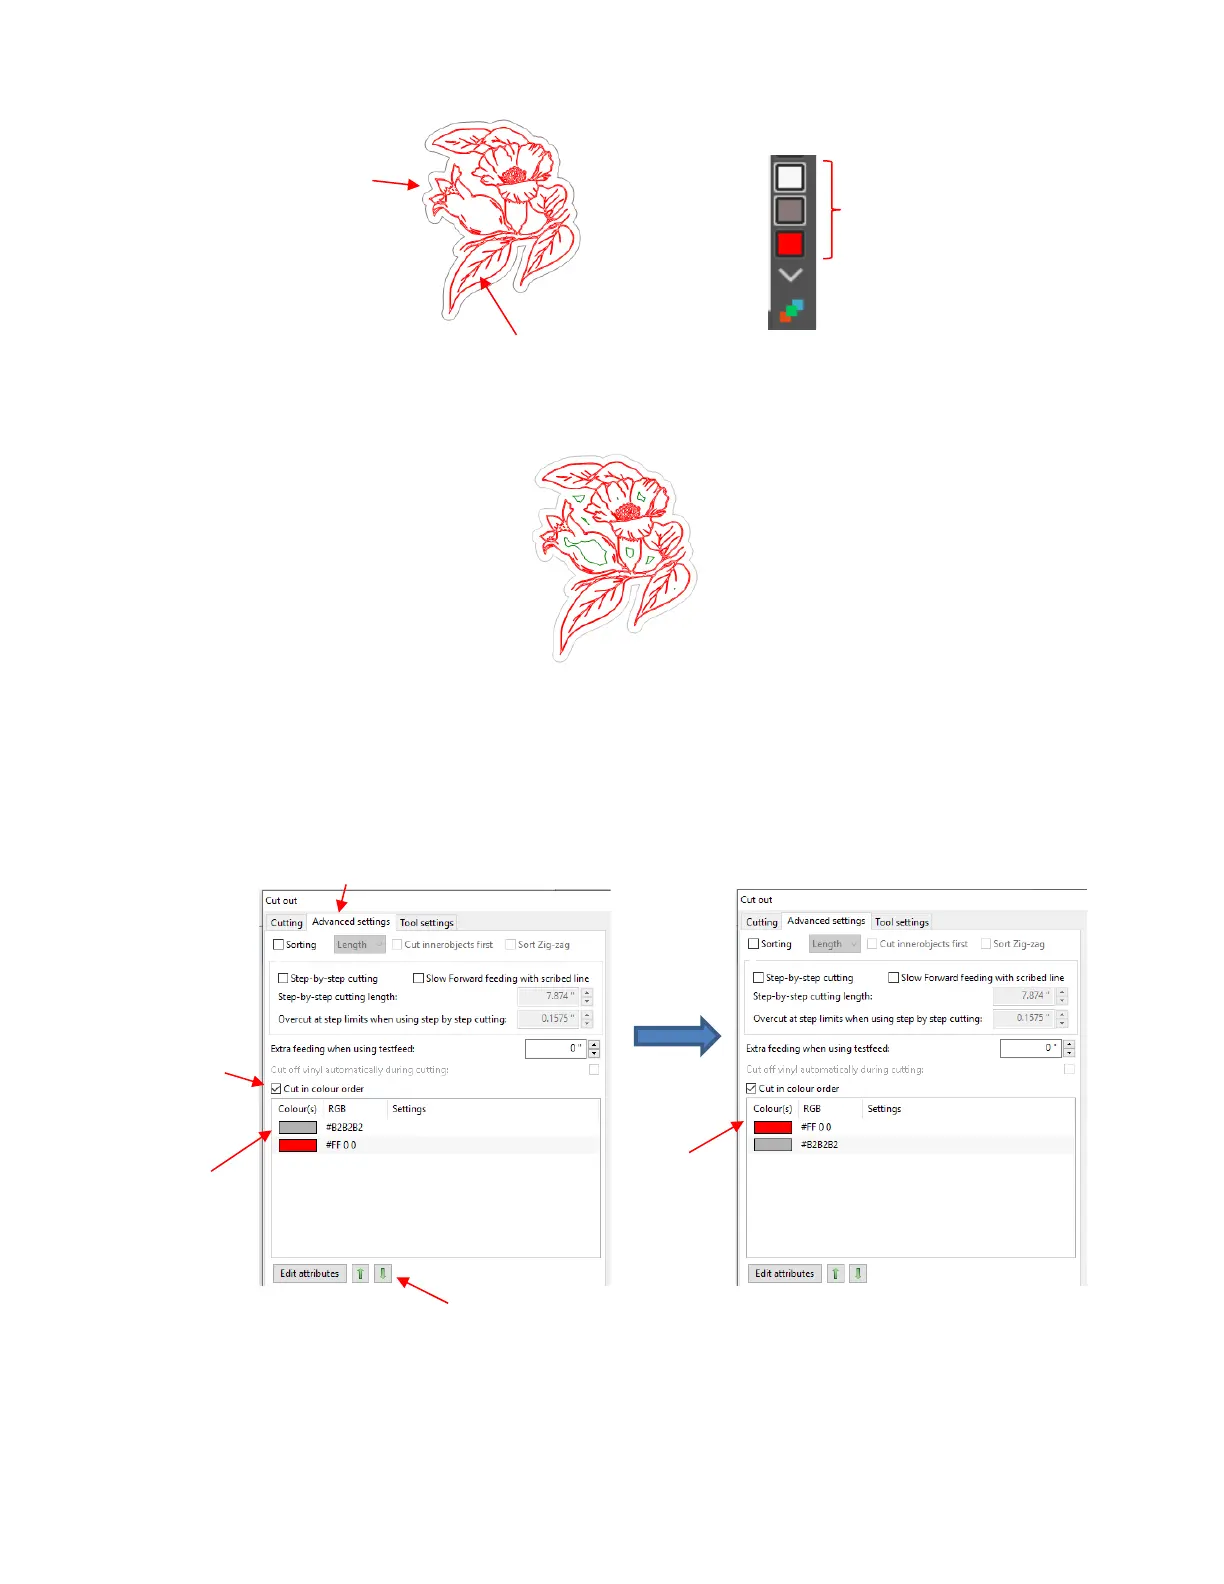
• The white shapes are the separate internal contour paths that were also created. To better illustrate their
presence for this tutorial, they are recolored green:
• Since these internal paths won’t be cut, select and delete them leaving the colors red and grey.
• Send the project to SignCut Pro and go to the Cut out window and click on the Advanced settings tab.
The two colors will appear in the list and will be processed in the order shown. Because it makes more
sense to draw first and cut second, the grey layer will be moved down. This is done by selecting the grey
layer and clicking on the down arrow as shown:
• Normally when cutting different colors, you would proceed to click on Edit attributes (at the bottom of the
prior screenshot) for each color and enter the required Cutting force, Cutting speed, etc. However,
because a pen doesn’t require a Blade Offset setting, but the blade does, it is necessary to create presets
for each color that will then be assigned to the red layer that will be drawn by the pen and the grey layer that
will be cut with the blade. Refer to Section 2.04.1