3.05.1 Adjusting the Calibration Values
• If you find the first shape being cut is slightly off, you can adjust the values being used versus attempting to
recalibrate from scratch.
• To do this, go back to an easy-to-cut material like copy paper and use a shape that has both horizontal and
vertical lines, such as the arrows that were suggested in Section 3.04.3. This makes it easier to know if you
need to adjust in the X (left-to-right) direction or in the Y (up-and-down) direction.
• After performing the print and cut, use a mm ruler to measure how far away the cut lines are from the
printed lines. If you used an arrow, focus only on the horizontal and vertical lines, not the diagonal lines:
In this example, let’s say the red cut line is about 0.5 mm too high and about 0.3 mm too far to the left.
Thus, you need the cut line to move down and to the right.
• On the control panel, change the Units to millimeters by going to Set>General Settings and choosing
millimeters, as was shown in Section 1.14.2.
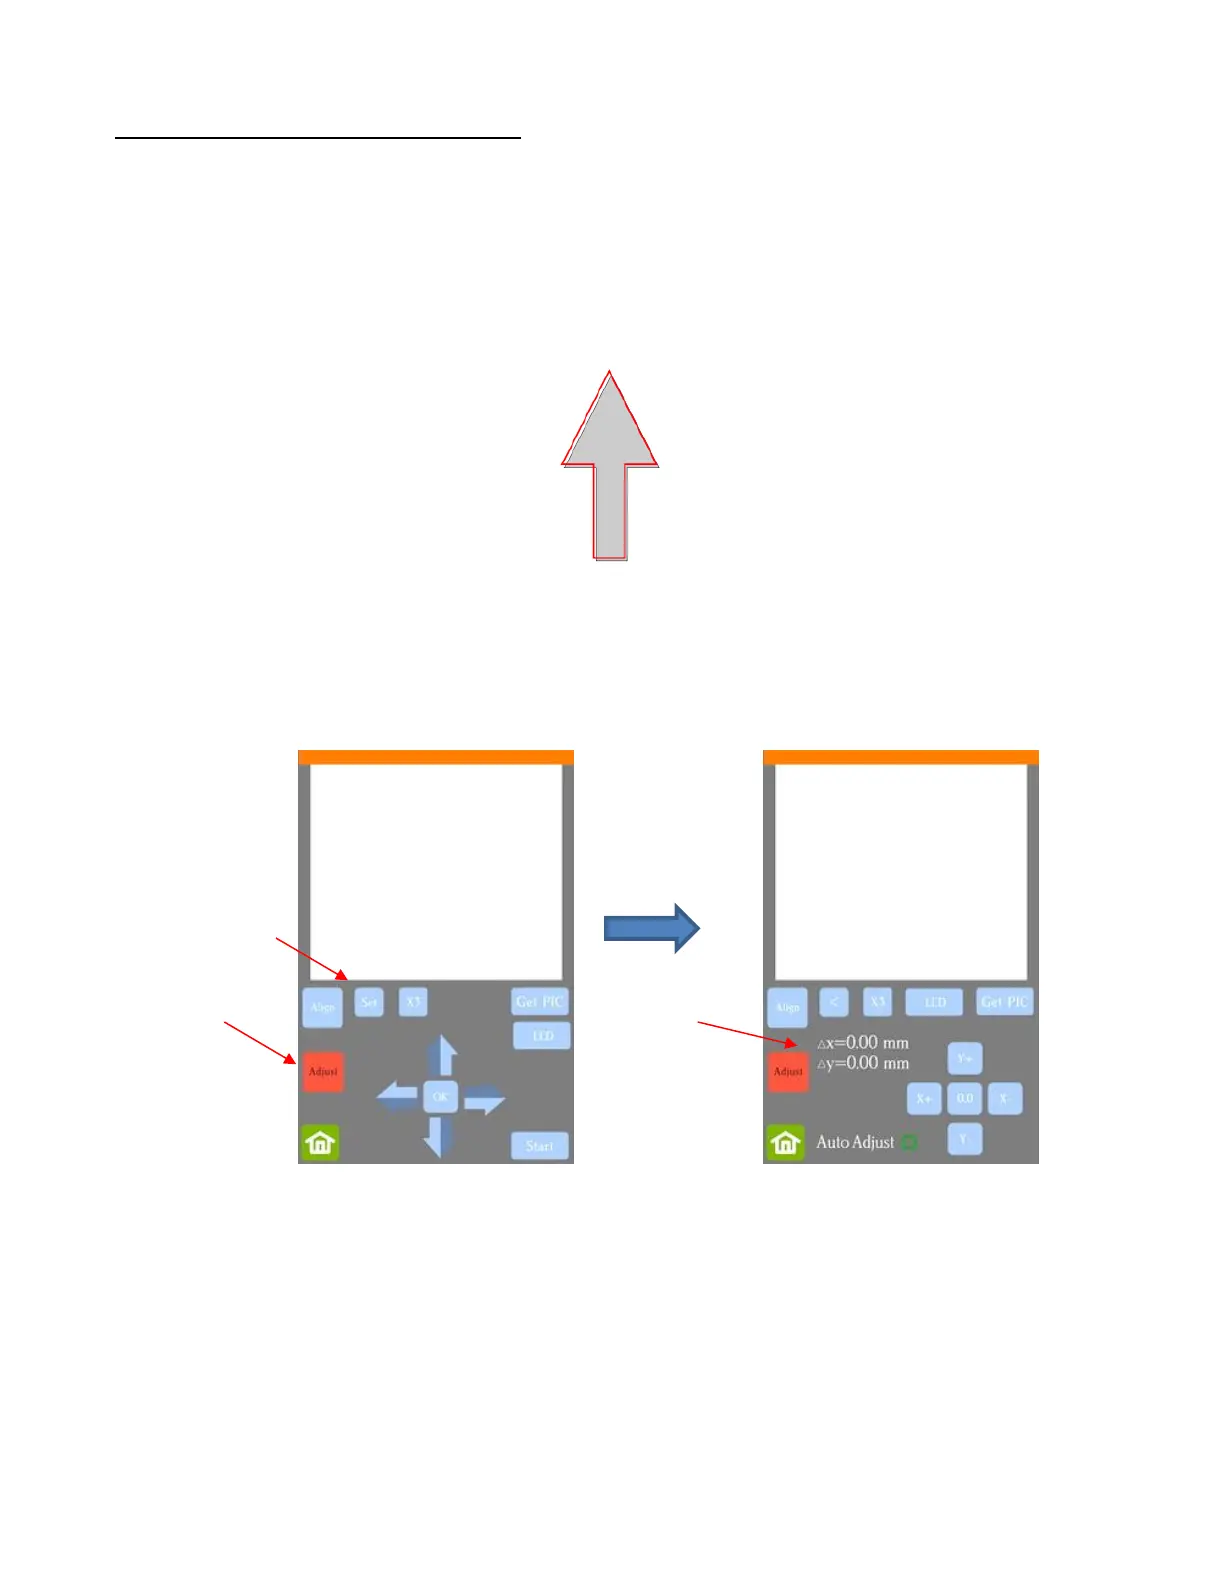
• Go to Set>Camera and click on Adjust. Then click on Set to open the Adjustment window:
• One at a time, adjust Δx and Δy by pressing the buttons in the direction you need the cut line to move.