4. Accessory Tools
4.00 Quick Reference for Chapter 4
• Settings for test pen, embosser, engraver: Section 4.05
• How to draw with the test pen and cut around the drawing: Section 4.01.1
• How to score and cut a fold-up project: Section 4.02.2
• How to emboss cardstock: Section 4.02.3
• How to engrave a metal tag: Section 4.03.1
4.01 Drawing with the Test Pen
• With the Skycut, you can draw shapes and lettering with the test pen. If you wish to fill (i.e. color in) a shape,
SignCut Draw offers a Hatch Fill function. Refer to Section 5.03 for instructions on how to adjust settings to
create a line fill.
• Do not have the pen positioned too low in the blade holder seat or the tip of the pen could drag across the
paper when moving from one shape to the next. Thus, use the same 20 Post-It note method as with the
blade holder.
• Make sure your shapes will not be drawn where any of the pinch wheels travel over the material. Otherwise,
the ink might smear.
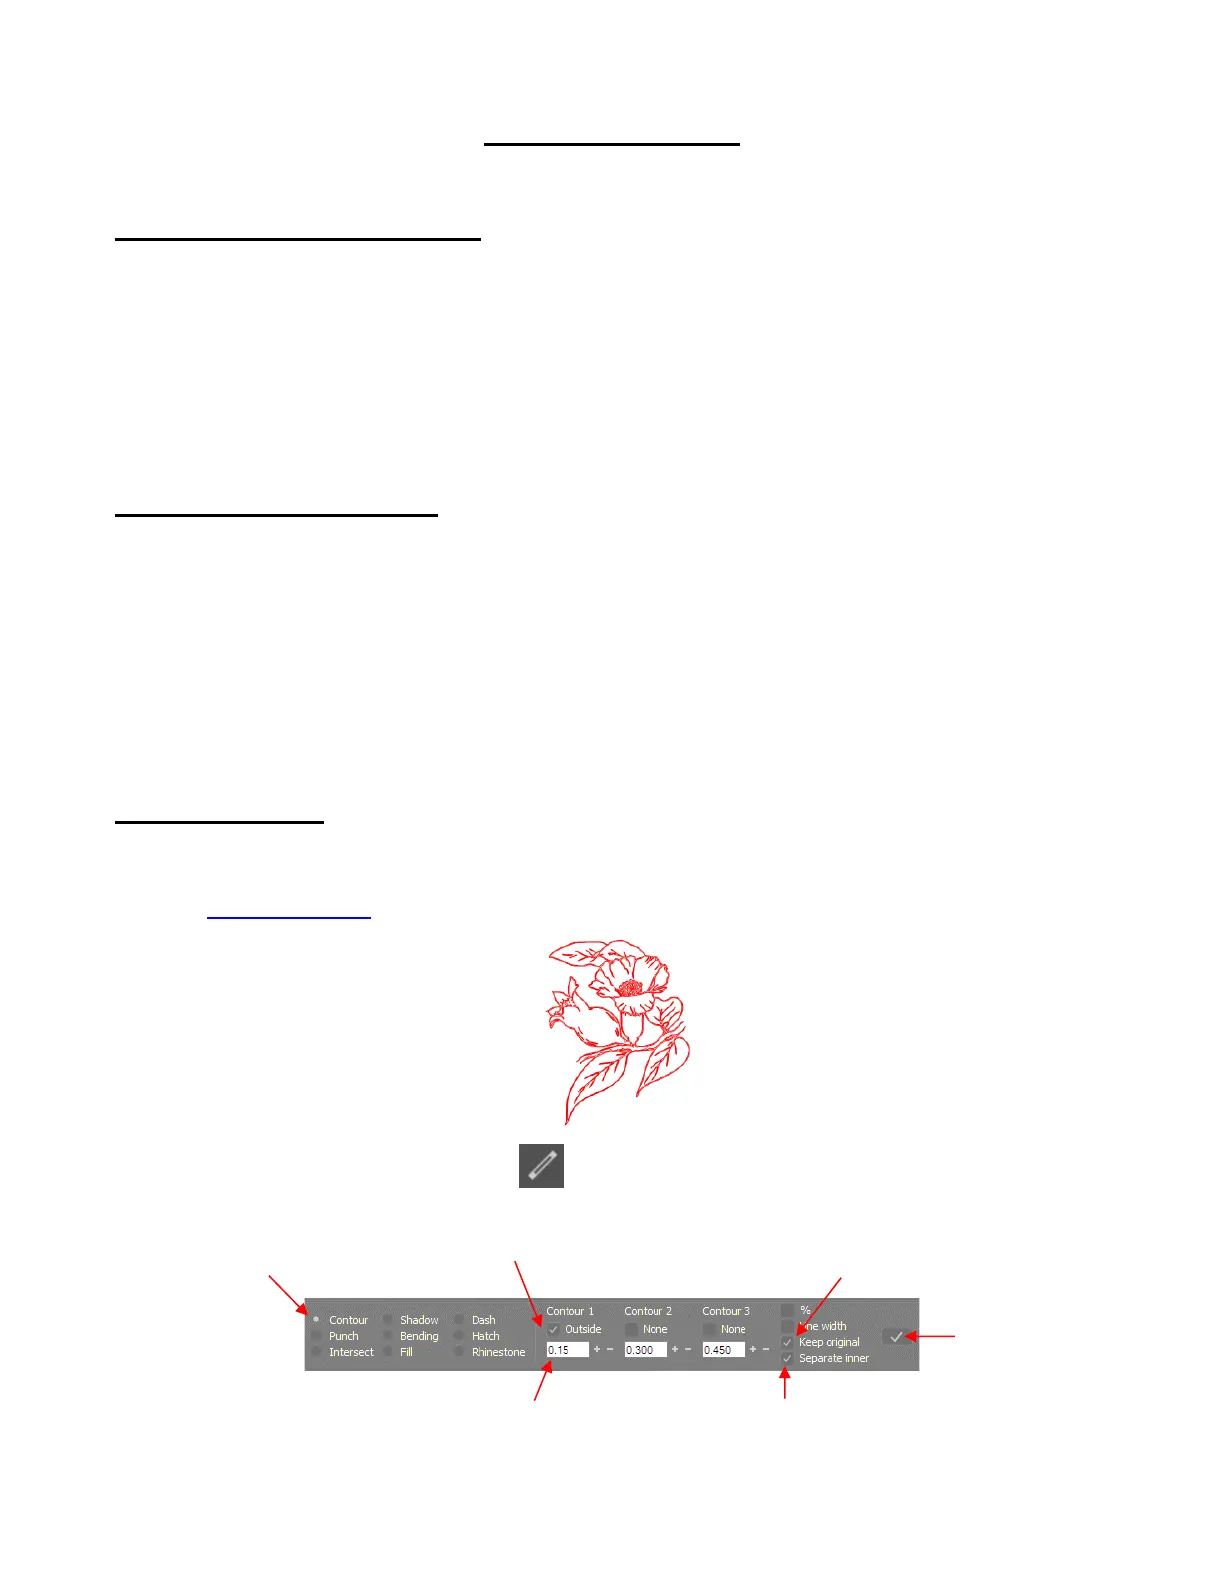
4.01.1 Draw and Cut
• A draw-and-cut application involves using the test pen to draw shapes followed by using the blade holder to
cut them out. This rest of this section covers the process.
• In the following example, a vector flower file has been imported into SignCut Draw and sized for the project:
• To add a contour, select the Effects icon on the Tools Panel or press the shortcut A1. Make the
following changes on the Properties & Functions Bar:
• The flower now has a contour path around it. However, the Select by color panel indicates there are three
colors present: