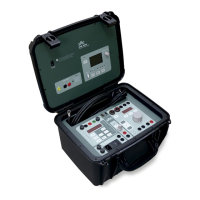
PTE-100-C PRO
29
So these are the basic steps for a time test:
1. Switch the PTE-100-C PRO’s power output and turn the va-
riac all the way to the left to reach the “0” position.
2. Connect the relay’s measurement input (to where the CT or VT out-
put is normally connected) to the appropriate current or voltage
output tap.
3. If you are doing a current based test, choose the current tap that
better accommodates the regulation range, turn its ‘flag’ LED on
using the key and give a short press to to ensure
that current, rather than voltage output, is displayed in Display #2.
If you are using a voltage output instead, press and hold
or accordingly until a beep is heard to lock it to Display
#2.
4. Connect the relay’s trip contact to the PTE-100-C PRO’s dry
(black/green) monitor input. This is for dry contact monitoring. If
you are detecting relay operation by means of a contact that is un-
der voltage, use the black and red connectors instead.
5. Switch the power output and gently turn the variac clock-
wise until the desired test value is displayed.
6. Switch power , the timer and power again
to start the test. If the adjusted test value is in the operating range of
the relay, it will eventually trip at the monitor input, the timer will
stop and the power output to the relay will be suspended (note that
the red output LED is now blinking).
7. You will then be able to write down the values held by Display #1
(time) and Display #2 (operating voltage or current). Repeat steps
5 thru 6 for as many different current or voltage test values you
need to time.
OFF
ON
RESET
OFF
ON
Out 1 Tap
Out 2
Out 1
 Loading...