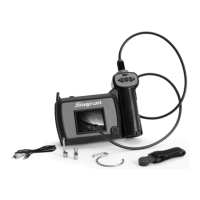
Digital Wireless Video Scope
11
Snap-on
Tool and Work Area Set-Up
To prevent serious injury, proper set-up of the tool
and work area is required. The following procedures
should be followed:
1 Review General Safety Information sec tion of
this manual (see page 4).
2. Check work area for:adequate lighting, am-
mable liquids, vapors or dust that may ignite.
3. Follow tool set-up according to specic tool
operator’s manual.
Operating Instructions
Do not use excessive force to in sert or
bend the cable.
Do not use the cable or imager head to
modify surroundings, clear pathways or clogged ar-
eas, or as anything other than an in spection device.
The Display Unit is not water resistant. The imager
head and its cover ing are water resistant, but are not
acid-proof or fireproof. Petroleum-based products
will ruin the imager cable’s protective plastic cover-
ing over time. Avoid submersing the imager head
into corrosive, oily places.
Using the Imager
To display images from the Imager Handle on the
viewing unit, both units must be turned on. If using
the Viewer to view or edit images, there is no need
to switch on the Imager Handle. (Figures 7 and 8).
Figure 7: Using the Viewer Handle
First, ensure that the imager camera is correctly
attached to the Imager Handle (see Assembly in-
structions). The Imager Handle is switched on and
off by pressing and holding the ON / Capture button
for greater than 2 seconds – the Orange ON LED will
illuminate when the unit is powered on.
For viewing in reduced light conditions, the imager
camera includes a high-power LED for illuminating
objects. Adjust the LED light output for optimum
viewing conditions by using the LED + and LED –
buttons on the Imager Handle. Note that the buttons
will auto-repeat if held for greater than half a second.
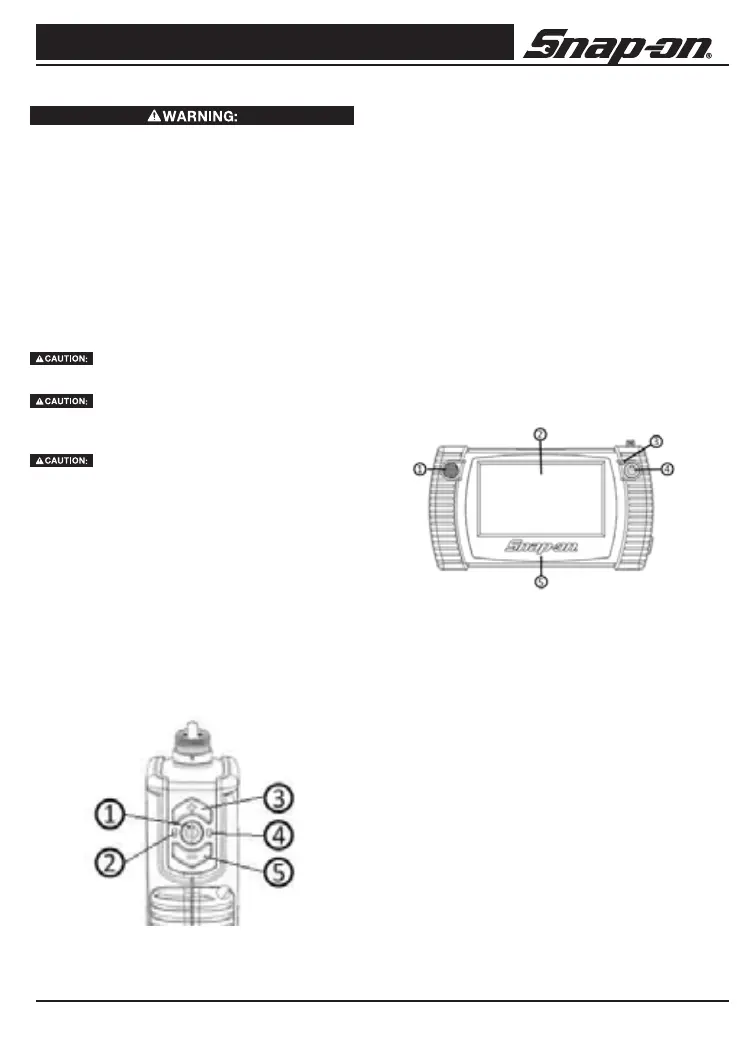
Figure 8: Using the Display Unit
To conserve batteries, the Imager Handle will auto-
matically switch off 20 minutes after the last button
press. The current status of the Imager Handle bat-
tery is displayed on the Display Unit display.
Using the Display Unit
The Display Unit performs a number of functions:
•Display and capture live images from the Imager
Handle as stills or video
•Display and capture still images from the built-in
rear camera.
•SelectthevideosourceonthesuppliedDualView
Imager camera (front or side)
1. Power / Capture Button
2. Charge Status Indicator
3. Increase Imager LED brightness
4. Power ON Indicator
5. Decrease Imager LED brightness
1. Speaker
2. Touch Screen Display
3. Charge Status Indicator
4. Power Button
5. Microphone

 Loading...