22
Scanner Scanner Operation
4.3 Scanner Operation
Starting Scanner opens a menu list of vehicle manufacturers and begins the process by identifying
the vehicle being tested. After the vehicle is identified, a vehicle system is selected and then a
specific test or function is selected to allow you to retrieve diagnostic trouble codes (DTCs), view
and save PID data, or perform diagnostic tests.
z Basic Scanner Testing Procedure
1. Start Scanner—Select the Scanner icon on the Home screen.
2. Identify the vehicle—Identify the test vehicle by selecting from the menu options.
3. Connect the data cable to the vehicle—Follow the on-screen connection instructions to
connect the Diagnostic Tool to the test vehicle.
4. Select the system—Select the system to be tested from the systems menu.
5. Select the test from the main menu—Select the desired test.
4.3.1 Vehicle Identification
The Diagnostic Tool displays PID data provided by the vehicle ECM. The vehicle must be correctly
identified for the Diagnostic Tool to communicate and display PID data correctly. The vehicle
identification sequence is menu driven, follow the screen prompts to enter the information. Exact
procedures may vary by the make, model, and year of the vehicle.
z To identify a vehicle for testing:
1. Select the Scanner icon on the Home screen.
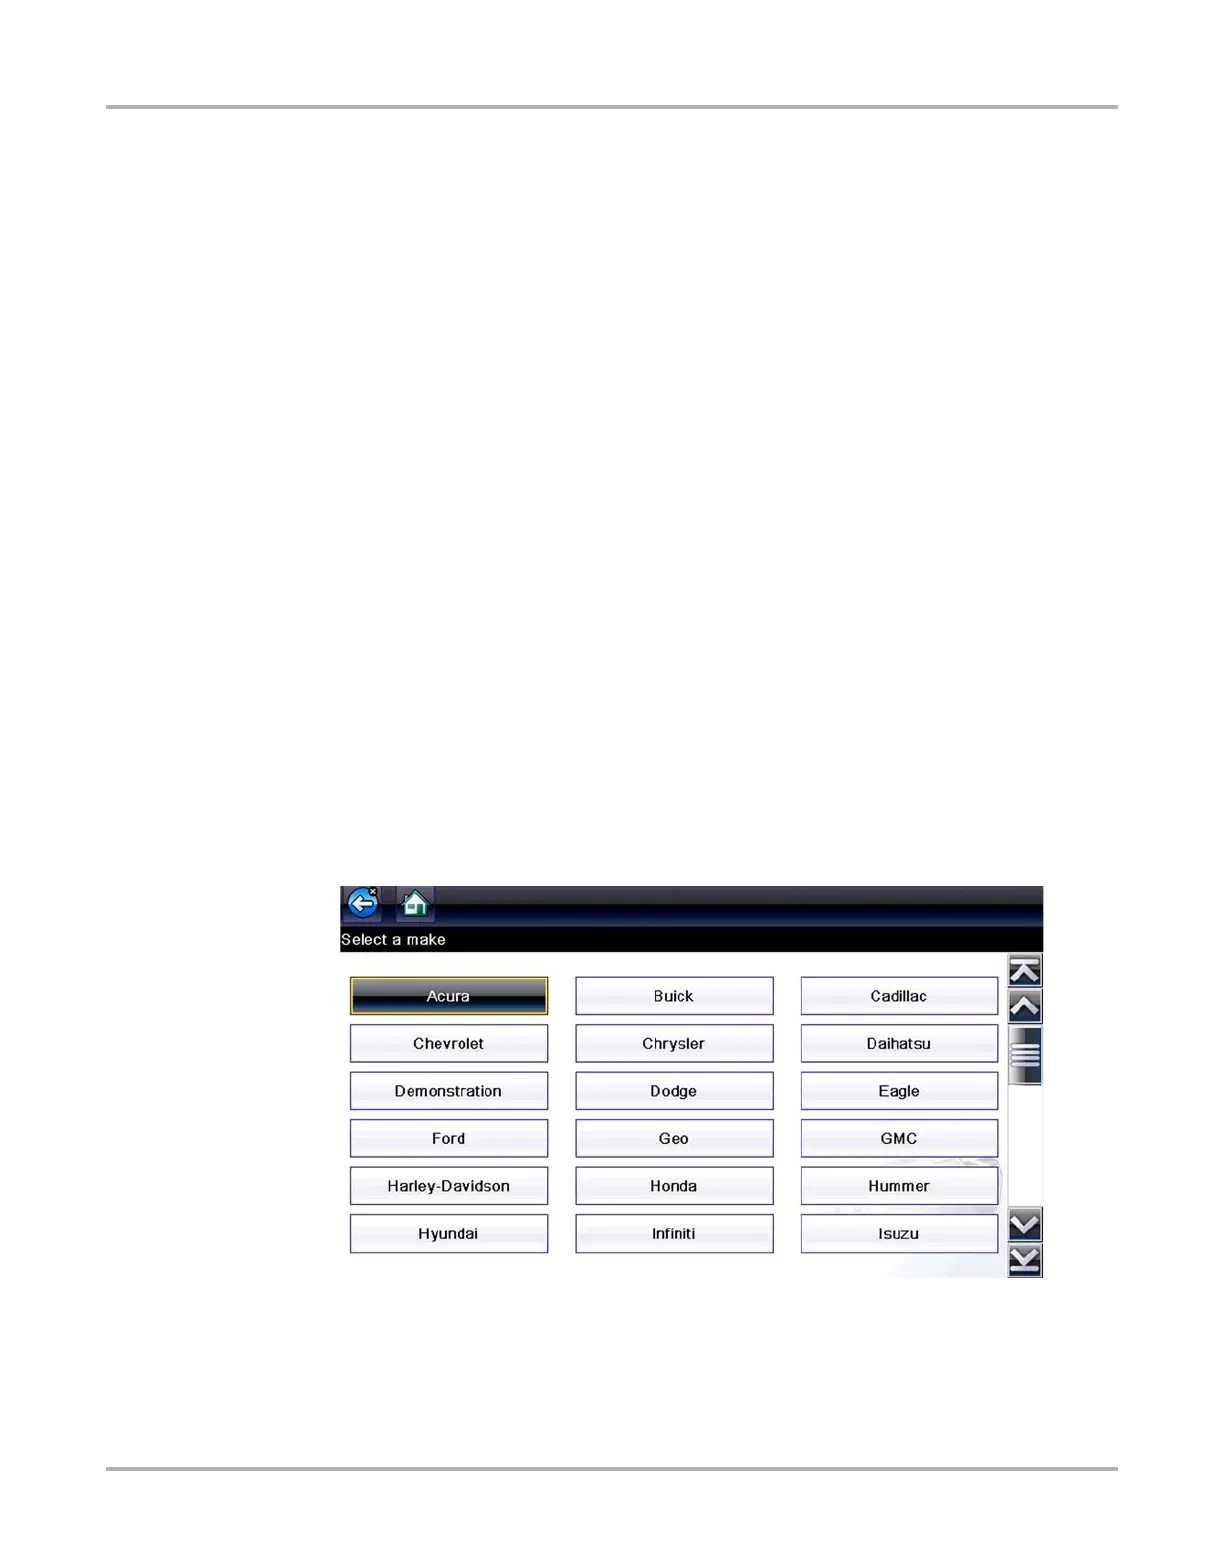
A list of manufacturers displays (Figure 4-2).
Figure 4-2 Manufacturer list