55
Previous Vehicles and Data Previous Vehicles and Data Menu
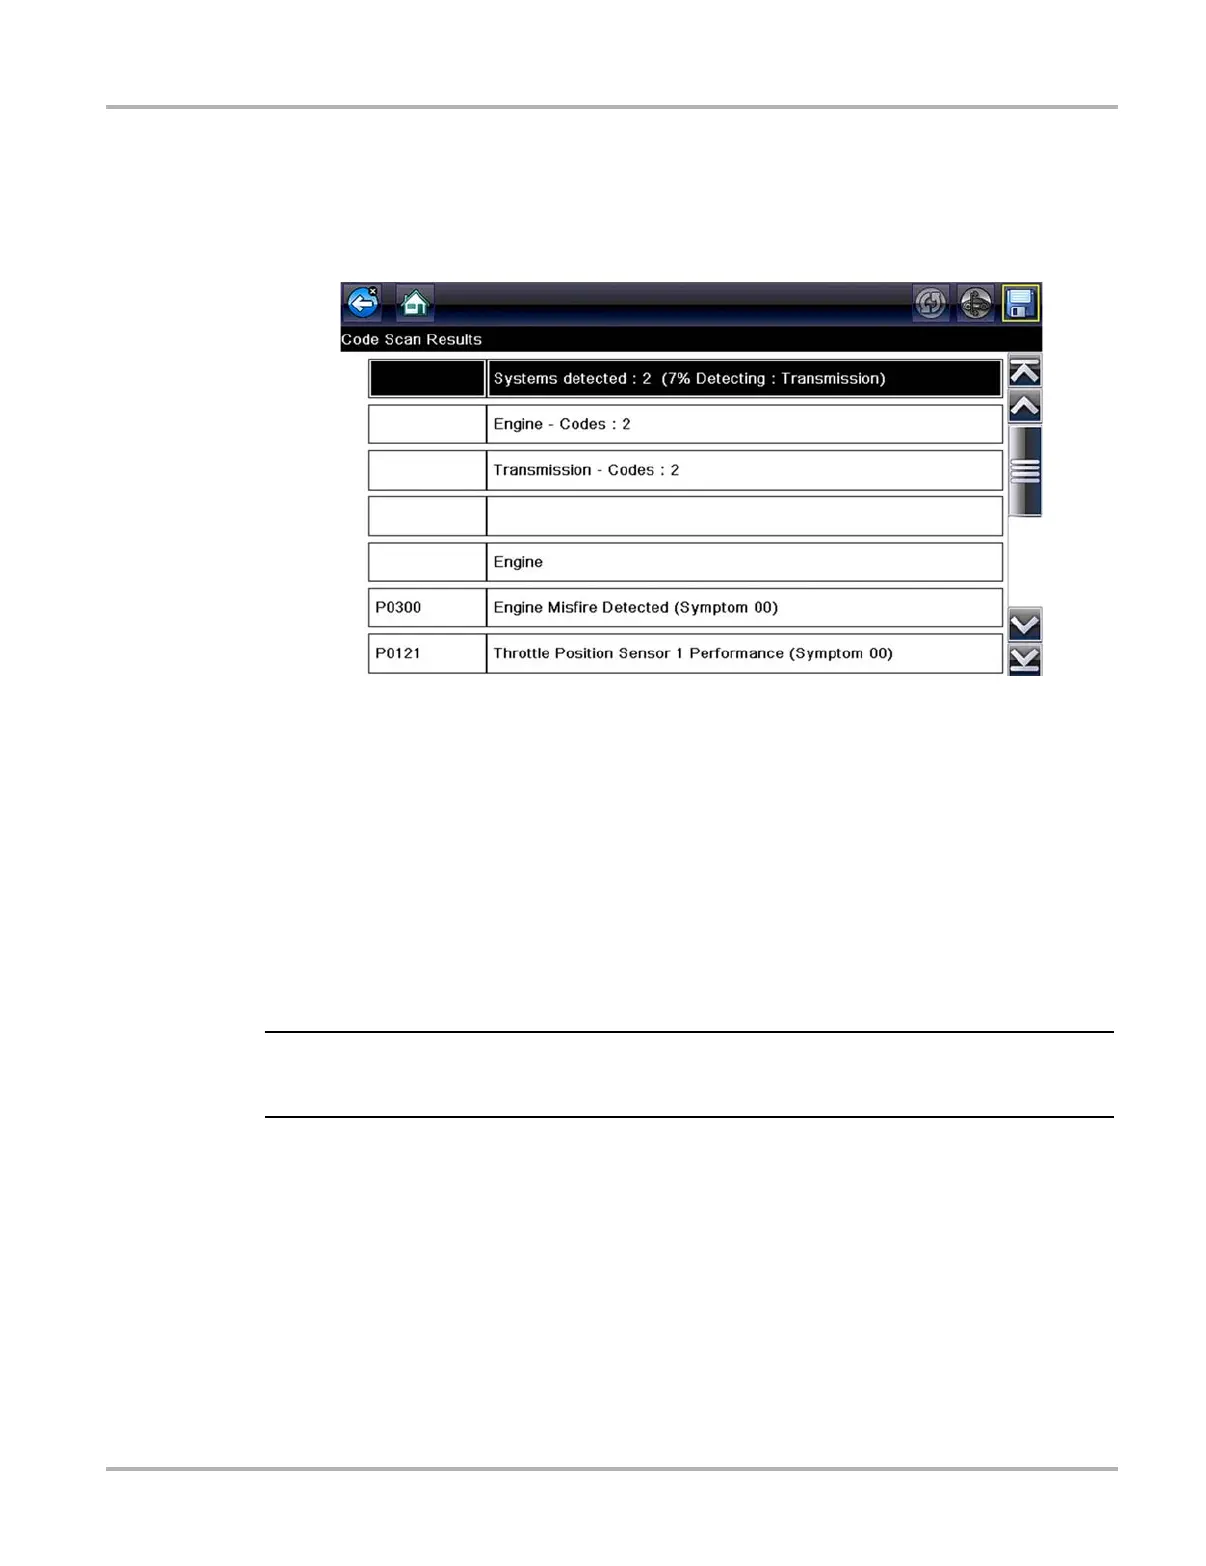
z Viewing Code Results on the Diagnostic Tool
Selecting a system code or a code scan results file from your saved file list (Figure 6-4), opens the
file onscreen. When opened, the (.XML) file displays basic vehicle information and a list of DTCs
with a brief description of each.
Figure 6-4 Typical - Code Scan Results (.XML file) viewed onscreen
6.1.3 Delete Saved Data
This menu option is used to permanently erase saved files from Diagnostic Tool memory when
they are no longer needed.
z To delete a saved file:
1. Select Previous Vehicles and Data from the Home screen.
2. Select Delete Saved Data from the menu.
A list of saved files displays.
i The Select/Deselect and Select All/Deselect All icons become available on the toolbar so that you
can either delete individual files or clear the entire memory buffer all at once.
3. Select a file from the list and a confirmation message displays.
4. Select an option from the confirmation message:
– OK—deletes the selected file and returns to the saved files list, which no longer includes
the deleted file.
– Cancel—returns to the saved files list without deleting the selected file.
5. Select Back on the toolbar to return to the Previous Vehicles and Data menu, select Home to
return to the Home screen.