11
Operation Saving and Managing Screenshots
4.7.3 Deleting Screenshots
1. Open the Gallery, see Viewing Screenshots.
2. Select the image to be deleted.
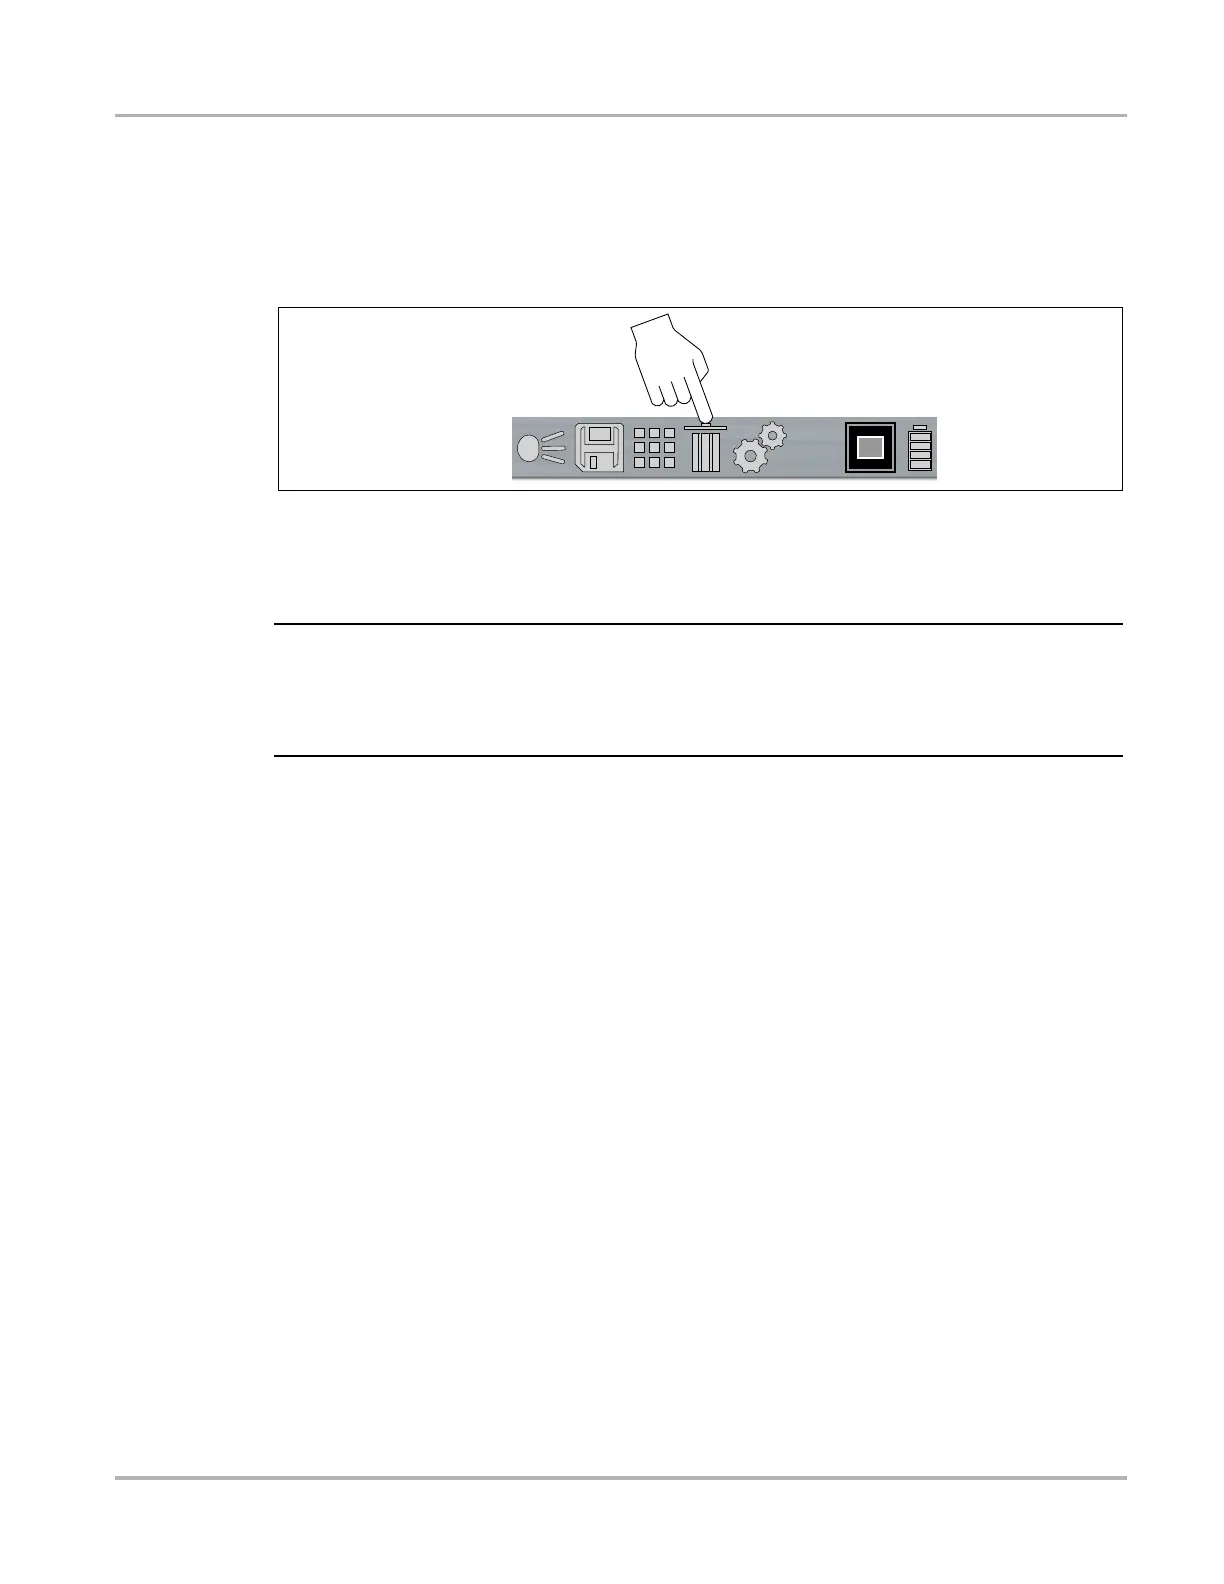
3. Select the Delete icon from the toolbar (Figure 4-12), then press the Y button to delete the
image.
Figure 4-10
4.7.4 Transferring Screenshots to a PC
i When the Thermal Laser is connected by USB cable to a PC, saving and viewing screenshots is
disabled. If the screen capture trigger is pulled, or the gallery icon is selected while the USB cable
is connected to a PC, an error message is displayed. To resume saving screenshots, disconnect
the USB cable from the PC.
The Thermal Laser can be connected to a PC using the supplied USB cable. This allows you to
transfer saved screenshots to the PC.
1. Open the protective cover on top of the Thermal Laser, and connect the USB cable to the USB
jack.
2. Turn the Thermal Laser on.
3. With your PC turned on, connect the USB cable to your PC.
4. Your PC will recognize the Thermal Laser as an external storage device
(e.g. THERMALASER Drive (E:)) (Figure 4-11).

 Loading...