40 Copyright © 2025 Sol-Ark LLC
POWERSYNC – LFP3250-LV480100SP
Follow these instructions for setting up PowerSync batteries and Sol-Ark inverters.
Be sure to consult the comprehensive technical documentation provided by PowerSync for specifications
and settings to ensure optimal performance and safety. Visit the manufacturer’s website and consult the
relevant documentation below.
PowerSync documentation
Communications Installation and Setup Instructions
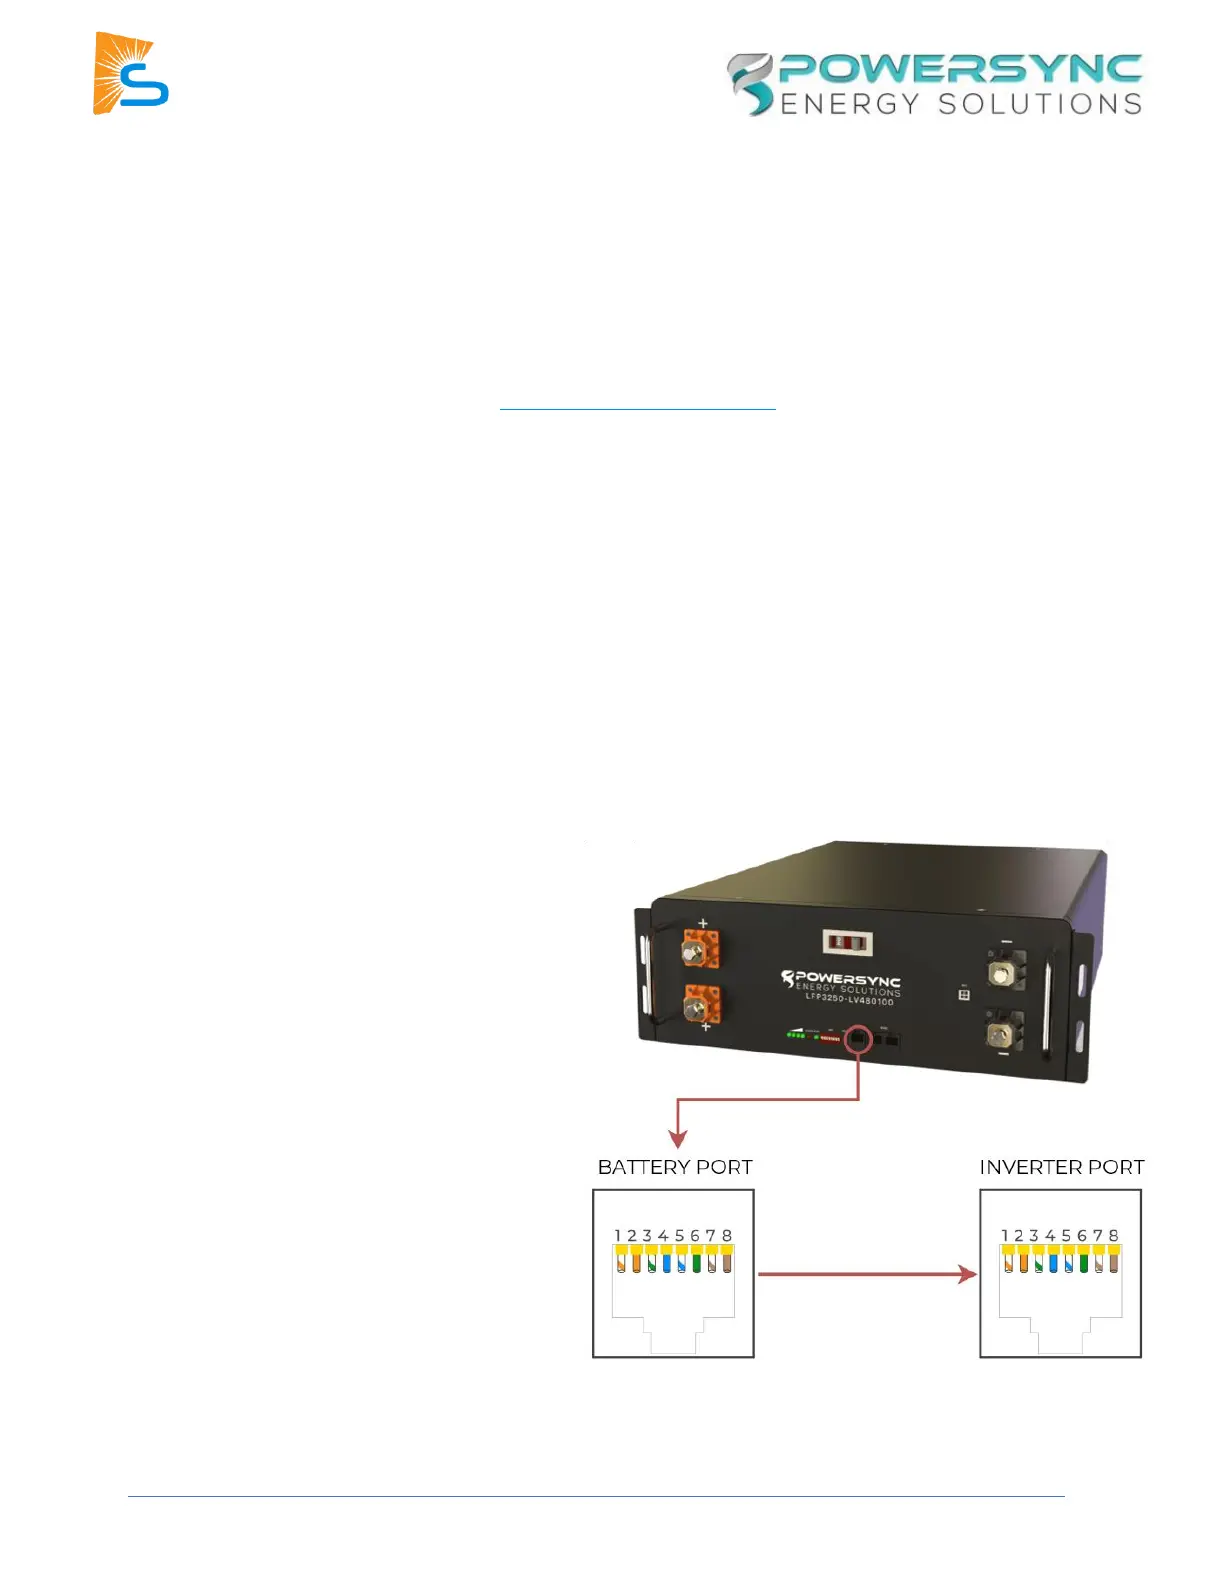
Custom RJ45 cable
No custom cable is needed.
Battery IDs and connections
1. Set the DIP switches on the battery per the manual and your battery configuration.
2. Connect all batteries with the included short RJ45 cables, connecting each battery via their RS485
ports.
Inverter programming and connections
1. CAN mode cable: Using a standard RJ45
connector-based CAT5/CAT6 Ethernet
cable (all leads straight through), connect
the master battery’s “CAN” port to the
inverter’s “Battery CANBus” port
(outdoor-rated only) or the “CAN” port
(indoor-rated models).
2. Turn on the batteries using the breaker
labeled “Master Switch.”
3. Program the inverter with this battery’s
appropriate charge/discharge settings.
4. Enable “BMS Lithium Batt” and set its
value to “00.”
5. (Optional) Turn on “BMS_Err_Stop” if you if
you want the system to fault on battery
communications loss.