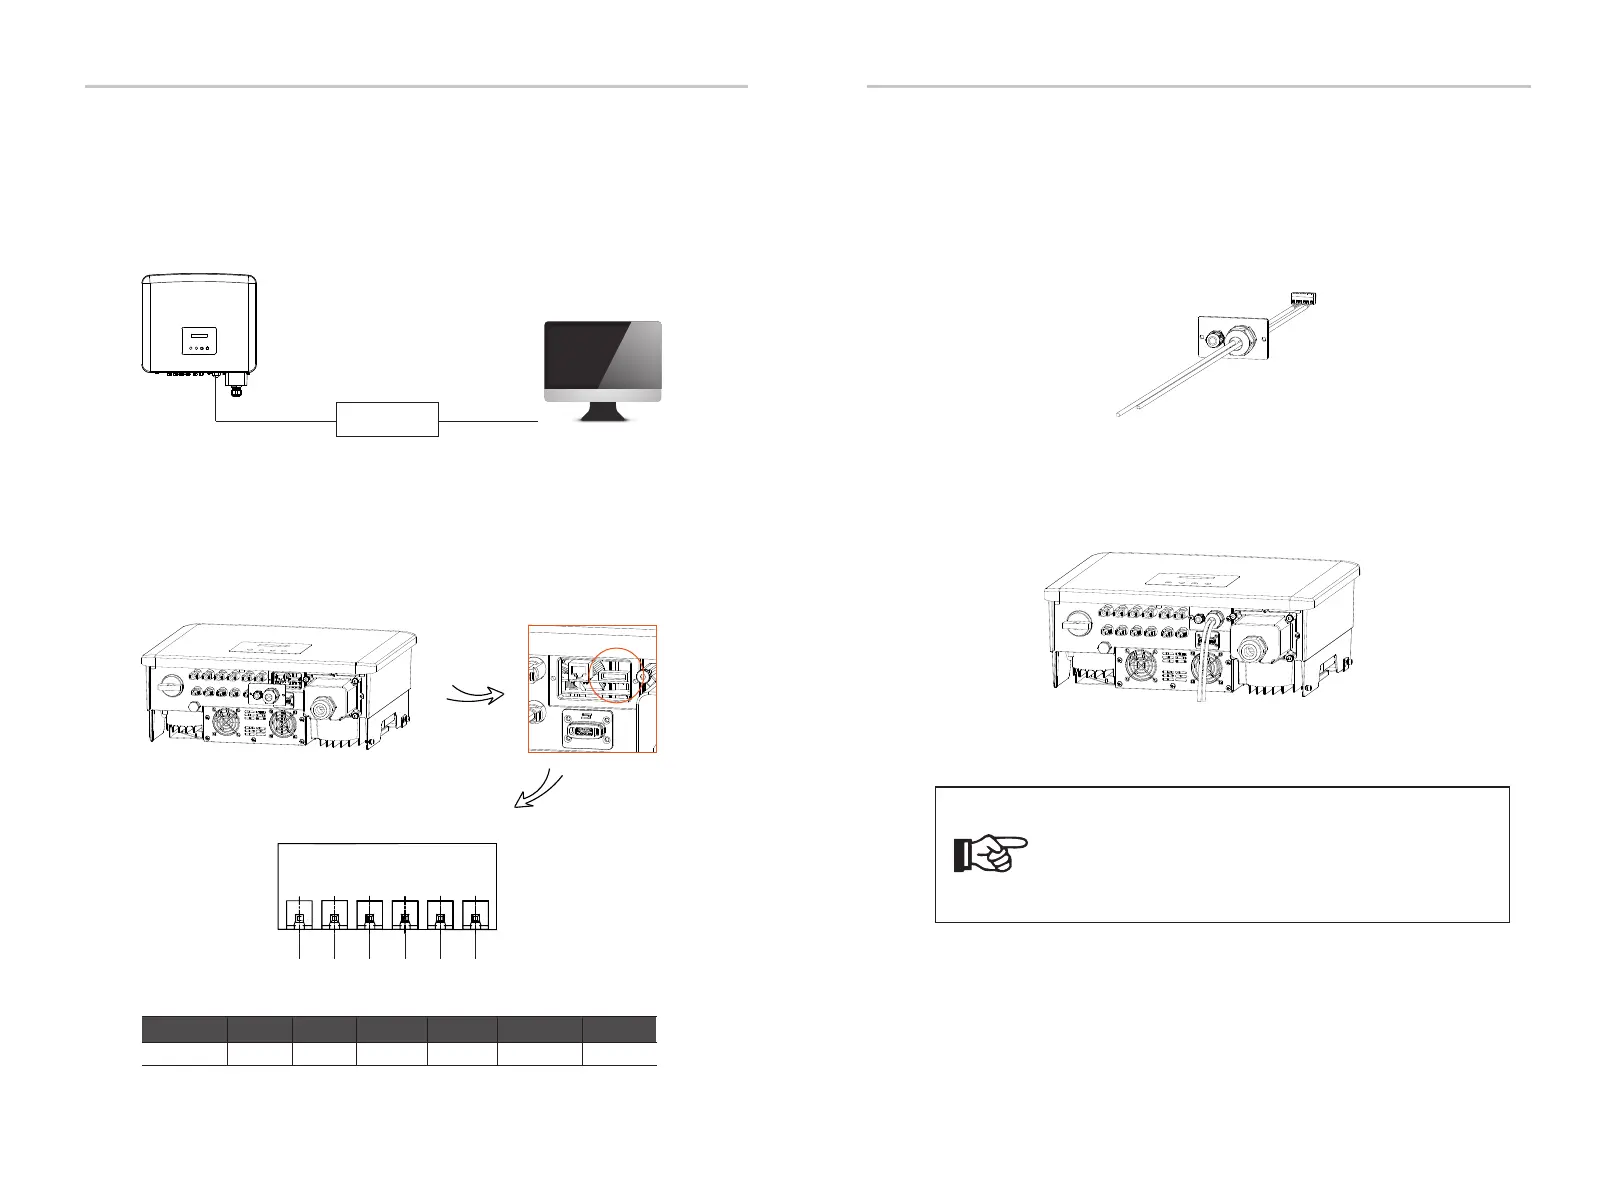
6.4.3 RS485/Meter Connection
There is an RS485 port on the bottom of the inverter. Through this port, the
inverter can communicate with the computer, Datahub or other devices and
the meter and achieve the parallel function or EV-Charger function.
485A & 485B of the
inverter
USB port of the
computer
RS485 to USB
1
2
3
4
5
6
The PIN definitions of RS485 port are as below.
Pin
Definition
1
2
3 4
5
6
485A 485B 485A 485B
meter A
meter B
• RS485 Connection Steps:
a) Unscrew the cover on the RS485 port and locate the port.
b) Prepare a communication cable and strip the insulation from the cable.
c) Let the cable pass through the waterproof plug. Then insert the wires into
the corresponding pins of the terminal block following the PIN definition rules
and tighten the wires.
d) Insert the terminal block into the RS485 port of the inverter and tighten the
waterproof plug.
Note!
When making RS485 wiring, the wiring should be connected
according to correct sequence:
For communication with computers: 485A-485B & 485B-485A;
For other devices (including inverters, Datahub, etc.): 485A-
485A & 485B-485B.
40 41
Electrical Connections Electrical Connections
 Loading...


