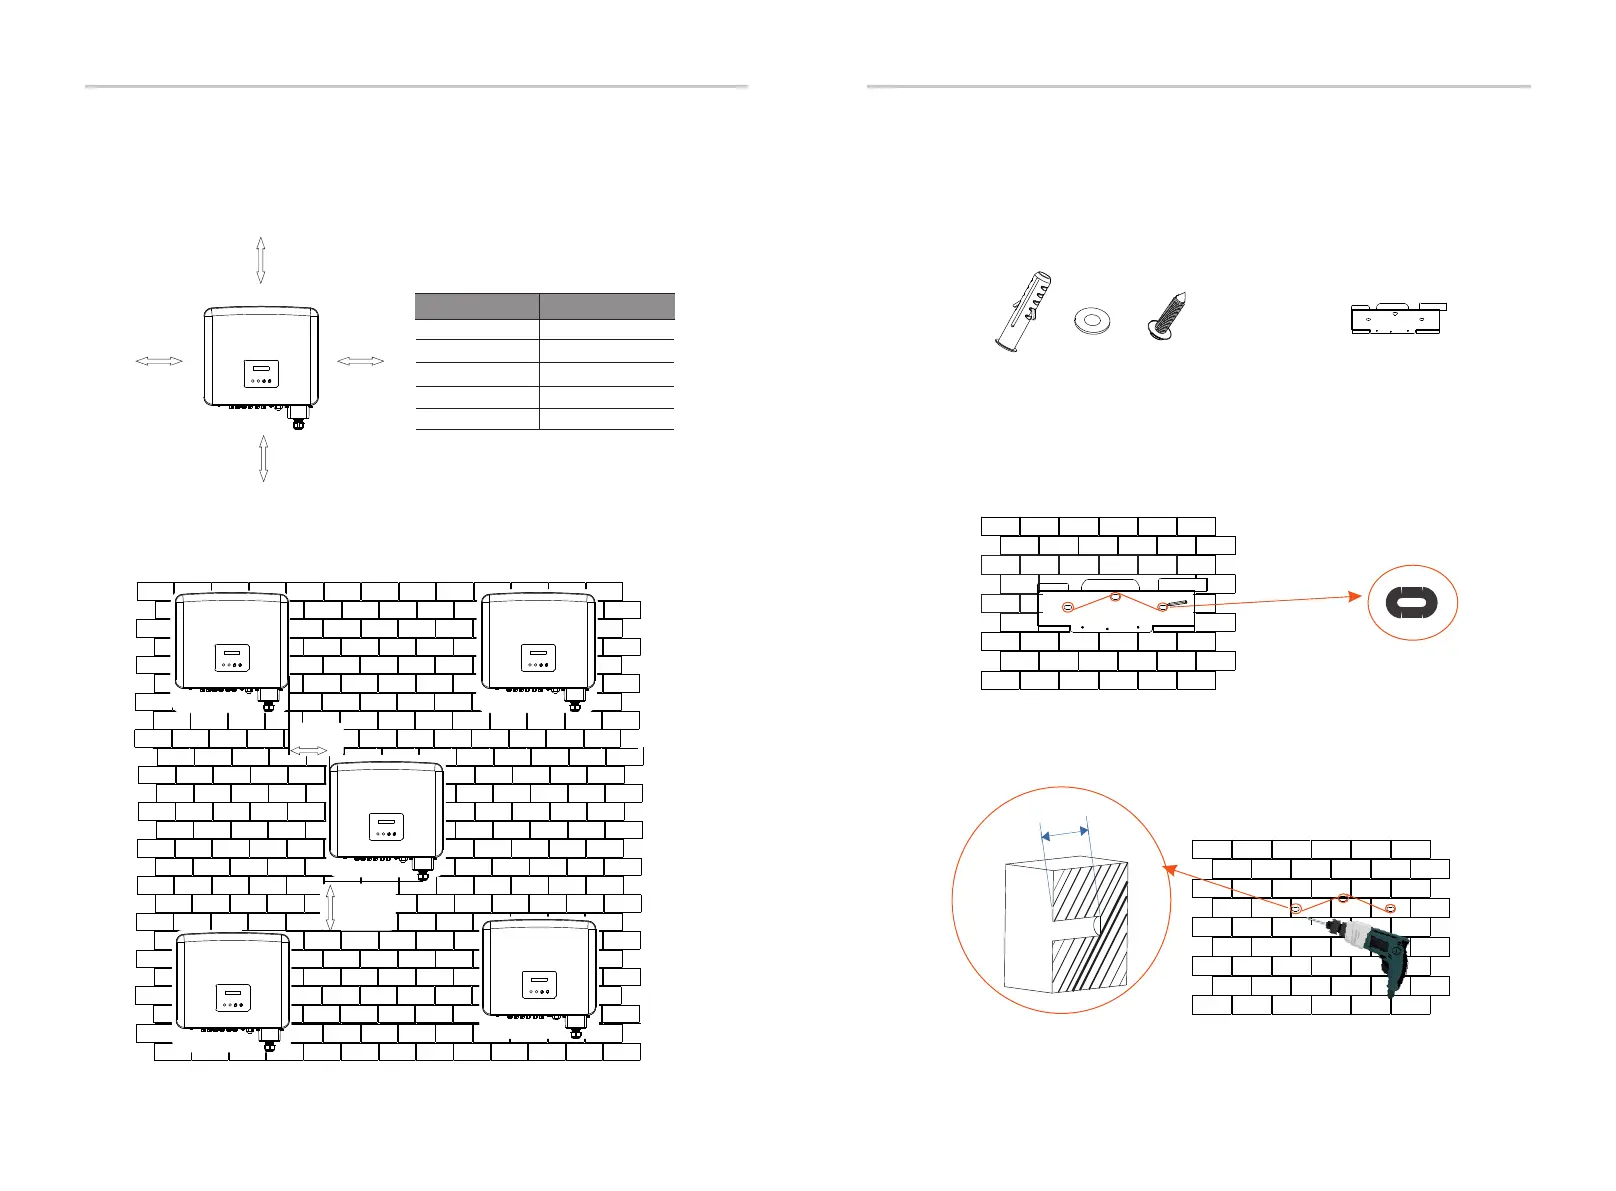
≥300 mm
≥300 mm
≥300 mm≥300 mm
300 mm
300 mm
300 mm
300 mm
300 mm
Position
Min Distance
Left
Right
Up
Down
Forward
Reserved space dimensions of
installation
5.4.1 Installation Space Requirements
Reserve enough space when installing inverter (at least 300 mm) for heat
dissipation.
The distance of installation space for multiple inverters is as follows:
Step 1: Fix the bracket to the wall.
Ø
First find the expansion screws and the bracket in the accessory bag, as
shown below:
a) Mark the holes on the wall with a marker.
b) Drill holes at the marked points to a depth of at least 60 mm.
a)
5.4.2 Mounting
≥300 mm
≥300 mm
Expansion bolts, Gasket, Self-tapping screws
Bracket
b)
Φ10 Drill
(Depth: 60 mm)
Installation Installation
60 m
m
22 23

 Loading...


