EN
1
EN - GDK installation and operating guide - SOMFY
Contents
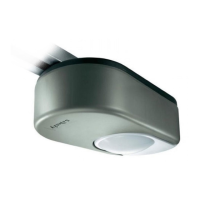
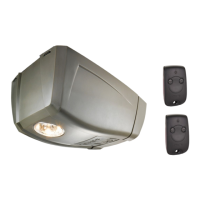
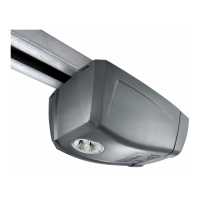
Product description 2
Kit contents 2
Space requirements 3
General view of the installation 3
Field of application 4
Types of doors which can be motorised 4
Maximum dimension of doors 4
Prerequisites for installation 5
Tools and screws necessary for installation
(not supplied) 5
Recommendations for fastening
(screws not included in the kit) 5
1 Installation 6
1.1 Implementation of fastenings 6
- Fastening the lintel and door brackets 7
1.2 Assembly 8
- Assembling the rail in 3 sections 8
- Assembling the rail to the motor head 10
- Fastening the unit to the ceiling 11
1.3 Mounting 11
- Fastening the unit to the lintel bracket 11
- Fastening the unit to the ceiling 11
- Fastening the link arm to the door
and the carriage 12
1.4 Settings 13
- Adjusting and fastening the opening stop 13
- Checking the tension of the belt 13
1.5 Assembling/disassembling the cover 14
1.6 Electrical connection to the power supply 14
2 Programming 15
2.1 Parameter setting 15
- Description of the programming buttons 15
- Performing auto-programming 15
- Checking the mechanical setting of the door 17
2.2 Advanced settings 17
2.3 Locking/unlocking the parameters
menu 19
2.4 Memorising the remote controls 20
2.5 Clearing the remote controls 21
2.6 Reinitialising the settings 21
3 Operation 22
3.1 User training 22
3.2 Using the remote controls 22
- Using the remote control with door closed 22
- Using the remote control with door open 23
- Using a 3-button remote control 23
3.3 Obstacle detection mode 24
3.4 Integrated lighting operation 24
3.5 Manual back release
mode 25
3.6 Operation after a power outage 25
4 Accessories 26
4.1 Connecting the photoelectric cells 26
ǧȗǥ áÚÚªÿÀÚ·ÿ½ªĪö½ÀÚ·ÓÀ·½ÿ ǥǩ
4.3 Connecting the remote antenna 27
4.4 Connecting the back-up battery 27
4.5 Connecting the key contact 28
4.6 Connecting the solar kit 28
4.7 Accessories general wiring diagram 29
5 Maintenance and repairs 30
5.1 Periodic checks 30
5.2 Diagnostics 30
5.3 Assistance 30
5.4 Changing the remote control battery 31
6 Technical data 32
Translated version of the guide
We recommend you have at least two people to install this product.