Working Instruction, Mechanical
3/000 21-1/FEA 209 544/129 A
Company Internal
©
Sony Ericsson Mobile Communications AB
16(34)
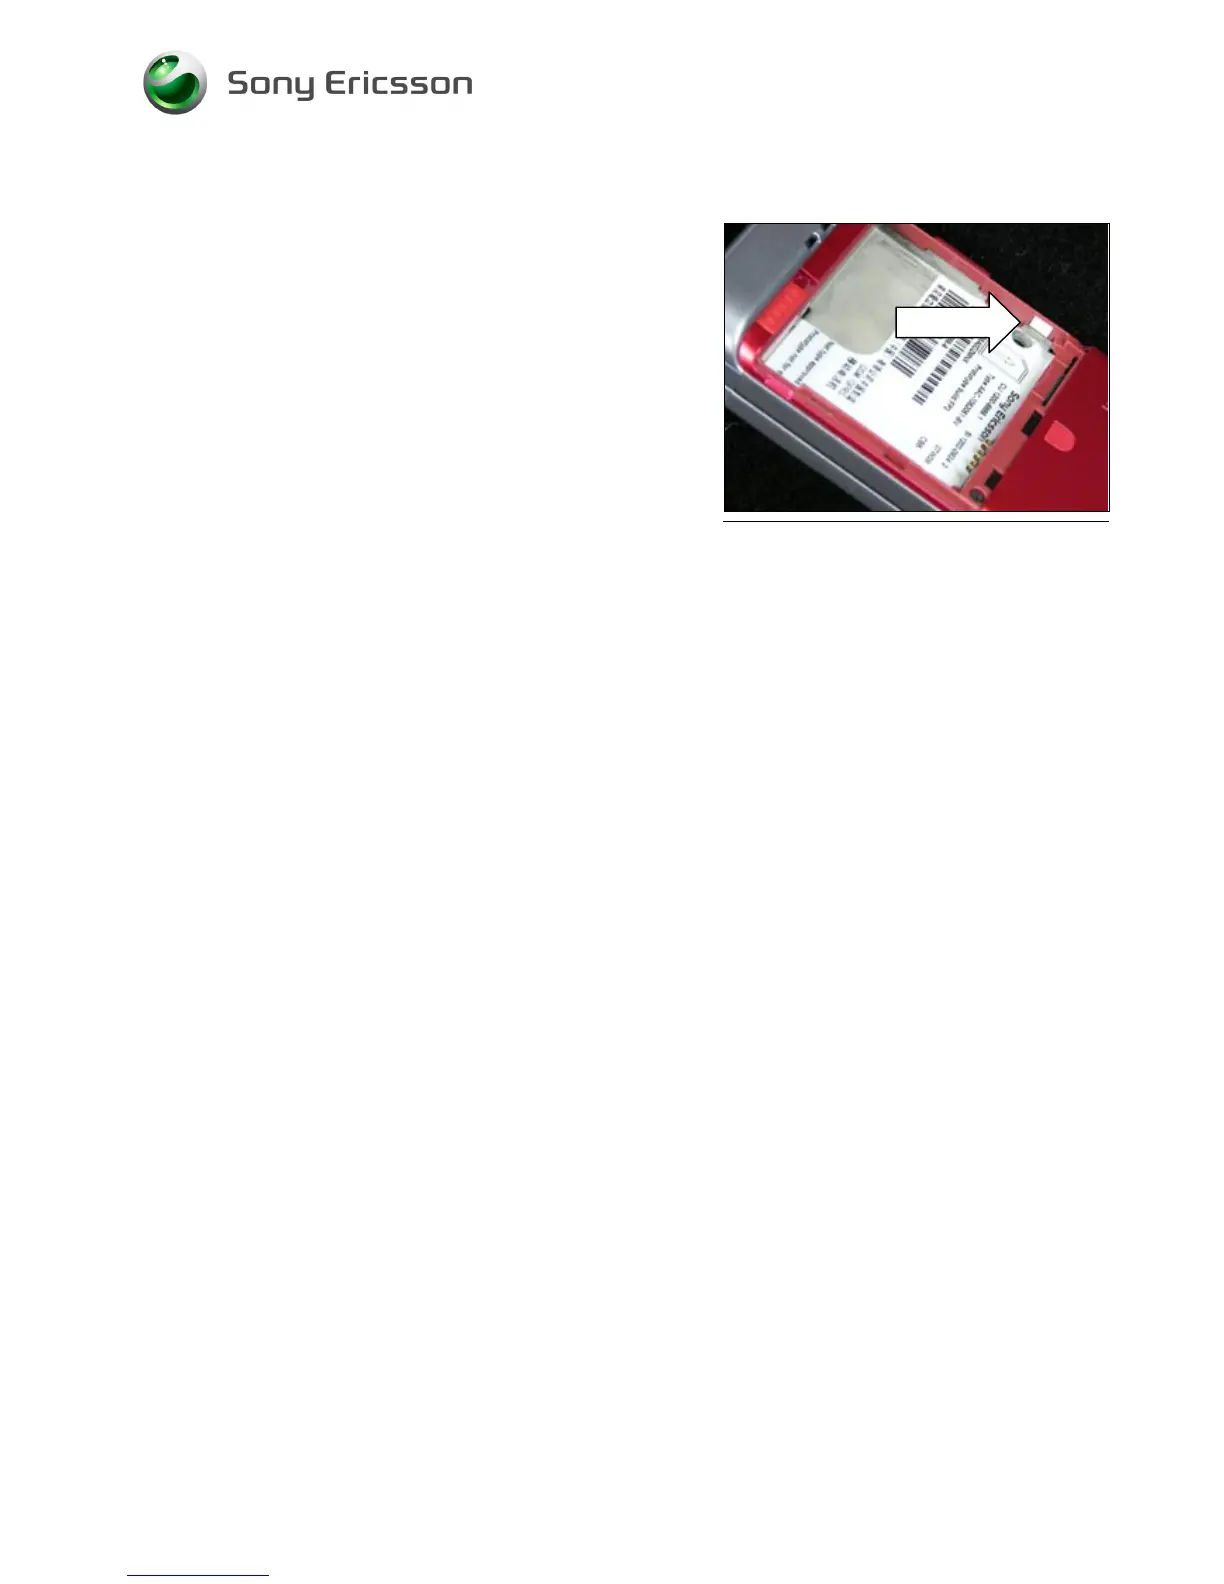
3.6 Liquid Intrusion Indicator
Follow the 2.1.1 Disassembly instructions!
Remove the activated Indicator using a Dental hook and a
pair of tweezers. Prepare the new Liquid Intrusion Indicator.
Follow the 4.1.6 Reassembly instructions!
3.7 Panel Antenna
Follow the 2.1.1 – 2.1.2 Disassembly instructions!
Prepare the new Panel Antenna.
Follow the 4.1.5 – 4.1.6 Reassembly instructions!!
3.8 Rear Back Cover
Follow the 2.1.1 – 2.1.2 Disassembly instructions!
Prepare the new Rear Back Cover.
Follow the 4.1.5 – 4.1.6 Reassembly instructions!
3.9 Key, On/Off
Follow the 2.1.1 – 2.1.2 Disassembly instructions!
Prepare the new Key.
Follow the 4.15 – 4.1.6 Reassembly instructions!
3.10 Key, Volume
Follow the 2.1.1 – 2.1.2 Disassembly instructions!
Prepare the new Key.
Follow the 4.1.5 – 4.1.6 Reassembly instructions!
3.11 Key, Camera
Follow the 2.1.1 – 2.1.2 Disassembly instructions!
Prepare the new Key.
Follow the 4.1.5 – 4.1.6 Reassembly instructions!