99
Printing still images
Printing images directly using a PictBridge
compliant printer
Even if you do not have a computer, you
can print images shot using your camera by
connecting the camera directly to a
PictBridge compliant printer.
• “PictBridge” is based on the CIPA standard.
(CIPA: Camera & Imaging Products
Association)
In single-image mode
You can print a single image on a printing
sheet.
In index mode
You can print several images at a reduced
size on a printing sheet. You can print a set
of either the same images (1) or different
images (2).
12
• An index print function may not be provided
depending on the printer.
• The quantity of images that can be printed as an
index image differ depending on the printer.
• You cannot print RAW data files.
• If the indicator flashes on the screen of the
camera for about five seconds (error
notification), check the connected printer.
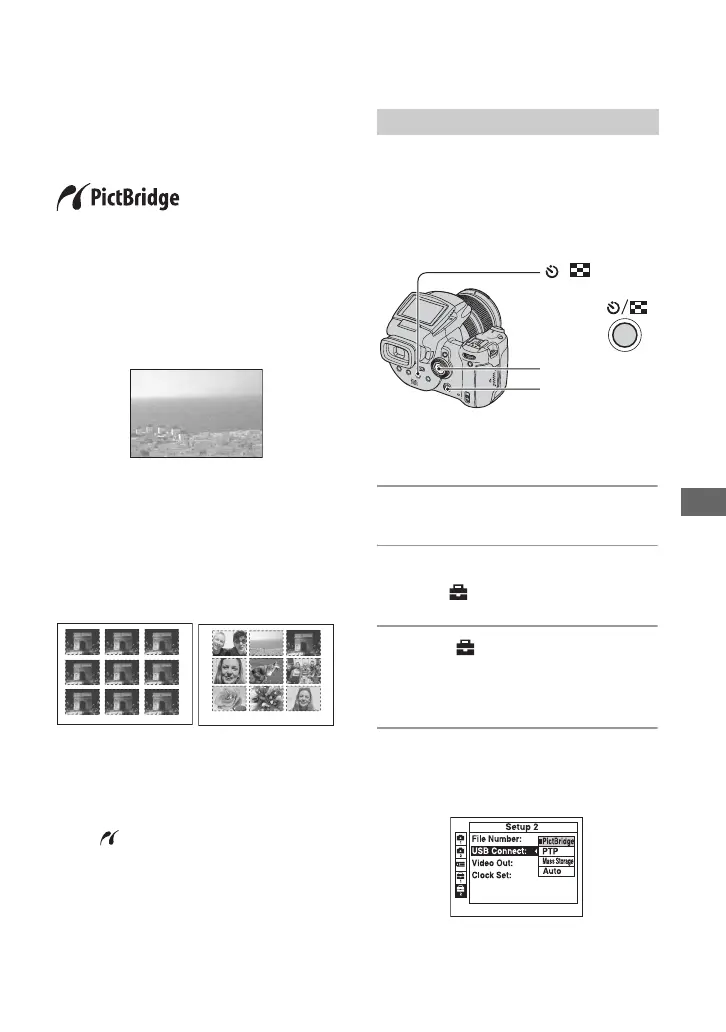
Prepare the camera to connect it to the
printer with the USB cable. When
connecting the camera to a printer that is
recognized when [USB Connect] is set to
[Auto], Stage 1 (steps 1 - 4) is unnecessary.
• It is recommended to use the AC Adaptor to
prevent the power from turning off partway
through printing.
1 Press MENU to display the menu.
2 Move the multi-selector to B to
select (Setup).
3 Select [ ] (Setup2) by moving to
V, then select [USB Connect] by
moving to v/V/B.
4 Select [PictBridge] by moving to
B/v, then press the center of the
multi-selector.
The USB mode is set.
Stage 1: Preparing the camera
/
button
Multi-selector
MENU button
2