1-27
110
5
Press M/m to set the day, and press ,.
Set the month, year, hour, and minutes in
sequence. Press </, to select the item
to be set, then press M/m to set the
numbers. The day of the week is set
automatically.
To change the numbers, press < to
return to the item to be changed, and
press M/m.
6 Press ENTER to start the clock.
Input Line System
Selects the colour system when recording
from the connected equipment.
b Notes
• When picture noise appears after you change the
“Input Line System” setting, change the “Input
Colour System” setting (page 114). If picture
noise still appears, hold down x (stop) on the
recorder, and press INPUT on the recorder.
• When you change the “Input Line System”
setting, the Dubbing List is erased.
Power Save
Selects whether this recorder is in power save
mode when the power is turned off (standby).
b Note
Power Save mode does not function in the
following cases, even when “Power Save” is set to
“Mode 1” or “Mode 2.”
– There is a timer setting with “VPS / PDC” in the
SCHEDULE list.
– The SMARTLINK features are not available
when “Power Save” is set to “Mode 1” or “Mode
2.”
HELP Setting
Easy Setup (Resetting the Recorder)
Select this to run the “Easy Setup”
programme.
1 Select “Easy Setup” in “Basic,” and press
ENTER.
2 Select “Start,” and press ENTER.
3 Follow the instructions for “Easy Setup”
(page 23) from step 2.
NTSC Records in NTSC or PAL-60
colour system.
PAL/
SECAM
Records in PAL or SECAM
colour system.
Mode 1 Only antenna input signals are
output to the connected TV
when the recorder is in standby.
Mode 2 No input signals are output
when the recorder is in standby.
Off
Does not set to power save
mode. Normally, select this
setting.
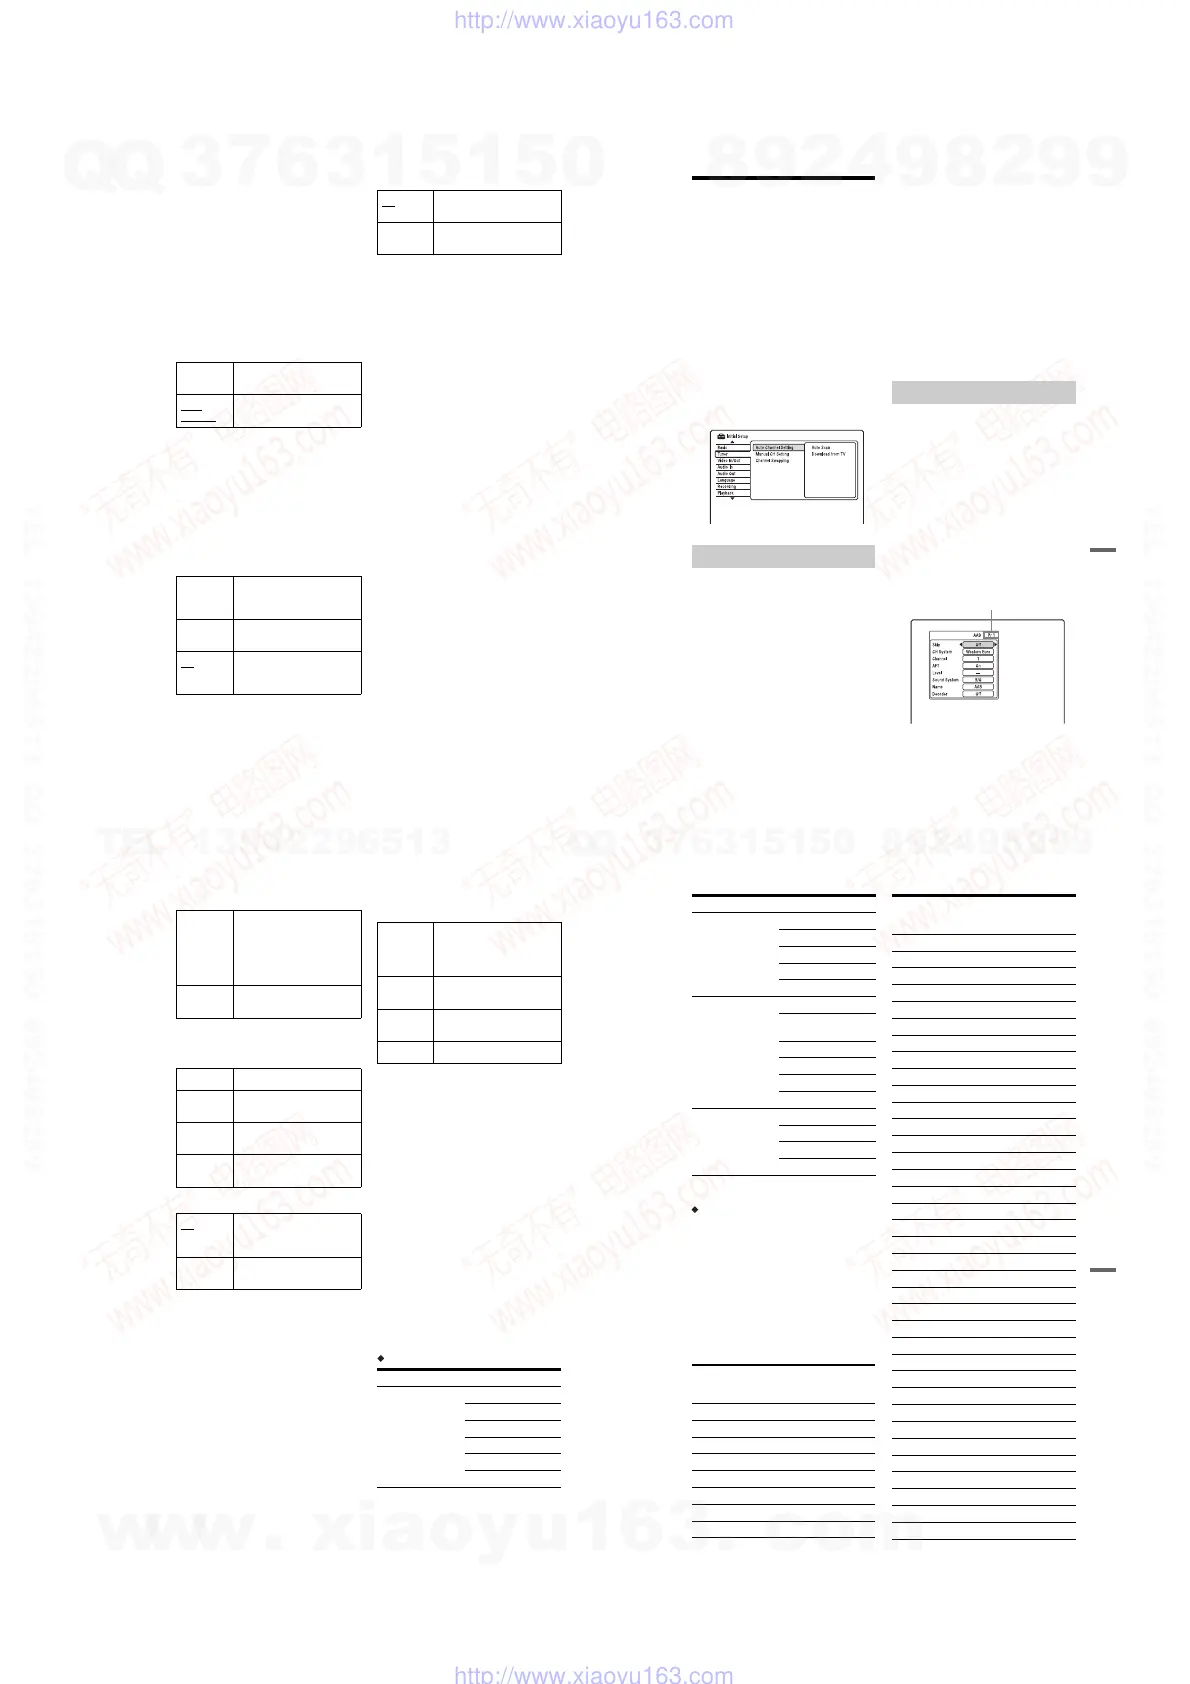
On Displays Help information for
GUI displays.
Off Does not set to HELP setting
mode.
111
Settings and Adjustments
Aerial Reception
Settings (Tuner)
The “Tuner” setup helps you to make tuner
and programme position settings for the
recorder.
1 Press SYSTEM MENU while the
recorder is in stop mode.
2 Select “Initial Setup,” and press
ENTER.
3 Select “Tuner,” and press ENTER.
The “Tuner” setup appears with the
following options. The default settings
are underlined.
To turn off the display, press SYSTEM
MENU repeatedly.
Auto Scan
If you connect a TV to this recorder not using
SMARTLINK, you can preset programme
positions automatically using “Auto Scan.”
1 Select “Auto Channel Setting” in
“Tuner,” and press ENTER.
2 Select “Auto Scan,” and press ENTER.
3 Select your country/region using </,,
and press ENTER.
The programme position order will be set
according to the country/region you set.
If any programme positions are unused
or contain unwanted channels, you can
disable them (page 112).
Download from TV
If you connect a TV to this recorder with
SMARTLINK, you can preset programme
positions by downloading from your TV.
For details, refer to the operating instructions
supplied with your TV.
1 Select “Download from TV” in “Tuner,”
and press ENTER.
2 Select your country/region using </,,
and press ENTER.
The tuner preset data will be downloaded
from your TV to this recorder.
If any programme positions are unused
or contain unwanted channels, you can
disable them (page 112).
Presets programme positions manually.
If some programme positions could not be set
using the “Easy Setup” function, you can set
them manually.
If there is no sound or if the picture is
distorted, the wrong tuner system may have
been preset during “Easy Setup.” Set the
correct tuner system manually in the steps
below.
1 Select “Manual CH Setting” in “Tuner,”
and press ENTER.
2 Select “Next Screen,” and press ENTER.
3 Select your country/region using </,,
and press ENTER.
4 Press ./> to select the programme
position.
5 Select the item you want to change using
M/m, and change the settings using </
,, then press ENTER.
• To preset another programme position,
repeat from step 4.
Auto Channel Setting
Manual CH Setting
Programme position
,continued
112
Skip
CH System
Select the region to get the best broadcast
reception.
AFT
• If the Auto Fine Tuning function does not
work effectively, select “Off” and press m.
Press </, to obtain a clearer picture, and
press ENTER.
Sound System
Select an available TV system (page 112).
Name
Changes or enters a new station name (up to
5 characters). The recorder must receive
programme position information (e.g.,
SMARTLINK information) for station
names to appear automatically.
Press ,, then press </, repeatedly to
select a character.
To change the characters, press M/m to move
the cursor, and press </,.
Decoder
Sets the external decoder (PAY-TV/Canal
Plus analogue decoder) channels.
For details, see page 29.
Channel
Press </, repeatedly until the programme
position you want is displayed.
• To select a cable or satellite programme
position, press </, until the programme
position you want is displayed.
Receivable channels
On Select this when the
programme position is unused
or contains unwanted channels.
The selected position will be
skipped when you press PROG
+/–.
Off Does not skip the selected
programme position.
FR Select this when in France.
Western
Euro
Select this when in West
European countries.
UK & IE Select this when in Great
Britain/Ireland.
Eastern
Euro
Select this when in East
European countries.
On
Turns on the Auto Fine Tuning
function.
Normally select this position.
Off Allows you to adjust the
picture manually.
B/G Select this when in West
European countries, except
those listed in “Receivable
channels” on page 112.
D/K Select this when in East
European countries.
I Select this when in Great
Britain/Ireland.
L Select this when in France.
TV system Channel coverage
BG (West European
Countries, except
those listed below)
E2 – E12 VHF
Italia A – H VHF
E21 – E69 UHF
S1 – S20 CATV
S21 – S41 HYPER
S01 – S05 CATV
113
Settings and Adjustments
* To receive broadcasts in France, select “L.”
Tuning the French CATV channels
This recorder can scan the CATV channels B
to Q and the HYPER frequency channels S21
to S41. On the Channel Set menu, the
channels are indicated as CC1 to CC44. For
example, channel B is indicated by Channel
Set number CC1, and channel Q is indicated
by Channel Set number CC23 (see the table
below). If the CATV channel you want to
preset is indicated by its frequency (for
example, 152.75 MHz), refer to the table
below to find the corresponding channel
number.
DK (East European
Countries)
R1 – R12 VHF
R21 – R69 UHF
S1 – S20 CATV
S21 – S41 HYPER
S01 – S05 CATV
I (Great Britain/
Ireland)
Ireland A – J VHF
South Africa 4 – 11, 13
VHF
B21 – B69 UHF
S1 – S20 CATV
S21 – S41 HYPER
S01 – S05 CATV
L* (France) F2 – F10 VHF
F21 – F69 UHF
B – Q CATV
S21 – S41 HYPER
Corre-
sponding
channel
Channel
Set
number
Receivable
Frequency
range (MHz)
B CC1 116.75–124.75
C CC2 124.75–132.75
D CC3 132.75–140.75
D CC4 140.75–148.75
E CC5 148.75–156.75
F CC6 156.75–164.75
F CC7 164.75–172.75
G CC8 172.75–180.75
TV system Channel coverage
H CC9 180.75–188.75
HCC10188.75–196.75
ICC11196.75–204.75
JCC12204.75–212.75
JCC13212.75–220.75
KCC14220.75–228.75
LCC15228.75–236.75
LCC16236.75–244.75
MCC17244.75–252.75
NCC18252.75–260.75
NCC19260.75–268.75
OCC20268.75–276.75
PCC21276.75–284.75
PCC22284.75–292.75
QCC23292.75–300.75
S21 CC24 299.25–307.25
S22 CC25 307.25–315.25
S23 CC26 315.25–323.25
S24 CC27 323.25–331.25
S25 CC28 331.25–339.25
S26 CC29 339.25–347.25
S27 CC30 347.25–355.25
S28 CC31 355.25–363.25
S29 CC32 363.25–371.25
S30 CC33 371.25–379.25
S31 CC34 379.25–387.25
S32 CC35 387.25–395.25
S33 CC36 395.25–403.25
S34 CC37 403.25–411.25
S35 CC38 411.25–419.25
S36 CC39 419.25–427.25
S37 CC40 427.25–435.25
S38 CC41 435.25–443.25
S39 CC42 443.25–451.25
S40 CC43 451.25–459.25
S41 CC44 459.25–467.25
Corre-
sponding
channel
Channel
Set
number
Receivable
Frequency
range (MHz)
,continued
w
w
w
.
x
i
a
o
y
u
1
6
3
.
c
o
m
Q
Q
3
7
6
3
1
5
1
5
0
9
9
2
8
9
4
2
9
8
T
E
L
1
3
9
4
2
2
9
6
5
1
3
9
9
2
8
9
4
2
9
8
0
5
1
5
1
3
6
7
3
Q
Q
TEL 13942296513 QQ 376315150 892498299
TEL 13942296513 QQ 376315150 892498299
http://www.xiaoyu163.com
http://www.xiaoyu163.com



 To Next Page