1-28
114
After the programme positions have been set,
you can change the order of each programme
position in the display list.
1 Select “Channel Swapping” in “Tuner,”
and press ENTER.
2 Select “Next Screen,” and press ENTER.
3 Press M/m to select the programme
position number you want to swap, and
press ,.
• To display other pages, press ./
> repeatedly.
4 Press M/m to select the programme
position number to swap for the one
selected in step 3, and press ENTER.
The programme position numbers are
swapped.
• To swap the programme position
number of another station, repeat from
step 3.
Video Settings (Video In/
Out)
The “Video In/Out” settings will adjust items
related to the image, such as size and colour.
Select the settings according to the type of
TV, tuner, or decoder connected to the DVD
recorder.
1 Press SYSTEM MENU while the
recorder is in stop mode.
2 Select “Initial Setup,” and press
ENTER.
3 Select “Video In/Out,” and press
ENTER.
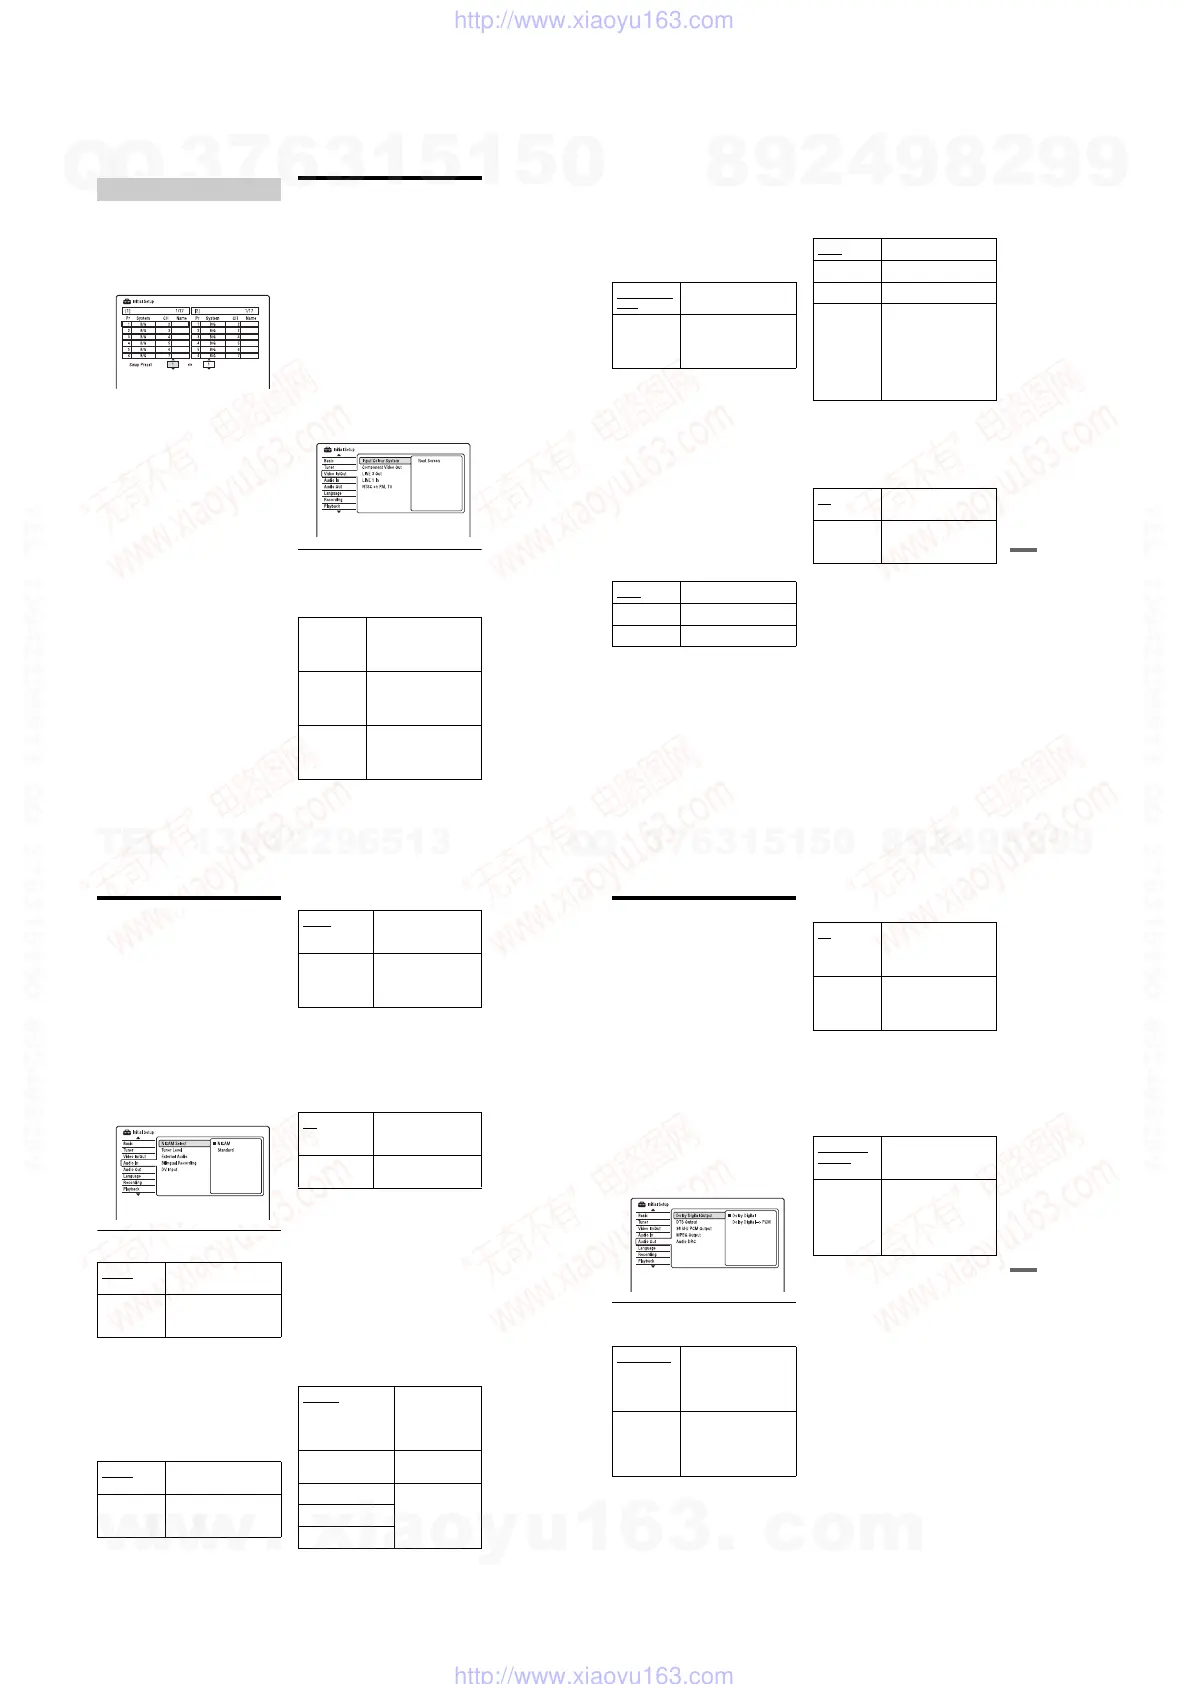
The “Video In/Out” setup appears with
the following options. The default
settings are underlined.
Input Colour System
Selects the colour system when picture noise
appears after you change the “Input Line
System” setting (page 110).
Channel Swapping
Auto Recorder automatically
detects signals of colour
systems and selects the
appropriate colour system.
PAL Selects the PAL colour
system when “Input Line
System” is set to “PAL/
SECAM.”
SECAM Selects the SECAM colour
system when “Input Line
System” is set to “PAL/
SECAM.”
115
Settings and Adjustments
z Hint
When “Input Line System” is set to “NTSC,” you
can select “Auto,” “3.58NTSC,” or “PAL-60.”
Component Video Out
Selects the signal format in which the
recorder outputs video signals: interlace or
progressive, from the COMPONENT
VIDEO OUT jacks.
b Notes
• When you set “LINE 3 Out” to “RGB,” you
cannot set “Component Video Out.”
• When you connect the recorder to a monitor or
projector via only the COMPONENT VIDEO
OUT jacks, do not set “LINE 3 Out” to “RGB.” If
you set “LINE 3 Out” to “RGB,” in this case, the
picture may not appear.
• When picture noise appears after you set the
recorder to progressive format, hold down
x (stop) on the recorder, and press Z (open/
close) on the recorder.
• No video signals are output when using the
HDMI connection.
LINE 3 Out
Selects a method of outputting video signals
for the LINE 3 – TV jack.
b Notes
• If your TV does not accept S-video or RGB
signals, the image will not be displayed in the
selected method on the TV screen even if you
select “S-Video” or “RGB.” See the instructions
supplied with your TV.
• SMARTLINK is available only when “Video” is
selected.
• RGB signals are not output when using the HDMI
connection.
LINE 1 In
Selects a method of inputting video signals
for the LINE 1/DECODER jack. The picture
will not be clear if this setting does not match
the type of video input signal.
NTSC on PAL TV
Sets the recorder to convert signals of the
NTSC colour system to the PAL colour
system to play NTSC discs on PAL-only
TVs. Refer to the operating instructions
supplied with your TV.
Normal(Inter-
lace)
Outputs signals in the
interlace format.
Progressive Outputs signals in the
progressive format. Select
this when you want to view
progressive signals.
Video
Outputs video signals.
S-Video Outputs S-video signals.
RGB Outputs RGB signals.
Video Inputs video signals.
S-Video Inputs S-video signals.
RGB Inputs RGB signals.
Decoder Select this when connecting
to an external decoder
(PAY-TV/Canal Plus
analogue decoder). If you
connect to a cable box/
satellite receiver such as
CanalSat, do not select this
option.
On
Plays NTSC discs on PAL-
only TVs.
Off Select this if the connected
TV is a multi-system
(NTSC-compatible) TV.
116
Audio Input Settings
(Audio In)
The “Audio In” setup allows you to adjust the
sound according to the playback and
connection conditions.
1 Press SYSTEM MENU while the
recorder is in stop mode.
2 Select “Initial Setup,” and press
ENTER.
3 Select “Audio In,” and press ENTER.
The “Audio In” setup appears with the
following options. The default settings
are underlined.
NICAM Select (page 52)
Tuner Level
If the playback sound is distorted, set this
item to “Compression.” The recorder reduces
the audio output level.
This function affects the output of the
following jacks:
– LINE 2 OUT R-AUDIO-L jacks
– LINE 3 – TV jack
– LINE 1/DECODER jack
External Audio
b
Note
When receiving audio input signals from the DV
input jack, the recorder automatically selects
“Stereo” or “Bilingual” regardless of the “External
Audio” setting.
Bilingual Recording
Selects the sound to be recorded.
b Note
When recording a bilingual audio signal to the
HDD (when “HDD Recording Format” is set to
“Video Mode Off” (except in PCM mode)) or a
DVD-RW/DVD-R in VR mode (except in PCM
mode), both audio channels are recorded and you
can select the sound when playing.
DV Input
Select the setting for the audio input when
DV camcorder dubbing.
Select “Mix (Stereo 1: 75 %)”/“Mix (Stereo
1: 50 %)”/“Mix (Stereo 1: 25 %)” or “Stereo
2” only if you have added a second audio
when recording with your digital video
camera.
NICAM Normally select this
position.
Standard Select this if the sound from
NICAM broadcasts is not
clear.
Normal
Normally select this
position.
Compression Select this when the
playback sound from the
speakers is distorted.
Stereo Select this when receiving
stereo programmes from
connected equipment.
Bilingual Select this when receiving
bilingual programmes
from connected
equipment.
A/L
Records the main sound
for the bilingual
programme.
B/R Records the sub sound for
the bilingual programme.
Stereo 1
Records original
sound only.
Normally select this
when dubbing a DV
format tape.
Stereo 2 Records additional
audio only.
Mix (Stereo 1: 75 %)
Records both stereo
1 and 2.
Mix (Stereo 1: 50 %)
Mix (Stereo 1: 25 %)
117
Settings and Adjustments
Audio Output Settings
(Audio Out)
The “Audio Out” setup allows you to switch
the method of outputting audio signals when
you connect a component such as an
amplifier (receiver) with a digital input jack.
If you connect a component that does not
accept the selected audio signal, a loud noise
(or no sound) will come from the speakers,
and may affect your ears or cause speaker
damage.
1 Press SYSTEM MENU while the
recorder is in stop mode.
2 Select “Initial Setup,” and press
ENTER.
3 Select “Audio Out,” and press ENTER.
The “Audio Out” setup appears with the
following options. The default settings
are underlined.
Dolby Digital Output (HDD/DVDs only)
Selects the type of Dolby Digital signal.
b Note
If the HDMI OUT jack is connected to equipment
not compatible with Dolby Digital signals, the
PCM signals will be automatically output even
when you select “Dolby Digital.”
DTS Output (DVD VIDEOs only)
Selects whether or not to output DTS signals.
b Note
When HDMI output is performed to equipment not
compatible with DTS signals, the signals will not be
output regardless of the “DTS Output” setting.
96 kHz PCM Output (DVD VIDEOs only)
Selects the sampling frequency of the audio
signal.
b Notes
•“96 kHz PCM Output” setting has no effect when
audio signals are output from the LINE 2 OUT
(R-AUDIO-L) jacks or LINE 3 – TV/LINE 1/
DECODER jack. If the sampling frequency is
96 kHz, signals are simply converted to analogue
signals and output.
• If the HDMI OUT jack is connected to equipment
not compatible with 96 kHz signals, 48 kHz PCM
will be automatically output even when you select
“96 kHz.”
Dolby Digital Select this when the
recorder is connected to an
audio component with a
built-in Dolby Digital
decoder.
Dolby Digital
-> PCM
Select this when the
recorder is connected to an
audio component lacking a
built-in Dolby Digital
decoder.
On Select this when the
recorder is connected to an
audio component with a
built-in DTS decoder.
Off Select this when the
recorder is connected to an
audio component without a
built-in DTS decoder.
96 kHz ->
48 kHz
The audio signals of DVD
VIDEOs are converted to
48 kHz and output.
96 kHz All signals containing
96 kHz are output without
conversion. However, the
signals are output at 48 kHz
if copyright-protected
signals are contained.
,continued
w
w
w
.
x
i
a
o
y
u
1
6
3
.
c
o
m
Q
Q
3
7
6
3
1
5
1
5
0
9
9
2
8
9
4
2
9
8
T
E
L
1
3
9
4
2
2
9
6
5
1
3
9
9
2
8
9
4
2
9
8
0
5
1
5
1
3
6
7
3
Q
Q
TEL 13942296513 QQ 376315150 892498299
TEL 13942296513 QQ 376315150 892498299
http://www.xiaoyu163.com
http://www.xiaoyu163.com
 Loading...