— 27 —
KV-27FV310/29FV310/32FV310/36FV310
[YUV] [VIDEO MODE PRO]
1. Input color-bar signal at 75%.
2. Set screen to Pro Mode.
3. Activate the Service Adjustment Mode.
4. Set (PIC) to 100% and (COL) to 50%.
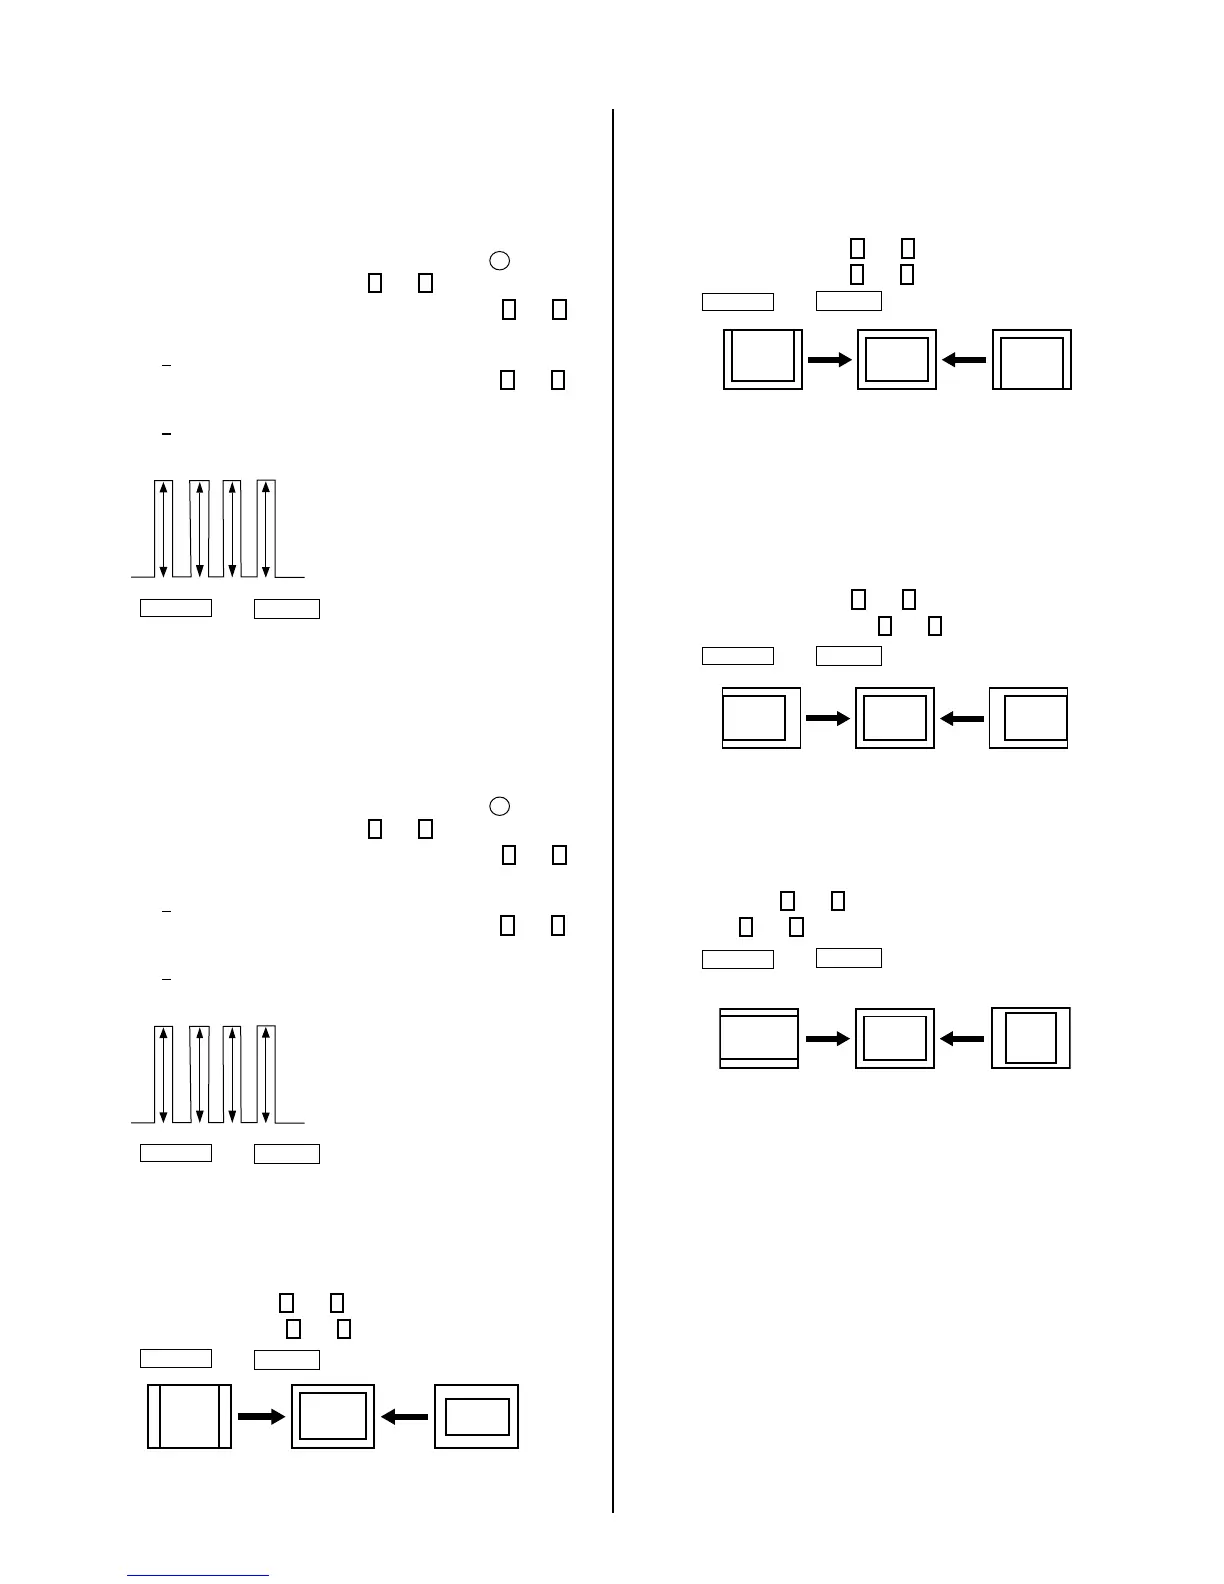
5. Connect an oscilloscope probe to C Board, CN705 Pin
4
Blue Out.
6. Select the SHUE and SCOL item with
1
and
4
.
7. While showing the SHUE item, adjust the waveform with
1
and
4
until the second and third bars show the same level
(V2 = V3 + 0.2Vpp).
8. While showing the SCOL item, adjust the waveform with
3
and
6
until the rst and fourth bars show the same level
(V1 = V4 + 0.2Vpp).
9. Press
MUTING
then
ENTER
to save into the memory.
[YUV] [VIDEO MODE VIVID]
1. Input color-bar signal at 75%.
2. Set screen to Vivid Mode.
3. Activate the Service Adjustment Mode.
4. Set (PIC) to 100% and (COL) to 50%.
5. Connect an oscilloscope probe to C Board, CN705 Pin
4
Blue Out.
6. Select the SHUE and SCOL item with
1
and
4
.
7. While showing the SHUE item, adjust the waveform with
1
and
4
until the second and third bars show the same level
(V2 = V3 + 0.2Vpp).
8. While showing the SCOL item, adjust the waveform with
3
and
6
until the rst and fourth bars show the same level
(V1 = V4 + 0.2Vpp).
9. Press
MUTING
then
ENTER
to save into the memory.
V. SIZE ADJUSTMENT (VSIZ)
1. Input a crosshatch signal.
2. Activate the Service Adjustment Mode.
3. Select the VSIZ item with
1
and
4
.
4. Adjust value of VPOS with
1
and
4
for the best vertical center.
5. Press
MUTING
then
ENTER
to save into the memory.
V. CENTER ADJUSTMENT (VPOS)
Perform this adjustment after performing H. Frequency
(Free Run) Check.
1. Input a crosshatch signal.
2. Activate the Service Adjustment Mode.
3. Select the VPOS item with
1
and
4
.
4. Adjust value of VPOS with
3
and
6
for the best vertical center.
5. Press
MUTING
then
ENTER
to save into the memory.
H. CENTER ADJUSTMENT (HPOS)
Perform this adjustment after performing H. Frequency
(Free Run) Check.
1. Input a crosshatch signal.
2. Activate the Service Adjustment Mode.
3. Select the HPOS item with
1
and
4
.
4. Adjust the value of HPOS with
3
and
6
for the best horizontal center.
5. Press
MUTING
then
ENTER
to save into the memory.
H. SIZE ADJUSTMENT (HSIZ)
1. Input a monoscope signal.
2. Activate the Service Adjustment Mode.
3. Select HSIZ with
1
and
4
.
4. Adjust with
3
and
6
for the best horizontal size.
5. Press
MUTING
then
ENTER
to save into the memory.