DOWNLOADING AND TRANSFERRING FILES (CONT.)
11
CONVERTING AN AUDIO CD INTO MP3 OR WMA FORMAT
If you previously installed Windows Media Player 10 or 11 software, you can utilize it to convert
music on an audio CD into MP3 or WMA format as
follows:
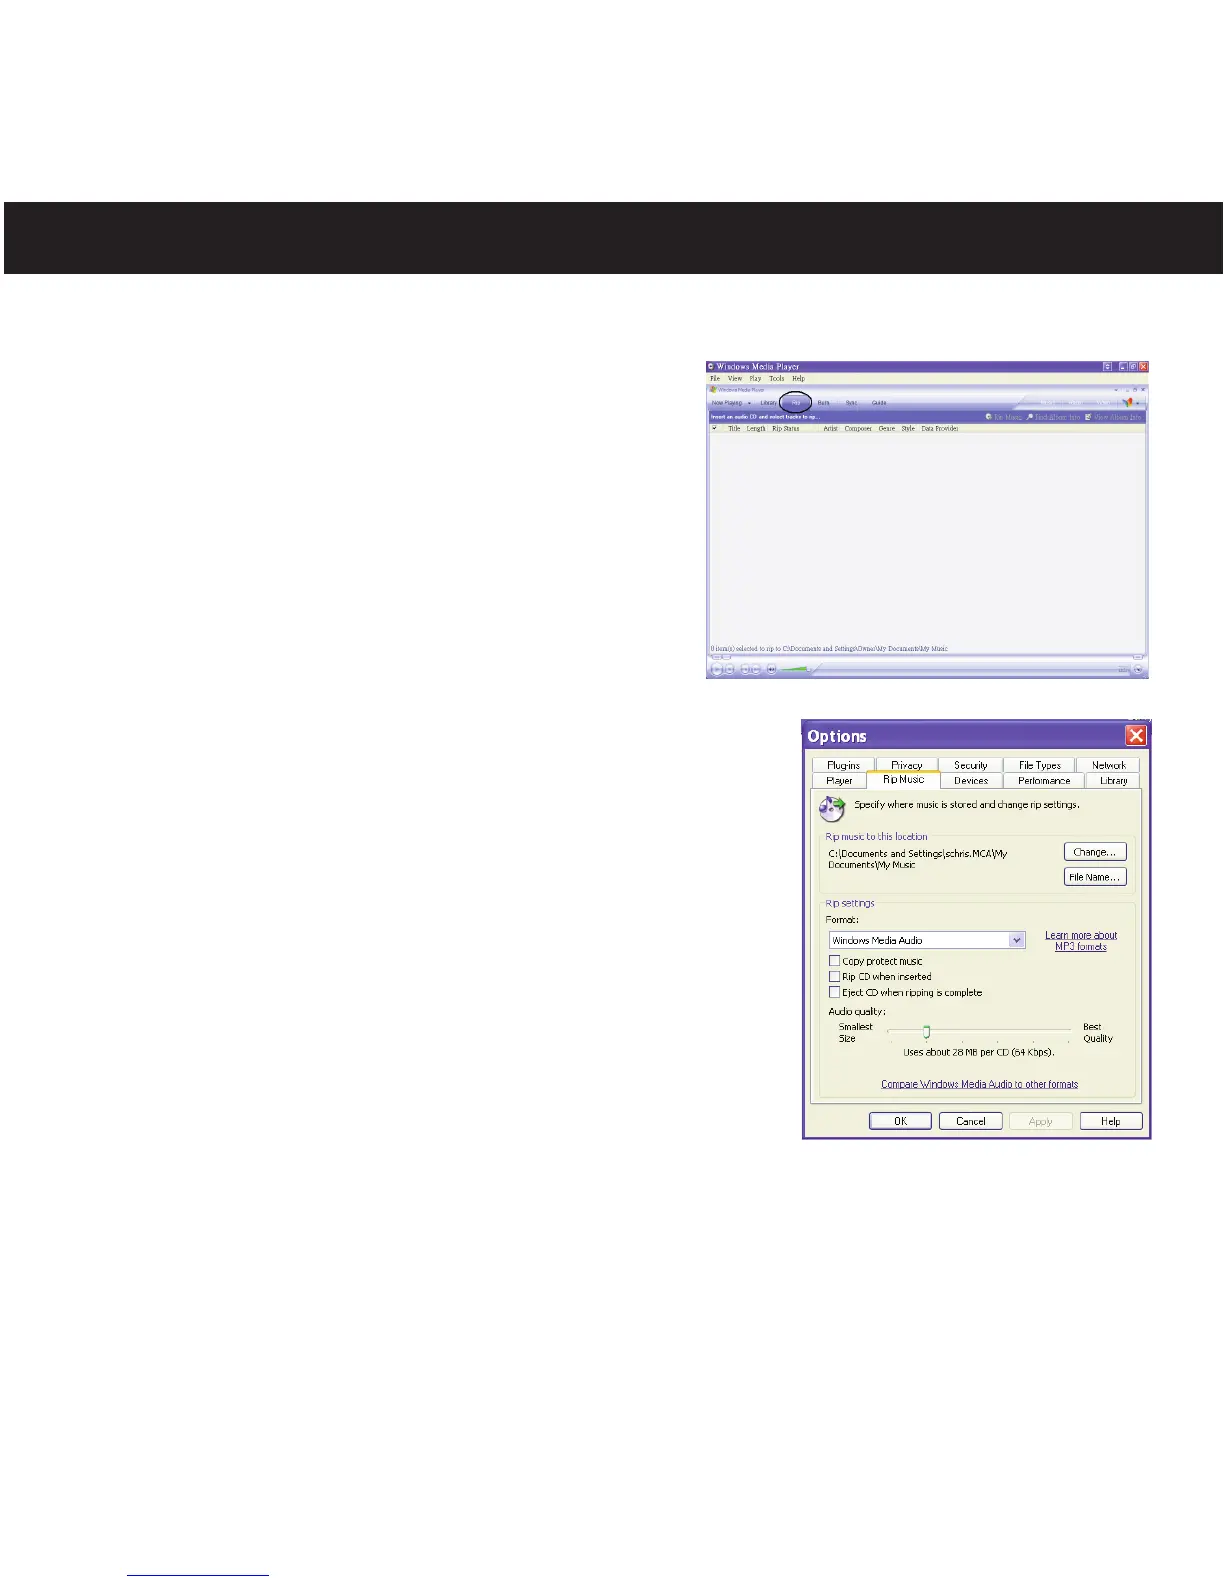
1. Open the Windows Media Player 10 or 11
Browser, then click on the “Rip” icon on the top
tool bar. Insert a Music CD into the CD-Rom
drive of your computer.
2. Click on the “Tools” menu option at the top menu
bar, then click on “Options”; the Option setting
menu will appear. Click on Rip Music and set the
Rip Music to the desired location on your
computer. Then, set the desired format for the
newly ripped music (MP3 format or Windows
Media Audio format). Adjust the audio quality as desired.
When finished, click “OK” to confirm the settings.
3. Click on the “Rip Music” icon to start ripping the music to
your computer.
4. When the music tracks are ripped; connect the player to
your computer. Open the "Removable Disk" window and
open the ripped music location window.
5. To add the transferred/ripped music files/songs to your
player simply drag and drop the MP3 or WMA files into
the "Removable Disk" window.
6. When the files are finished loading into the player, you
can follow the “Safely Remove Hardware” procedure as
shown on page 15.
NOTES:
• For Windows Media Player 11 users, please visit the following link for instructions on how to
rip (copy) songs from CDs to your computer:
http://www.microsoft.com/windows/windowsmedia/knowledgecenter/howto/mp11/rip.aspx
• Windows Vista users must use Windows Media Player 11 to convert music on an audio CD
into MP3 or WMA format.