EasyManua.ls Logo

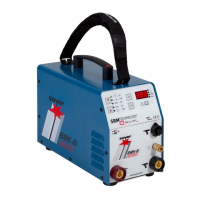
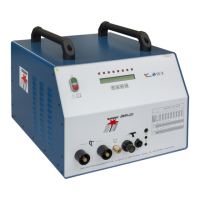
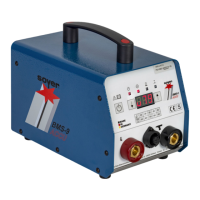
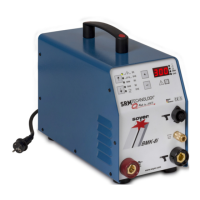
Soyer BMK-8 U - User Manual

Soyer BMK-8 U
68 pages
Print Icon
To Next Page IconTo Next Page
Loading...
Operating Instructions
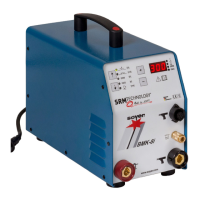
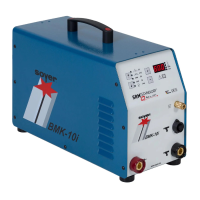
BMK-8 U
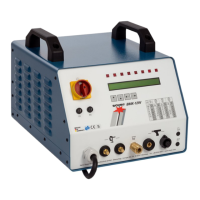
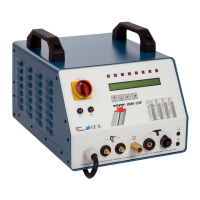
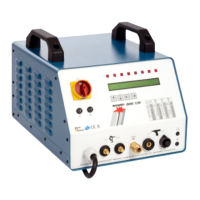
BMK-12 W
Stud Welders

Table of Contents

Questions and Answers

  • J
    Jill WhiteSep 2, 2025
    Why is there intensive sparking and the stud flange almost molten down when using my Soyer Welding System?
    • S
      Susan TaylorSep 2, 2025
      If you notice intensive sparking and the stud flange is almost molten down on your Soyer Welding System, readjust the time for main current duration according to the provided table.
  • J
    Jillian TaylorSep 1, 2025
    What should I do if the gas flow rate is set too low on my Soyer BMK-8 U?
    • M
      Marie WagnerSep 1, 2025
      If the gas flow rate is set too low on your Soyer Welding System, set the gas flow rate to 4-5 l/min using the control cock. If the issue persists, the solenoid valve in the stud welder may be soiled or defective; deaerate and clean it, or have it replaced by SOYER customer service.
  • B
    Bryan NelsonAug 31, 2025
    Why is the main current not igniting on my Soyer BMK-8 U Welding System even though the stud lifts and preweld current is initiated?
    • B
      Brian WilliamsAug 31, 2025
      If your Soyer Welding System's stud lifts, preweld current is initiated, but the main current does not ignite, ensure the operating mode is set to position "OP" and not "PRE". Clean or grind the workpiece surface if the preweld current arc breaks. Adjust the lift according to the operating instructions for your welding gun or welding head, and set the gas flow rate to 4-5 l/min.
  • G
    George FrazierAug 30, 2025
    What to do if the stud on my Soyer Welding System doesn't lift, even when the LED 'Stud on workpiece' is lit?
    • J
      James SandersAug 30, 2025
      If the stud in your Soyer Welding System does not lift, and neither preweld current nor main current arc is generated, even though the LED "Stud on workpiece” lights up, first ensure that the height of lift is correctly set according to the operating instructions of your stud welding gun. If the problem persists, even with the height of lift correctly set, contact SOYER customer service.
  • M
    Michael BurkeAug 29, 2025
    What to do if the main switch of my Soyer Welding System returns to position "0"?
    • A
      Andrew TaylorAug 29, 2025
      If your Soyer Welding System's main switch returns to position "0", ensure the stud lift is correctly set according to the welding gun's operating instructions and switch the stud welder back on. Verify sufficient mains supply without extension cables, or use a higher core cross-section extension cable if needed. Adjust gas pressure to the prescribed value and abrade the workpiece surface if it's poorly electroconductive.
  • C
    Cindy HughesAug 28, 2025
    Why is there no shielding gas flow during the welding process with my Soyer BMK-8 U?
    • J
      Jason ThomasAug 28, 2025
      If you're not getting any shielding gas flow during the welding process with your Soyer Welding System, first ensure the gas cylinder is properly connected and the valve or shut-off valve is open, referring to chapter 6.4.1 for connection details. Also, check if the time for gas flow duration is set to "0"; if so, set it to the desired preflow time.
  • S
    Stephen BallardAug 27, 2025
    What does it mean when the LED 'Transformer overheated, pls. wait' lights up on my Soyer Welding System?
    • Q
      qgarnerAug 27, 2025
      If the LED labeled "Transformer overheated, pls. wait" is lit on your Soyer Welding System, ensure there is enough free space around the stud welder to prevent heat accumulation. Also, adhere to the recommended welding sequence to avoid overheating.
  • K
    kathryn17Aug 26, 2025
    How to troubleshoot varying welding results with my Soyer BMK-8 U?
    • B
      brandtblakeAug 27, 2025
      If you're experiencing varying welding results with your Soyer Welding System, start by adjusting the welding energy. Then, check all cable connections and earth clamps to ensure they are tight. Make sure the stud is fully inserted into the stud holder, replacing the holder if necessary. Address any magnetic blowing action by adjusting the fixture of earth clamps, placing iron parts on the edges, or rotating the welding gun. Verify that the height of lift and depth of immersion are correctly set according to the welding gun's operating instructions. Use only SOYER® welding studs as per DIN EN ISO 13 918. Reset the welding time and gas flow as needed, and ensure the parent metal is suitable for welding.
  • A
    Alan BlakeAug 25, 2025
    Why does the main switch of my Soyer Welding System not remain in position "1"?
    • S
      Stephanie AdamsAug 26, 2025
      If your Soyer Welding System's main switch doesn't stay in position "1", it could be due to one or more failed phases. Check the mains supply fuses. If the issue continues, the fuse F2 may be defective, and you should replace it.
  • A
    Andre GarzaAug 25, 2025
    What to do if my Soyer Welding System does not weld, showing no or poor sparking?
    • E
      emilymartinezAug 25, 2025
      If your Soyer Welding System does not weld and you notice no or poor sparking, ensure the system is connected to the mains supply and switched on, keeping the main switch in position "1" for drawn arc and short-cycle drawn arc operation. Also, verify that the operating mode is set to "OP". Check all cables and hoses for proper connection and damage, replacing them if necessary. Ensure the earth cables are correctly connected and clamps are attached to the workpiece, and that welding points are clean. For drawn arc welding, make sure the height of lift and depth of immersion are correctly adjusted, and the gas flow rate is set to 4-5 l/min. Finally, ensure the gun is vertical and the ceramic ferrule and stud holder are centered.

Soyer BMK-8 U Specifications

General IconGeneral
Frequency50/60 Hz
Stud Diameter (Steel)3 - 8 mm
Stud Diameter (Stainless Steel)3 - 8 mm
Stud Diameter (Aluminum)3 - 8 mm
Protection ClassIP21

Related product manuals