Page 52
(See: Fig. 4 and Fig 5)
The following instructions are for manual machines, delete step 1 through 4 when replacing older
power feed units.
1. Remove set collar on distributor arm and remove bearing assembly by removing screw in bottom.
2. Install new thrust bearing (inner race facing forward) on distributor arm.
3. Install new bearing assembly on distributor arm with swing bolts forward. Replace bottom screw
and lockwasher, push bearing assembly back against thrust bearing and tighten lower screw.
4. Replace set collar and tighten.
ATTENTION Model 1061 users only: Replace upper front casting assembly with 03414700.
5. Set Dial-A-Cable adjusters for 3/4” cable size (full open) and turn knob #18 counter clockwise
(left) to raise upper wheel carrier. Place actuator handle #12 to “N” neutral position.
6. Place cable through back of power feed while sliding power feed unit over cable into proper
position on new bearing assembly. Bring swing bolts up into slots on universal mounting plate
#16 and tighten hand tight.
7. Position cable forward to the point where the smallest diameter of cable will come in contact with
the drive bearings, adjust your Dial-A-Cable for your cable size. Turn knob #18 clockwise (right)
until contact is made with drive bearing.
8. Apply grease through grease fitting on bearing assembly. Installation is complete. Refer to
operating instructions for safe operation.
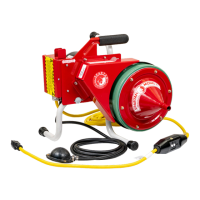
Special Note: 2001 Dial-A-Cable Power Feed Replacement. When Replacing Dial-A-Cable
power feed unit on 2001 machines, the two (2) long screws #15 must be used
for old unit.
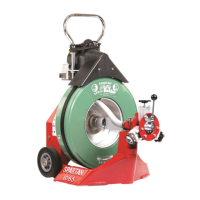
Installation Instructions
for Model 1065 & 2001